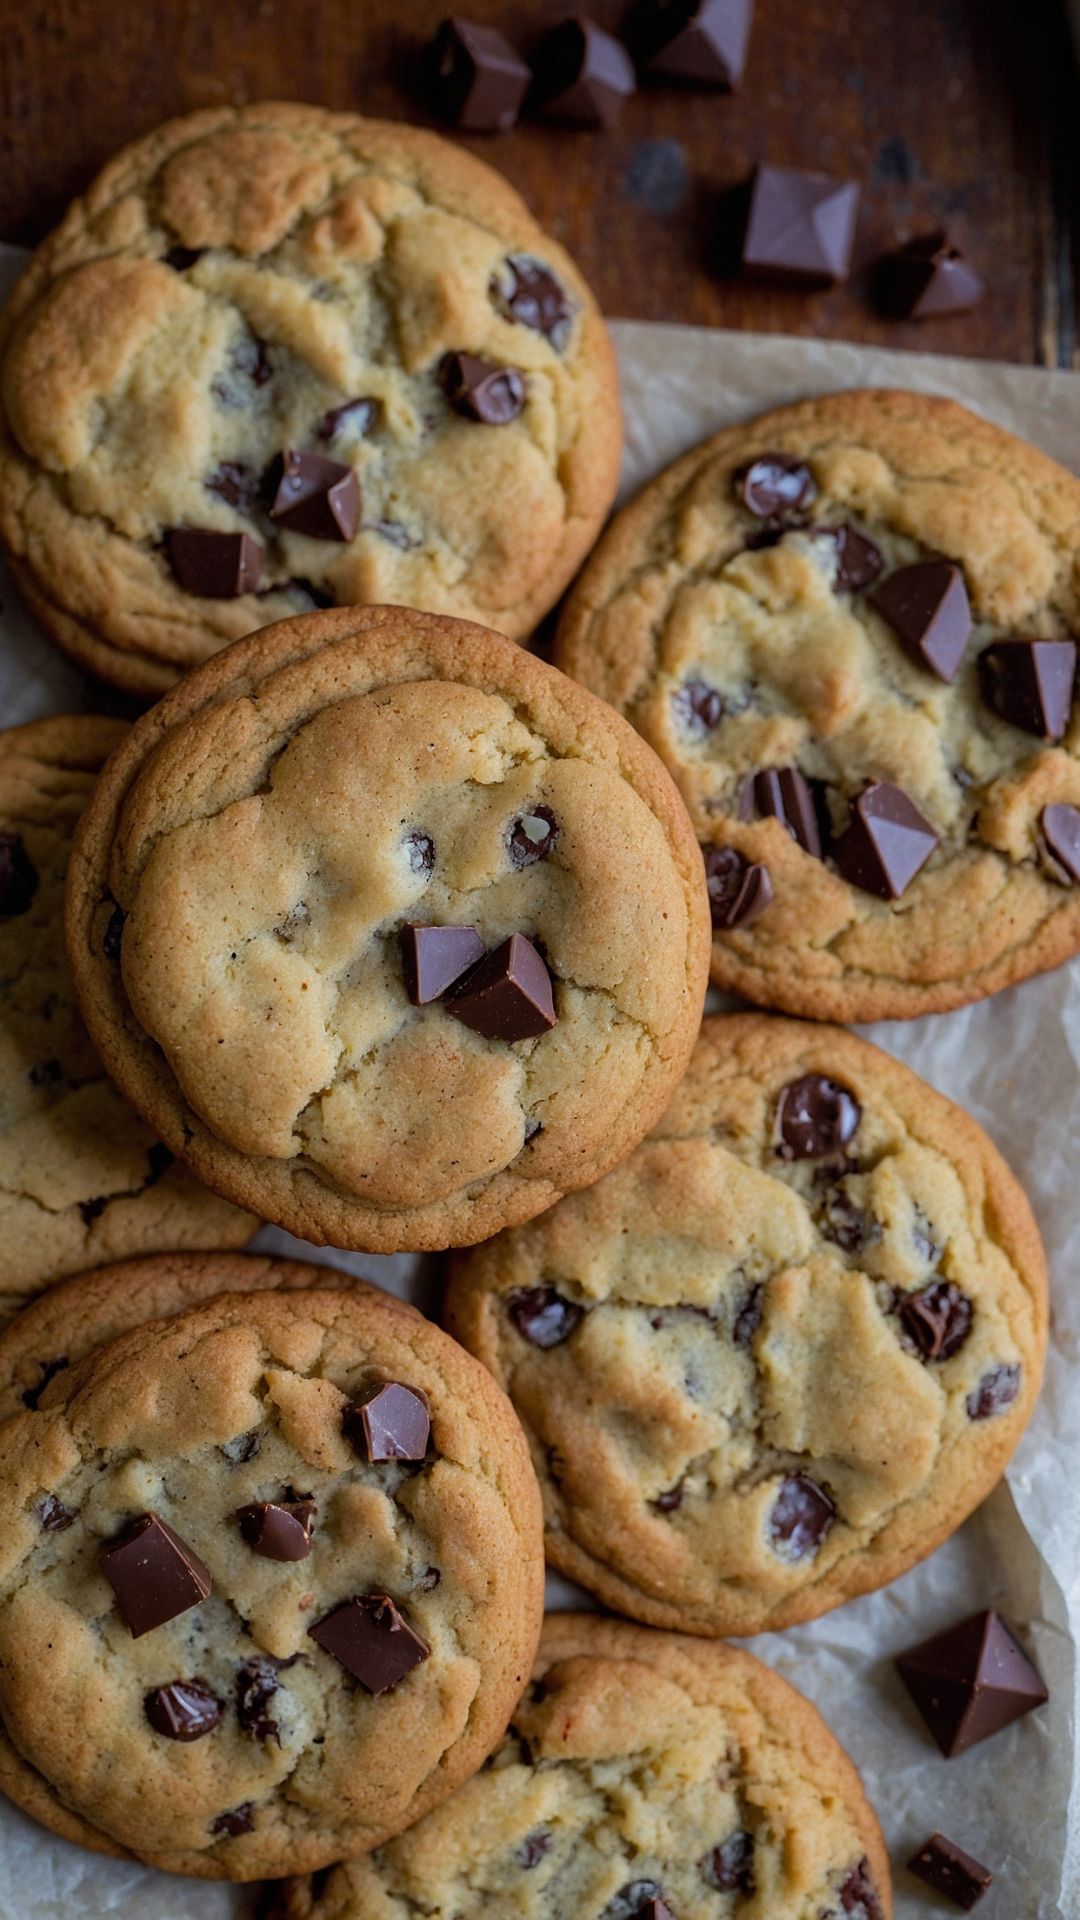
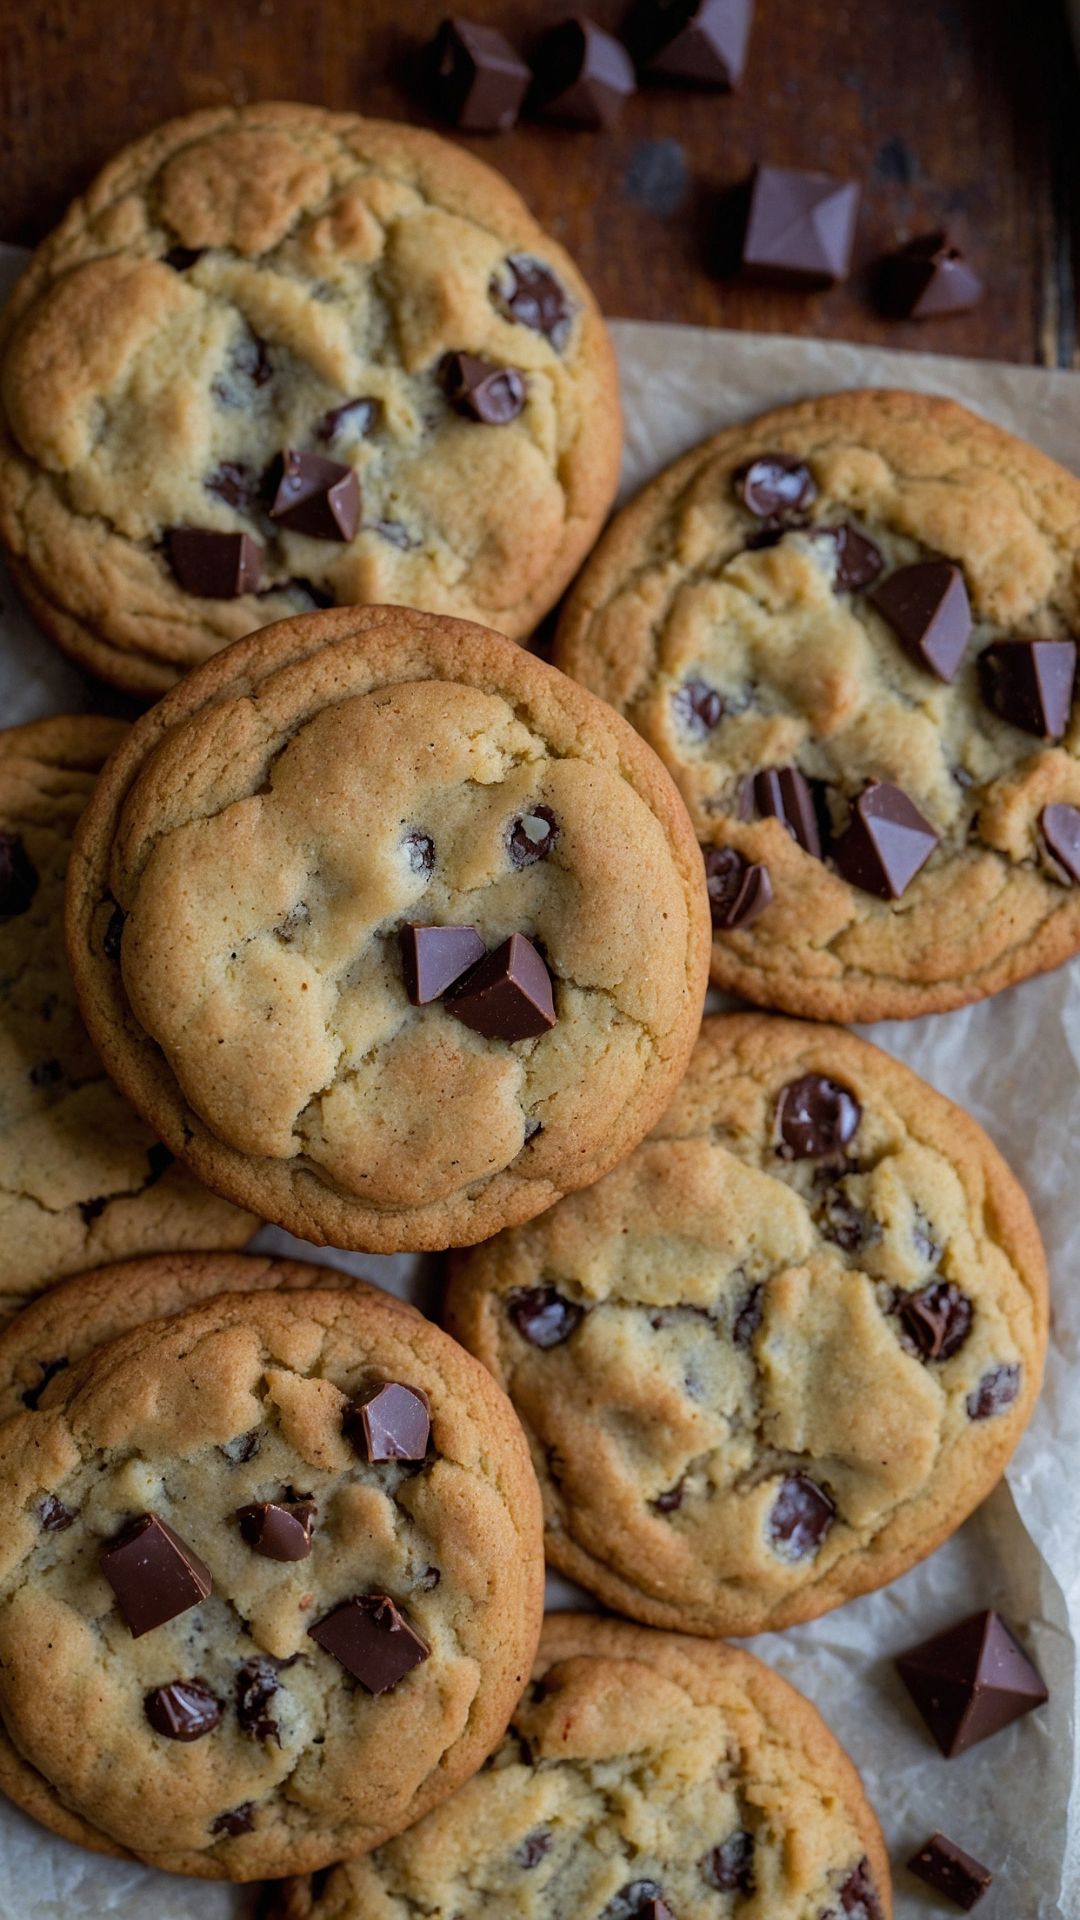
Before we dive into baking these delightful cookies, let’s consider what to enjoy alongside them. Brown butter chocolate chip cookies are a treat that invites creativity.
1. A Cold Glass of Milk: This classic pairing never goes out of style. The cold creaminess complements the warm, gooey goodness of the cookies.
2. A Scoop of Vanilla Ice Cream: Picture this—warm, melty cookies paired with cool ice cream. It’s dessert perfection!
3. Coffee or Tea: A steaming cup of coffee or a refreshing iced tea heightens the flavors, enhancing the cookie experience.
4. Fresh Berries: The tartness of raspberries or strawberries can balance the rich flavor of the cookies beautifully.
Now that you’ve got a setup for what to enjoy with these cookies, let’s get to the heart of the matter!

You know that feeling when you walk into a bakery, and the smell of fresh cookies just sweeps you off your feet? That warm, nutty aroma is something every cookie lover dreams about. Welcome to the enchanting world of Brown Butter Chocolate Chip Cookies.
These cookies are not your usual treats. The magic begins with browning the butter, which transforms its flavor profile., adding a depth that you simply can’t get from regular butter.
As a long-time food enthusiast, I’ve spent years mastering the art of cookie making. When it comes to impressing friends and family, these cookies steal the show. Follow along, and I’ll walk you through every step of this mouthwatering journey.
What is the Brown Butter Chocolate Chip Cookies?
In essence, the Brown Butter Chocolate Chip Cookies recipe elevates the classic chocolate chip cookie. The key? Brown butter. It’s a simple twist; instead of using plain butter, we let it cook until it caramelizes slightly.
This process develops a rich, nutty flavor that’s simply irresistible. Combined with semi-sweet chocolate chips, these cookies redefine what a chocolate chip cookie can be.
You will also like the following Dessert recipes!
- Pumpkin pie recipe with fresh pumpkin and condensed milk Recipe
- Arby’s Three Pepper Sauce
- Jamaican Rum Raisin Ice Cream
Why This Recipe Works
1. Ingredient Quality: A high-quality butter makes all the difference in the browning process, leading to a deeper flavor.
2. Correct Ratios: The right balance of flour, sugar, and fat keeps the cookies chewy on the inside while achieving a crisp edge.
3. Chilling the Dough: Allowing the dough to chill enhances the flavor further while improving texture. Who doesn’t love a cookie that’s both chewy and crispy?
4. Browning the Butter: This essential step isn’t just a gimmick; it creates a toasty, caramel flavor that distinguishes this cookie from others.
What You’ll Need to Make This Dish
Gathering your ingredients is the first step to cookie magic. Here’s what you will need:
- 1 cup (2 sticks) unsalted butter: Use high-quality butter for best flavor.
- 1 cup granulated sugar: For sweetness that complements the chocolate.
- 1 cup packed brown sugar: Adds moisture and depth.
- 2 large eggs: Binds everything together for the perfect texture.
- 2 ¾ cups all-purpose flour: The foundation for your cookie dough.
- 1 teaspoon baking soda: Helps to achieve that perfect rise.
- 1 teaspoon salt: Balances the sweetness.
- 2 teaspoons vanilla extract: For that classic cookie flavor.
- 2 cups semi-sweet chocolate chips: You can’t forget the chocolate!
- ¼ cup chopped pecans or walnuts (optional): Adds an extra crunch and flavor layer.

How to Make Brown Butter Chocolate Chip Cookies Recipe
Creating these cookies is an adventure. You’ll need to pay attention to details, but the process is straightforward and fun!
Step 1: Brown the Butter
In a medium saucepan, melt the butter over medium heat. As it melts, it will foam. Keep stirring it until it turns a golden brown color, giving off a nutty aroma. This usually takes around 5–7 minutes. Make sure not to burn it!
Step 2: Mix Sugars and Butter
Once your butter has browned, remove it from the heat. In a large mixing bowl, combine the warm butter with granulated sugar and brown sugar. Stir until well mixed and smooth. The warmth helps dissolve the sugars effectively.
Step 3: Add Eggs and Vanilla
Crack in the eggs one at a time, mixing thoroughly after each addition. Then stir in the vanilla extract. Remember, good quality vanilla can change the game here!
Step 4: Combine Dry Ingredients
In another bowl, whisk together the flour, baking soda, and salt. Gradually add this dry mixture into the wet ingredients—mix until just combined. Avoid overmixing; we want tender cookies.
Step 5: Fold in Chocolate Chips and Nuts
Using a spatula or wooden spoon, gently fold in the chocolate chips and nuts (if using). You should see that beautiful gooeyness begin to emerge!
Step 6: Chill the Dough
Cover the bowl with plastic wrap and chill in the refrigerator for at least 30 minutes. This extra step helps develop flavors and improves texture.
Step 7: Preheat and Prepare Baking Sheets
Preheat your oven to 350°F (175°C). Line your baking sheets with parchment paper; this prevents sticking and helps with even baking.
Step 8: Portion the Dough
Using a cookie scoop or tablespoon, drop rounded balls of cookie dough onto the prepared sheets. Make sure to leave some space between each cookie as they will spread while baking.
Step 9: Bake
Pop the trays into the oven and bake for 10–12 minutes or until the edges are golden brown. The centers may still look slightly underbaked; that’s okay! They’ll firm up as they cool.
Step 10: Cool Down
Remove the cookies from the oven and let them cool on the baking sheets for 5 minutes before transferring them to a wire rack. This step helps achieve that perfect cookie consistency.
Tips
Here are some gems I’ve learned from countless cookie-baking sessions:
Meal Prep: Make the dough ahead of time and keep it in the fridge for up to a week. Fresh cookies at a moment’s notice!
Do Not Skip Chilling: This step is vital. It enhances the flavors and improves the texture.
Experiment with Flavors: Consider adding a pinch of cinnamon or a dash of espresso powder to give your cookies a twist.
Don’t Overbake: Cookies continue to cook on the baking sheet after being removed from the oven. Aim for lightly golden edges.
Storage: Store cookies in an airtight container to maintain freshness, but I doubt they’ll last long!
How to Store Leftovers?
If you’re lucky enough to have leftover cookies (a rare occurrence!), store them in an airtight container at room temperature. They’ll remain fresh for up to a week. You can also freeze the dough. Form balls and freeze them on a baking sheet.
Once frozen, transfer them to a freezer bag. They’ll keep for up to three months! Just bake straight from the freezer; simply add a minute or two to the baking time.
Nutrition Information
For those keeping track, here’s a rough estimate per cookie (based on the recipe making about 24 cookies):
- Calories: 200
- Total Fat: 10g
- Saturated Fat: 6g
- Cholesterol: 30mg
- Sodium: 80mg
- Total Carbohydrates: 28g
- Dietary Fiber: 1g
- Sugars: 15g
- Protein: 2g
Recommendations for Serving Brown Butter Chocolate Chip Cookies
There are various ways to enjoy these cookies. Here are some of my favorites:
With Coffee: Match them with your favorite brew. The bitterness of coffee enhances the sweetness of cookies, making for an extraordinary pairing.
With Ice Cream Sandwiches: Create an ice cream sandwich by using two cookies to hug a scoop of ice cream. This is a game-changer at summer gatherings.
With Whipped Cream and Berries: Top cookies with a dollop of whipped cream and fresh berries for an elegant dessert. It’s a refreshing treat for dinner parties.
Packaged as Gifts: Wrap them in a cute box or jar as homemade gifts. Everyone loves a personal touch; plus, who can resist cookies?

Alternative Ingredients
If you find yourself short on some ingredients, here are a few substitutes that work well:
Butter: Coconut oil can replace butter. Use the same measurement, but make sure it’s melted and cooled.
Granulated Sugar: Coconut sugar can be used as a healthier alternative. Just know that it may result in a darker cookie color.
Eggs: Flaxseed meal mixed with water can be a great egg substitute for a vegan option (1 tbsp flaxseed meal + 3 tbsp water = 1 egg).
Chocolate Chips: White chocolate chips or dark chocolate chips can be swapped in for a different flavor experience.

Equipment
- Oven
- Cookie Scoop
Ingredients
- 1 cup 2 sticks unsalted butter: Use high-quality butter for best flavor.
- 1 cup granulated sugar: For sweetness that complements the chocolate.
- 1 cup packed brown sugar: Adds moisture and depth.
- 2 large eggs: Binds everything together for the perfect texture.
- 2 ¾ cups all-purpose flour: The foundation for your cookie dough.
- 1 teaspoon baking soda: Helps to achieve that perfect rise.
- 1 teaspoon salt: Balances the sweetness.
- 2 teaspoons vanilla extract: For that classic cookie flavor.
- 2 cups semi-sweet chocolate chips: You can’t forget the chocolate!
- ¼ cup chopped pecans or walnuts optional: Adds an extra crunch and flavor layer.
Instructions
Step 1: Brown the Butter
- In a medium saucepan, melt the butter over medium heat. As it melts, it will foam. Keep stirring it until it turns a golden brown color, giving off a nutty aroma. This usually takes around 5–7 minutes. Make sure not to burn it!
Step 2: Mix Sugars and Butter
- Once your butter has browned, remove it from the heat. In a large mixing bowl, combine the warm butter with granulated sugar and brown sugar. Stir until well mixed and smooth. The warmth helps dissolve the sugars effectively.
Step 3: Add Eggs and Vanilla
- Crack in the eggs one at a time, mixing thoroughly after each addition. Then stir in the vanilla extract. Remember, good quality vanilla can change the game here!
Step 4: Combine Dry Ingredients
- In another bowl, whisk together the flour, baking soda, and salt. Gradually add this dry mixture into the wet ingredients—mix until just combined. Avoid overmixing; we want tender cookies.
Step 5: Fold in Chocolate Chips and Nuts
- Using a spatula or wooden spoon, gently fold in the chocolate chips and nuts (if using). You should see that beautiful gooeyness begin to emerge!
Step 6: Chill the Dough
- Cover the bowl with plastic wrap and chill in the refrigerator for at least 30 minutes. This extra step helps develop flavors and improves texture.
Step 7: Preheat and Prepare Baking Sheets
- Preheat your oven to 350°F (175°C). Line your baking sheets with parchment paper; this prevents sticking and helps with even baking.
Step 8: Portion the Dough
- Using a cookie scoop or tablespoon, drop rounded balls of cookie dough onto the prepared sheets. Make sure to leave some space between each cookie as they will spread while baking.
Step 9: Bake
- Pop the trays into the oven and bake for 10–12 minutes or until the edges are golden brown. The centers may still look slightly underbaked; that’s okay! They’ll firm up as they cool.
Step 10: Cool Down
- Remove the cookies from the oven and let them cool on the baking sheets for 5 minutes before transferring them to a wire rack. This step helps achieve that perfect cookie consistency.
Notes
- Meal Prep: Make the dough ahead of time and keep it in the fridge for up to a week. Fresh cookies at a moment’s notice!
- Do Not Skip Chilling: This step is vital. It enhances the flavors and improves the texture.
- Experiment with Flavors: Consider adding a pinch of cinnamon or a dash of espresso powder to give your cookies a twist.
- Don’t Overbake: Cookies continue to cook on the baking sheet after being removed from the oven. Aim for lightly golden edges.
- Storage: Store cookies in an airtight container to maintain freshness, but I doubt they’ll last long!
Nutrition
Frequently Asked Questions
What is browning butter?
Browning butter is a technique where you cook butter over medium heat until it turns brown. This process develops a nutty flavor. Just keep an eye on it to avoid burning!
Can I freeze the cookie dough?
Absolutely! You can freeze the dough before baking. Just shape it into balls, freeze, and transfer to a bag. Bake directly from frozen; just add a couple of extra minutes in the oven.
How can I achieve chewy cookies?
To make cookies chewy, ensure you don’t overbake them. Slightly underbaked cookies retain moisture, resulting in that delightful chewiness.
What’s the difference between light and dark brown sugar?
Light brown sugar has a smaller molasses content than dark brown sugar, which makes it sweeter and less rich. However, either can work in the recipe.
How do I know when the cookies are done?
Look for golden brown edges. The center may appear slightly underbaked; that’s the sign they will remain soft and chewy once cooled.
Can I add different mix-ins?
Certainly! You can customize the cookies by adding ingredients like dried fruits, different nuts, or flavored chocolate chips according to your preference.
Conclusion
Brown Butter Chocolate Chip Cookies are a delightful homage to a classic. The process of making them, from browning the butter to baking, is straightforward yet rewarding. The result is a batch of cookies bursting with flavor and texture.
Pair them, serve them, or keep them all to yourself—these cookies are sure to please. So, grab your ingredients, embrace the process, and enjoy the warm aroma that fills your kitchen. Happy baking!
You’ll also like these latest recipes!

Rebecca Novak is a trained chef with over 10 years of experience in the food industry. She has worked in both fine dining and casual Hungarian restaurants and specializes in creating dishes using fresh, seasonal ingredients. She also loves exploring different cuisines worldwide, which allows her to bring unique flavors and ideas to the recipes she creates for Hungarianchef.com. Read more
