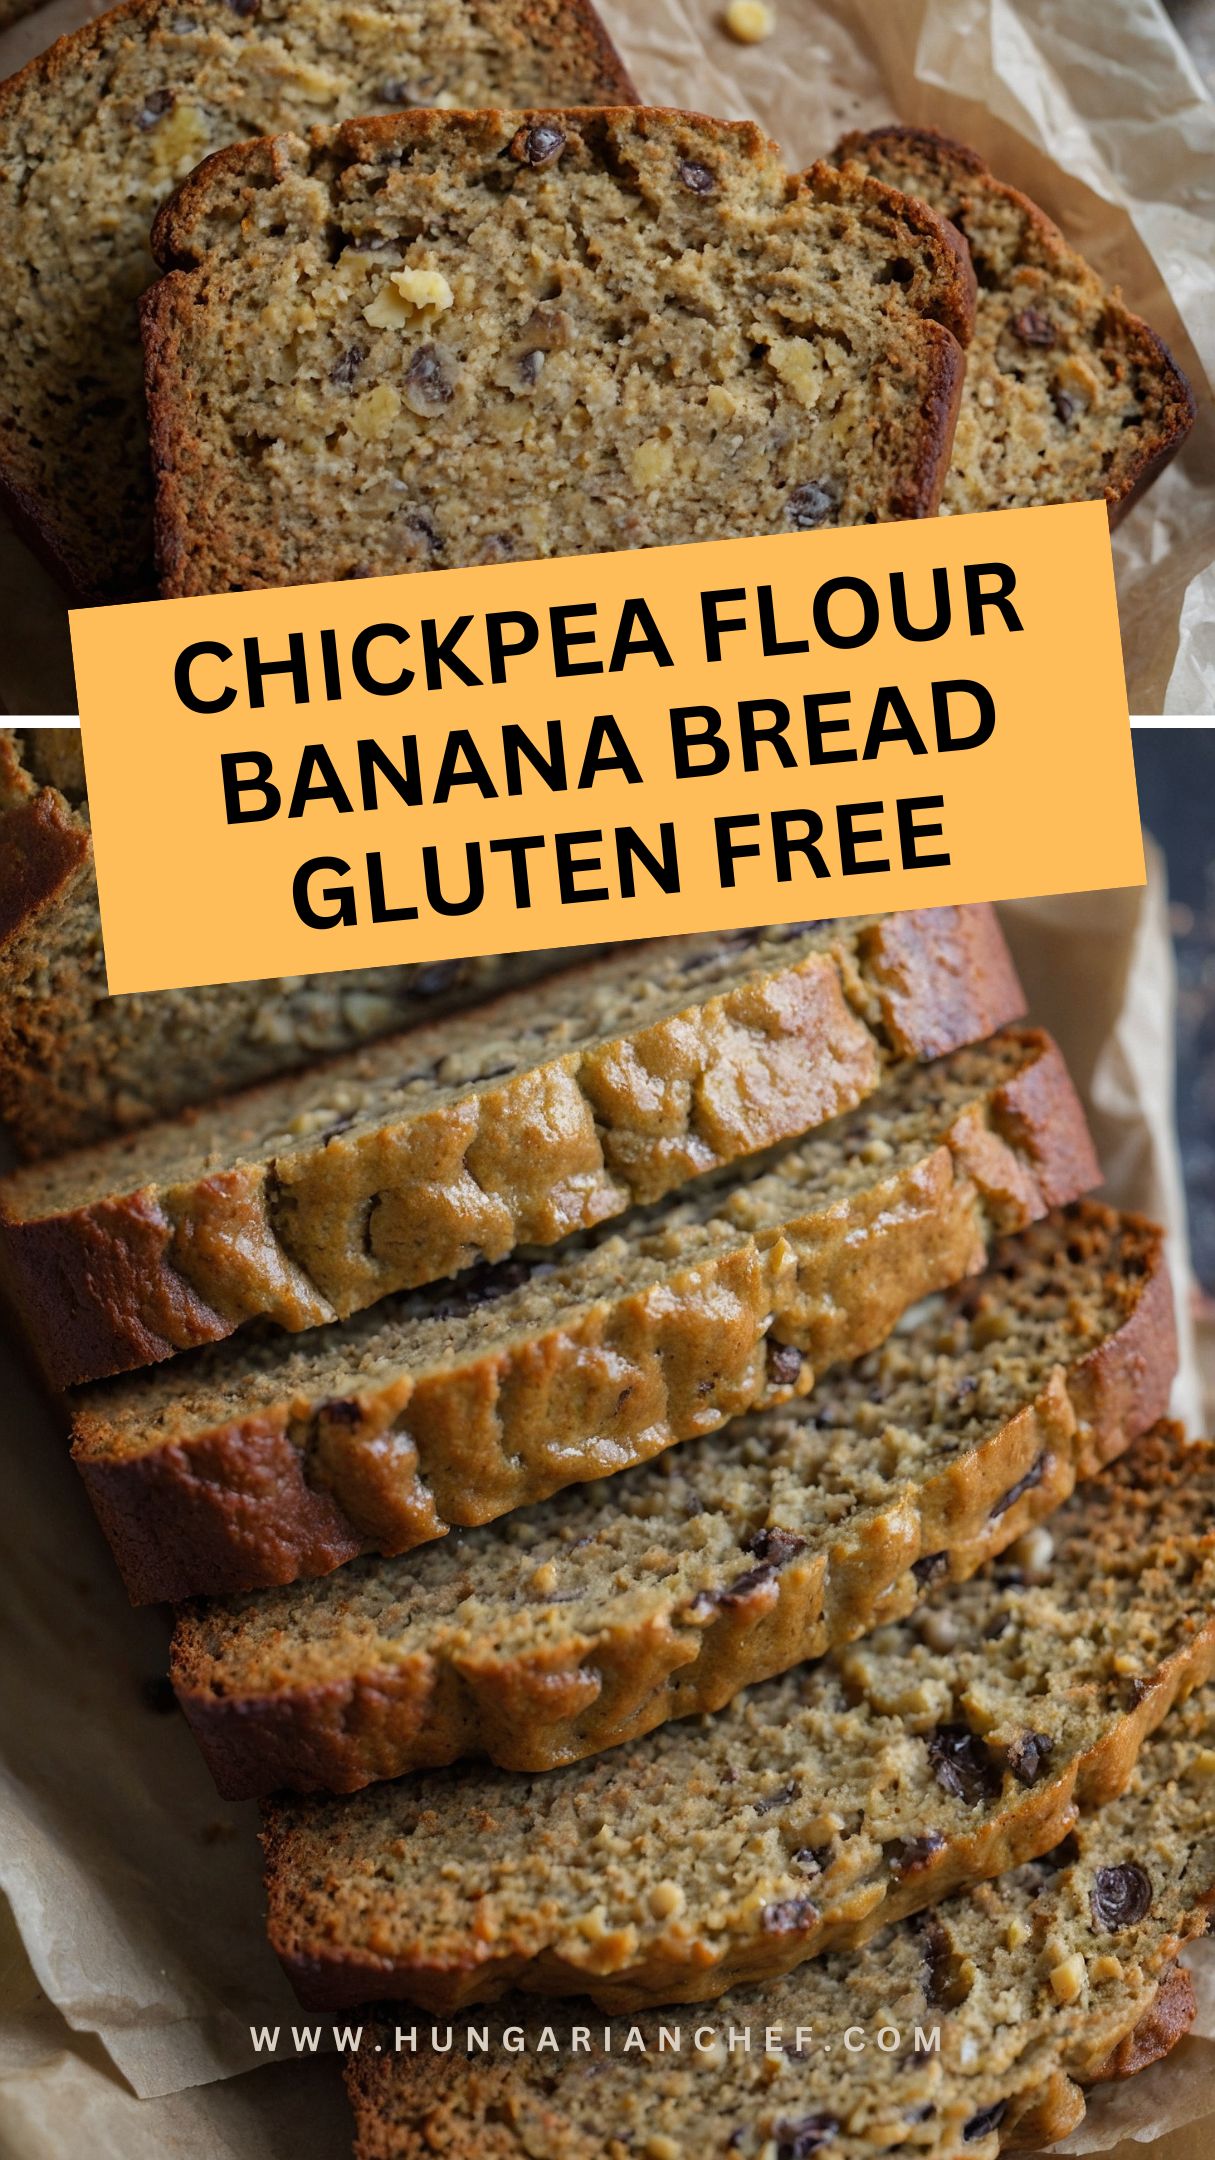
Before diving into the delightful world of chickpea flour banana bread, let’s chat about what pairs wonderfully with it. This banana bread can serve as a delightful breakfast option or a guilt-free snack. Pair it with a dollop of creamy yogurt or a sprinkle of nut butter for an added protein punch. Serve it alongside fresh fruit like strawberries or avocado slices for a refreshing balance. And let’s not forget about a warm cup of herbal tea or coffee, which creates a perfect cozy atmosphere.

Welcome to the comforting realm of gluten-free baking! If you’re like me, you might find that traditional flour doesn’t always play nicely with your dietary choices. But fear not, because chickpea flour is here to save the day. This magical ingredient transforms the humble banana bread into a rich, healthy treat. It has the power to change breakfast, making it nourishing and delightful at the same time.
As a registered dietitian and food enthusiast, I have experimented with various gluten-free options. This recipe has become a staple in my kitchen. Using chickpea flour not only provides a nutty flavor, but it also offers a good source of protein and fiber. Now, let’s explore this scrumptious recipe together.
What is Chickpea Flour Banana Bread Gluten Free?
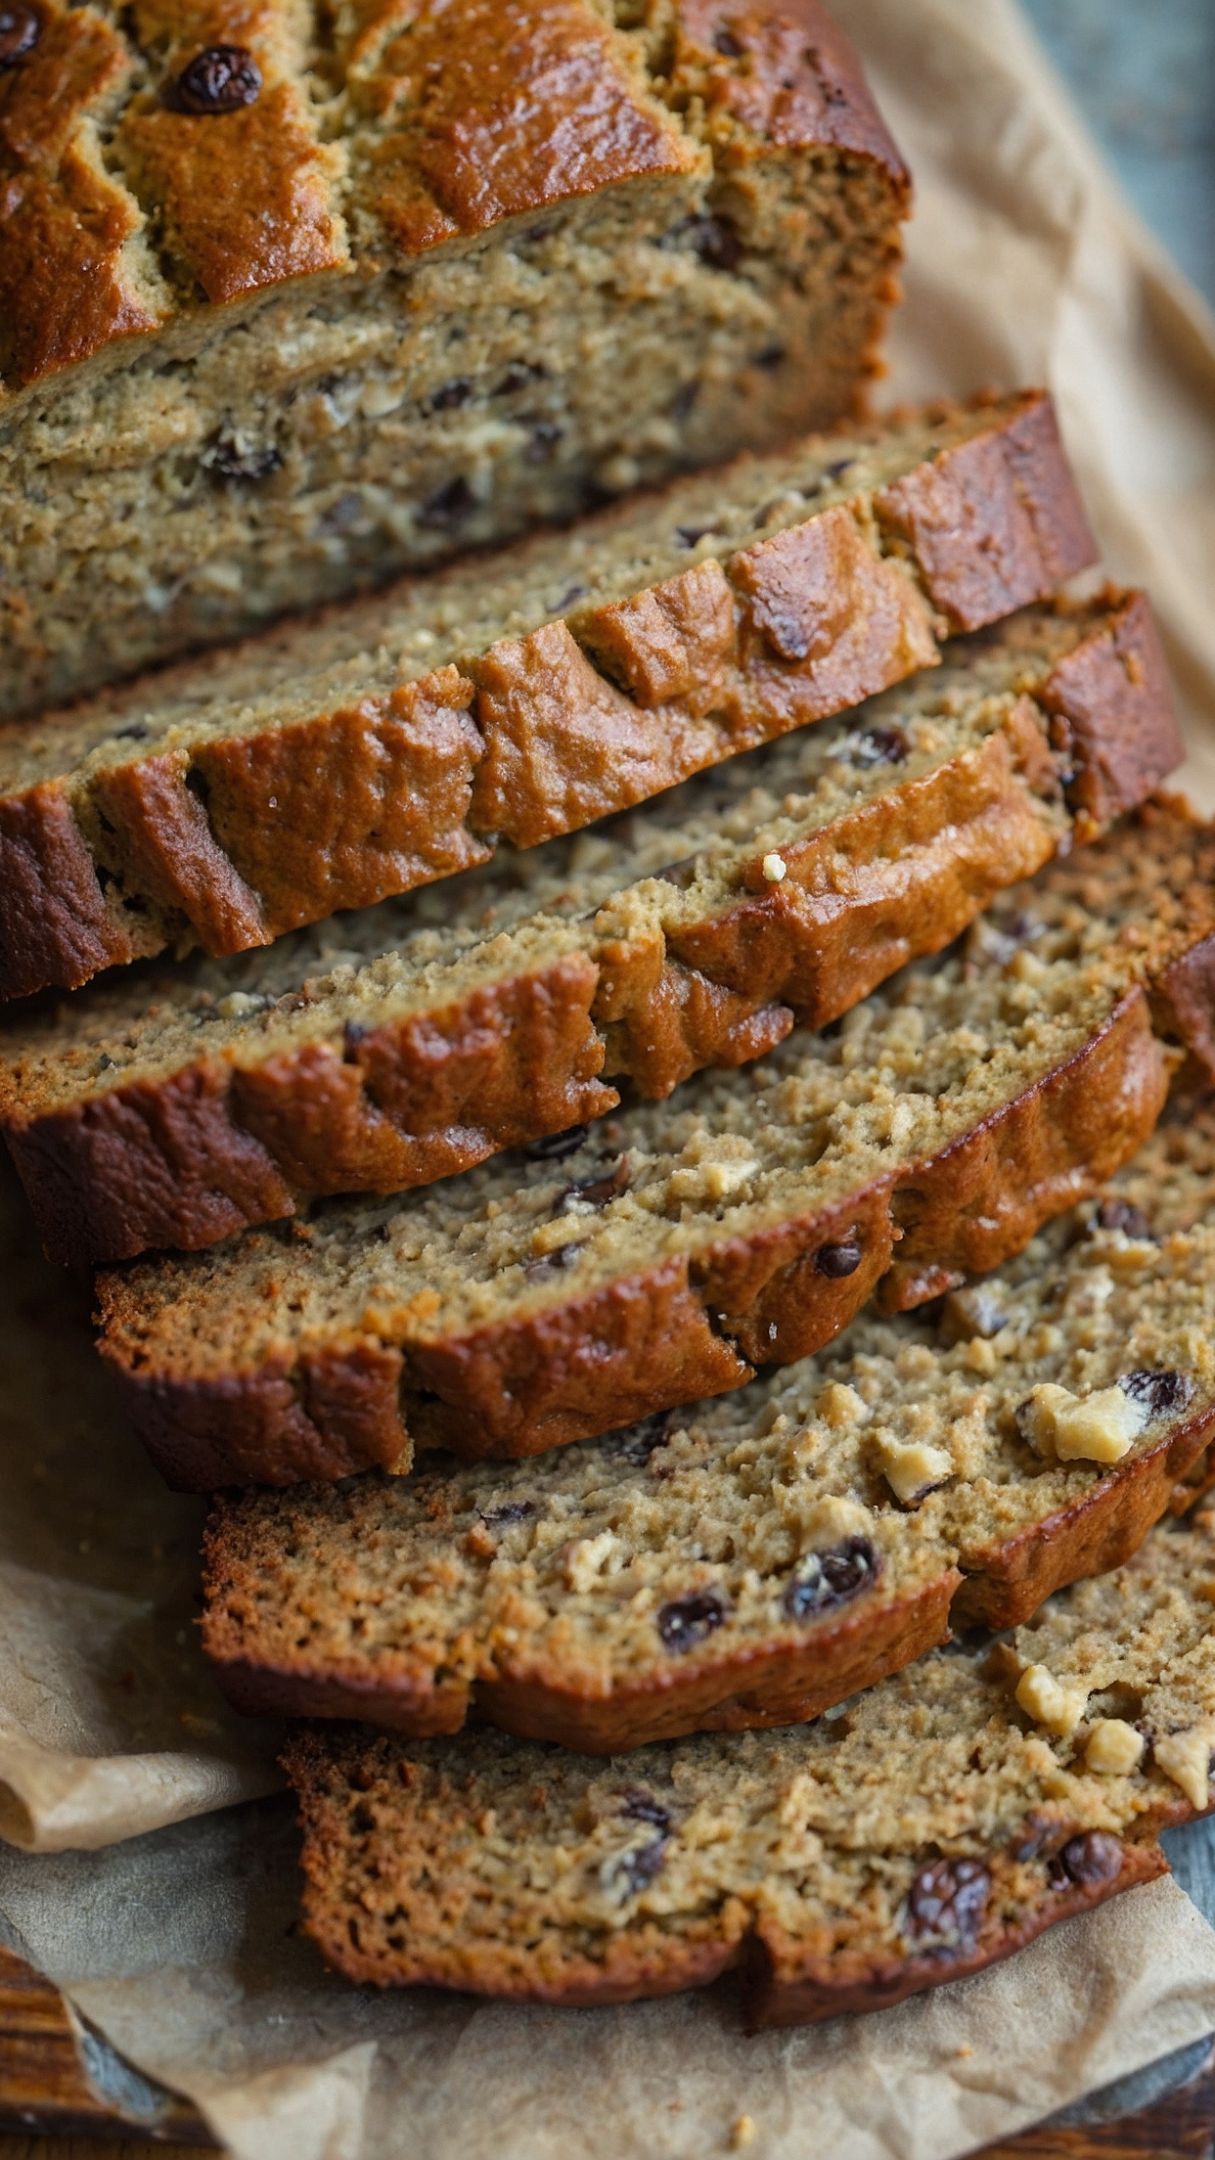
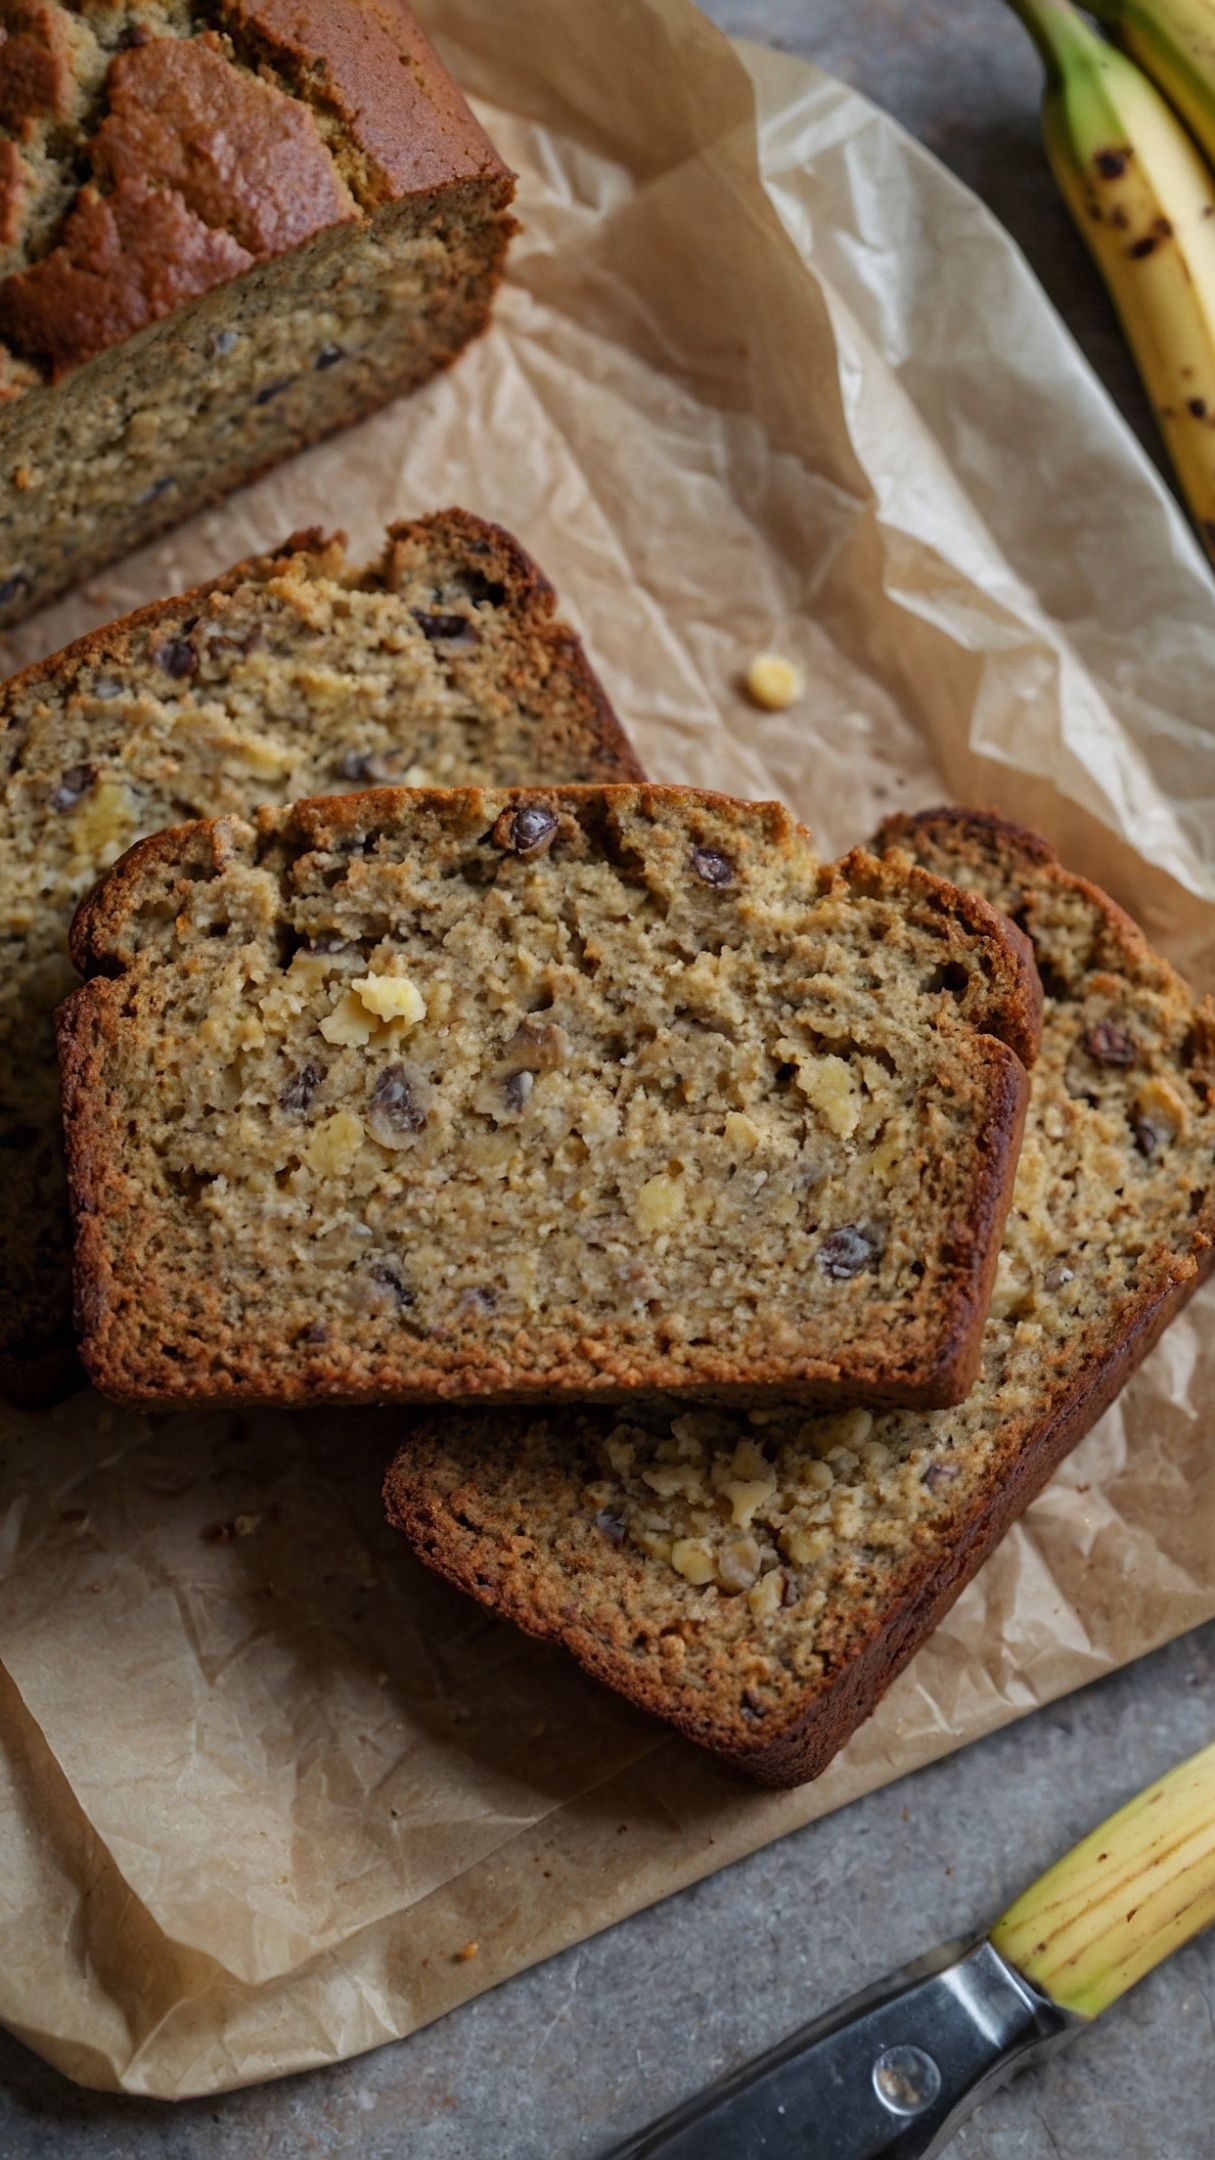
Chickpea flour banana bread is a unique twist on the classic banana bread that many adore. Instead of using all-purpose flour, this recipe incorporates chickpea flour, which is made from ground chickpeas. Not only does chickpea flour provide a gluten-free option, but it also adds moisture and density to the bread. The ripe bananas sweeten the bread naturally while providing a rich banana flavor that pairs beautifully with the earthiness of the chickpeas.
This recipe is a great way to use up overripe bananas and provides a delightful solution for anyone avoiding gluten. You’ll love the texture and taste, plus the healthy nutritional profile will give you peace of mind.
Why This Recipe Works
Why does this chickpea flour banana bread stand out from the crowd? There are several reasons. First, the combination of bananas and chickpea flour creates a unique flavor profile. Bananas lend sweetness and moisture, while chickpea flour contributes a slight nuttiness. Additionally, this recipe doesn’t rely heavily on sugar, thanks to the natural sweetness from the ripe bananas.
Other ingredients, like cinnamon and orange zest, enhance the aroma and flavor without overwhelming the dish. The use of flaxseed not only acts as a binding agent but also adds omega-3 fatty acids, providing added health benefits. Overall, the balance of these ingredients results in a delicious and nutritious bread.
You will also like the following Dinner recipes!
What You’ll Need to Make This Dish
To whip up this delightful chickpea flour banana bread, you’ll need the following ingredients:
- 2 cups (500 mL) well-mashed extra-ripe bananas
- 1 ¾ cups (210 g) chickpea flour
- 1/3 cup (64 g) unrefined coconut sugar
- 2 teaspoons (10 mL) pure vanilla extract
- 2 teaspoons ground cinnamon powder
- 1 teaspoon baking soda powder
- ½ teaspoon fine sea salt
- 1/3 cup (35 g) ground flaxseed
- 1 tablespoon chopped toasted walnuts
- 1 teaspoon freshly grated orange zest
Make sure your bananas are extra ripe. The browner, the better!

How to Make Chickpea Flour Banana Bread Gluten Free?
Now that we’ve got all our ingredients lined up, let’s jump into the process of making this scrumptious bread. It’s simple and doesn’t require any fancy equipment.
Step-by-Step Instructions
Step 1: Preheat the Oven
First thing’s first: fire up your oven! Preheat it to 350°F (175°C). This step prepares the oven for the bread, ensuring it bakes evenly.
Step 2: Prepare the Loaf Pan
Grab a loaf pan and grease it lightly. You can also line it with parchment paper for easy removal later. It’s a small step, but it will make your life much easier when it’s time to slice and serve.
Step 3: Mash the Bananas
In a large mixing bowl, mash the ripe bananas well. You’ll want them smooth with minimal lumps. Using a fork or potato masher works like a charm. The more ripe your bananas, the sweeter the bread will be!
Step 4: Combine the Dry Ingredients
In another bowl, whisk together the chickpea flour, baking soda, salt, cinnamon, and ground flaxseed. This ensures that the baking soda is evenly distributed throughout the flour, which is crucial for a consistent rise.
Step 5: Mix in the Wet Ingredients
Add the coconut sugar, vanilla extract, and orange zest to the mashed bananas. Stir until combined. The flavor from the orange zest brightens the bread in a magical way.
Step 6: Blend Wet and Dry Ingredients
Slowly fold the dry mixture into the wet banana mixture. It’s important to mix gently. You want to combine them without overworking the batter. Overmixing can lead to dense bread.
Step 7: Add Walnuts
Once combined, gently stir in the toasted walnuts. These add not just flavor, but a nice texture that complements the softness of the bread.
Step 8: Pour Batter into the Loaf Pan
Transfer the batter to the prepared loaf pan, smoothing the top. Tap the pan lightly on the counter to release any air bubbles.
Step 9: Bake
Place the loaf pan in the preheated oven. Bake for 45-55 minutes, or until a toothpick inserted into the center comes out clean. Your kitchen should smell heavenly by now, and that’s always a good sign!
Step 10: Cool Down
Once baked, remove the pan from the oven and let the bread cool in the pan for about 10 minutes. Then carefully transfer it to a wire rack to cool completely. This will prevent it from becoming soggy.
Tips
- Use Extra-Ripe Bananas: The riper the bananas, the sweeter your bread will be. Don’t shy away from those spotted beauties!
- Check for Doneness: Ovens can vary. Start checking your bread a few minutes earlier than suggested.
- Store It Properly: To retain freshness, wrap the cooled bread in foil or plastic wrap. It can also be stored in an airtight container.
- Experiment with Mix-ins: Feel free to add in chocolate chips, seeds, or dried fruit to customize your banana bread.
- Top It Off: A touch of honey or a smear of nut butter on top can elevate your banana bread experience.
How to Store Leftovers?
If you have leftovers—though I doubt it will last long—store the banana bread at room temperature for up to 3 days. If you want to keep it longer, wrap it well and pop it in the freezer. It can last for up to 3 months. For best results, slice the bread before freezing so you can take out just what you need.
Nutrition Information
Here’s a brief look at the nutrition profile per slice (based on cutting it into 10 slices):
This summary showcases that chickpea flour banana bread is not only a tasty choice but also a nutritious one, offering good fiber and protein.

How Would I Recommend Serving Chickpea Flour Banana Bread Gluten Free?
Serving this banana bread can be a delightful experience. Here are some suggestions:
- With Yogurt: Serve slices with a dollop of Greek yogurt. It adds creaminess and a protein boost.
- Nut Butter Spread: Spread almond or peanut butter over warm slices for an indulgent treat. The combination is simply divine.
- With Fresh Fruit: Pair with slices of strawberries or peaches. The sweetness of the fruit complements the bread nicely.
- As Toast: Toast slices lightly and enjoy with a drizzle of honey or agave syrup. It elevates the flavor and texture wonderfully.
What Alternatives Can You Use for the Ingredients If Not Available?
If you find yourself short on some ingredients, worry not! Here are some swaps you can use:
- Chickpea Flour: If unavailable, you can use oat flour or almond flour. Each substitute will provide a unique twist on texture and flavor.
- Coconut Sugar: Brown sugar is a great alternative. Its deeper sweetness will work well and is commonly found in most pantries.
- Flaxseed: If flaxseed isn’t on hand, use an equal amount of chia seeds. Ground chia seeds can also serve as a healthy binder.
- Walnuts: Pecans or even sunflower seeds can replace walnuts. These alternatives will still provide the crunch without the same nutty flavor.

Equipment
- Oven
- Whisk
Ingredients
- 2 cups 500 mL well-mashed extra-ripe bananas
- 1 ¾ cups 210 g chickpea flour
- 1/3 cup 64 g unrefined coconut sugar
- 2 teaspoons 10 mL pure vanilla extract
- 2 teaspoons ground cinnamon powder
- 1 teaspoon baking soda powder
- ½ teaspoon fine sea salt
- 1/3 cup 35 g ground flaxseed
- 1 tablespoon chopped toasted walnuts
- 1 teaspoon freshly grated orange zest
Instructions
Step 1: Preheat the Oven
- First thing’s first: fire up your oven! Preheat it to 350°F (175°C). This step prepares the oven for the bread, ensuring it bakes evenly.
Step 2: Prepare the Loaf Pan
- Grab a loaf pan and grease it lightly. You can also line it with parchment paper for easy removal later. It’s a small step, but it will make your life much easier when it’s time to slice and serve.
Step 3: Mash the Bananas
- In a large mixing bowl, mash the ripe bananas well. You’ll want them smooth with minimal lumps. Using a fork or potato masher works like a charm. The more ripe your bananas, the sweeter the bread will be!
Step 4: Combine the Dry Ingredients
- In another bowl, whisk together the chickpea flour, baking soda, salt, cinnamon, and ground flaxseed. This ensures that the baking soda is evenly distributed throughout the flour, which is crucial for a consistent rise.
Step 5: Mix in the Wet Ingredients
- Add the coconut sugar, vanilla extract, and orange zest to the mashed bananas. Stir until combined. The flavor from the orange zest brightens the bread in a magical way.
Step 6: Blend Wet and Dry Ingredients
- Slowly fold the dry mixture into the wet banana mixture. It’s important to mix gently. You want to combine them without overworking the batter. Overmixing can lead to dense bread.
Step 7: Add Walnuts
- Once combined, gently stir in the toasted walnuts. These add not just flavor, but a nice texture that complements the softness of the bread.
Step 8: Pour Batter into the Loaf Pan
- Transfer the batter to the prepared loaf pan, smoothing the top. Tap the pan lightly on the counter to release any air bubbles.
Step 9: Bake
- Place the loaf pan in the preheated oven. Bake for 45-55 minutes, or until a toothpick inserted into the center comes out clean. Your kitchen should smell heavenly by now, and that’s always a good sign!
Step 10: Cool Down
- Once baked, remove the pan from the oven and let the bread cool in the pan for about 10 minutes. Then carefully transfer it to a wire rack to cool completely. This will prevent it from becoming soggy.
Notes
- Use Extra-Ripe Bananas: The riper the bananas, the sweeter your bread will be. Don’t shy away from those spotted beauties!
- Check for Doneness: Ovens can vary. Start checking your bread a few minutes earlier than suggested.
- Store It Properly: To retain freshness, wrap the cooled bread in foil or plastic wrap. It can also be stored in an airtight container.
- Experiment with Mix-ins: Feel free to add in chocolate chips, seeds, or dried fruit to customize your banana bread.
- Top It Off: A touch of honey or a smear of nut butter on top can elevate your banana bread experience.
Nutrition
Frequently Asked Questions
1. Can I make this bread vegan?
Absolutely! This recipe is naturally vegan as it does not use any animal products. The flaxseed acts as an egg substitute.
2. Can I add chocolate chips?
Yes! Adding dark chocolate chips can create an exciting twist. Just fold them in at the end, similar to the nuts.
3. Can I omit the orange zest?
If you’re not a fan of citrus, feel free to skip it. However, it does add a level of complexity to the flavor profile.
4. How can I use leftover banana bread?
Leftover bread can be turned into French toast. Just dip slices in a mixture of almond milk and cinnamon, then cook on a skillet. Delicious!
5. How do I know the bread is done baking?
A toothpick inserted into the center should come out clean or with a few crumbs attached. If it comes out wet, it needs more time.
6. What kitchen tools do I need?
You need a mixing bowl, whisk, loaf pan, and measuring cups/spoons. A spatula for mixing and a wire rack for cooling are also handy.
Conclusion
Chickpea flour banana bread is an innovative take on a family favorite. It’s gluten-free, nourishing, and packed with flavor. Whether you enjoy it plain, with toppings, or alongside a refreshing drink, it’s guaranteed to please your taste buds. Try it out for your next breakfast or snack, and I promise you’ll enjoy it as much as I do. Happy baking, and may your kitchen always be filled with delicious aromas!
You’ll also like these latest recipes!
- Lactation Energy Bites Recipe
- Homemade Orange Cranberry Sauce Naturally Sweetened
- How to make Green Smoothie

Rebecca Novak is a trained chef with over 10 years of experience in the food industry. She has worked in both fine dining and casual Hungarian restaurants and specializes in creating dishes using fresh, seasonal ingredients. She also loves exploring different cuisines worldwide, which allows her to bring unique flavors and ideas to the recipes she creates for Hungarianchef.com. Read more
