When autumn arrives, pumpkins take center stage in kitchens across the country. They appear in everything from lattes to pies, but at the heart of these dishes is the fantastic pumpkin puree.
Before diving into the nuts and bolts of making pumpkin puree at home, let me share a little secret: homemade pumpkin puree pairs beautifully with creamy soups, baked goods, or even as an addition to your morning oats. Let’s embark on this simple journey together.

You might be wondering why anyone would want to make pumpkin puree from scratch when so many options sit neatly in cans at the grocery store. I get it—convenience is key in a busy kitchen. However, once you taste homemade pumpkin puree, you’ll understand.
The flavor is unmatched, and the freshness can elevate your recipes to new heights. Plus, you get the satisfaction of creating something homemade from start to finish. I promise, this endeavor will be worth it.
What is Homemade Pumpkin Puree?
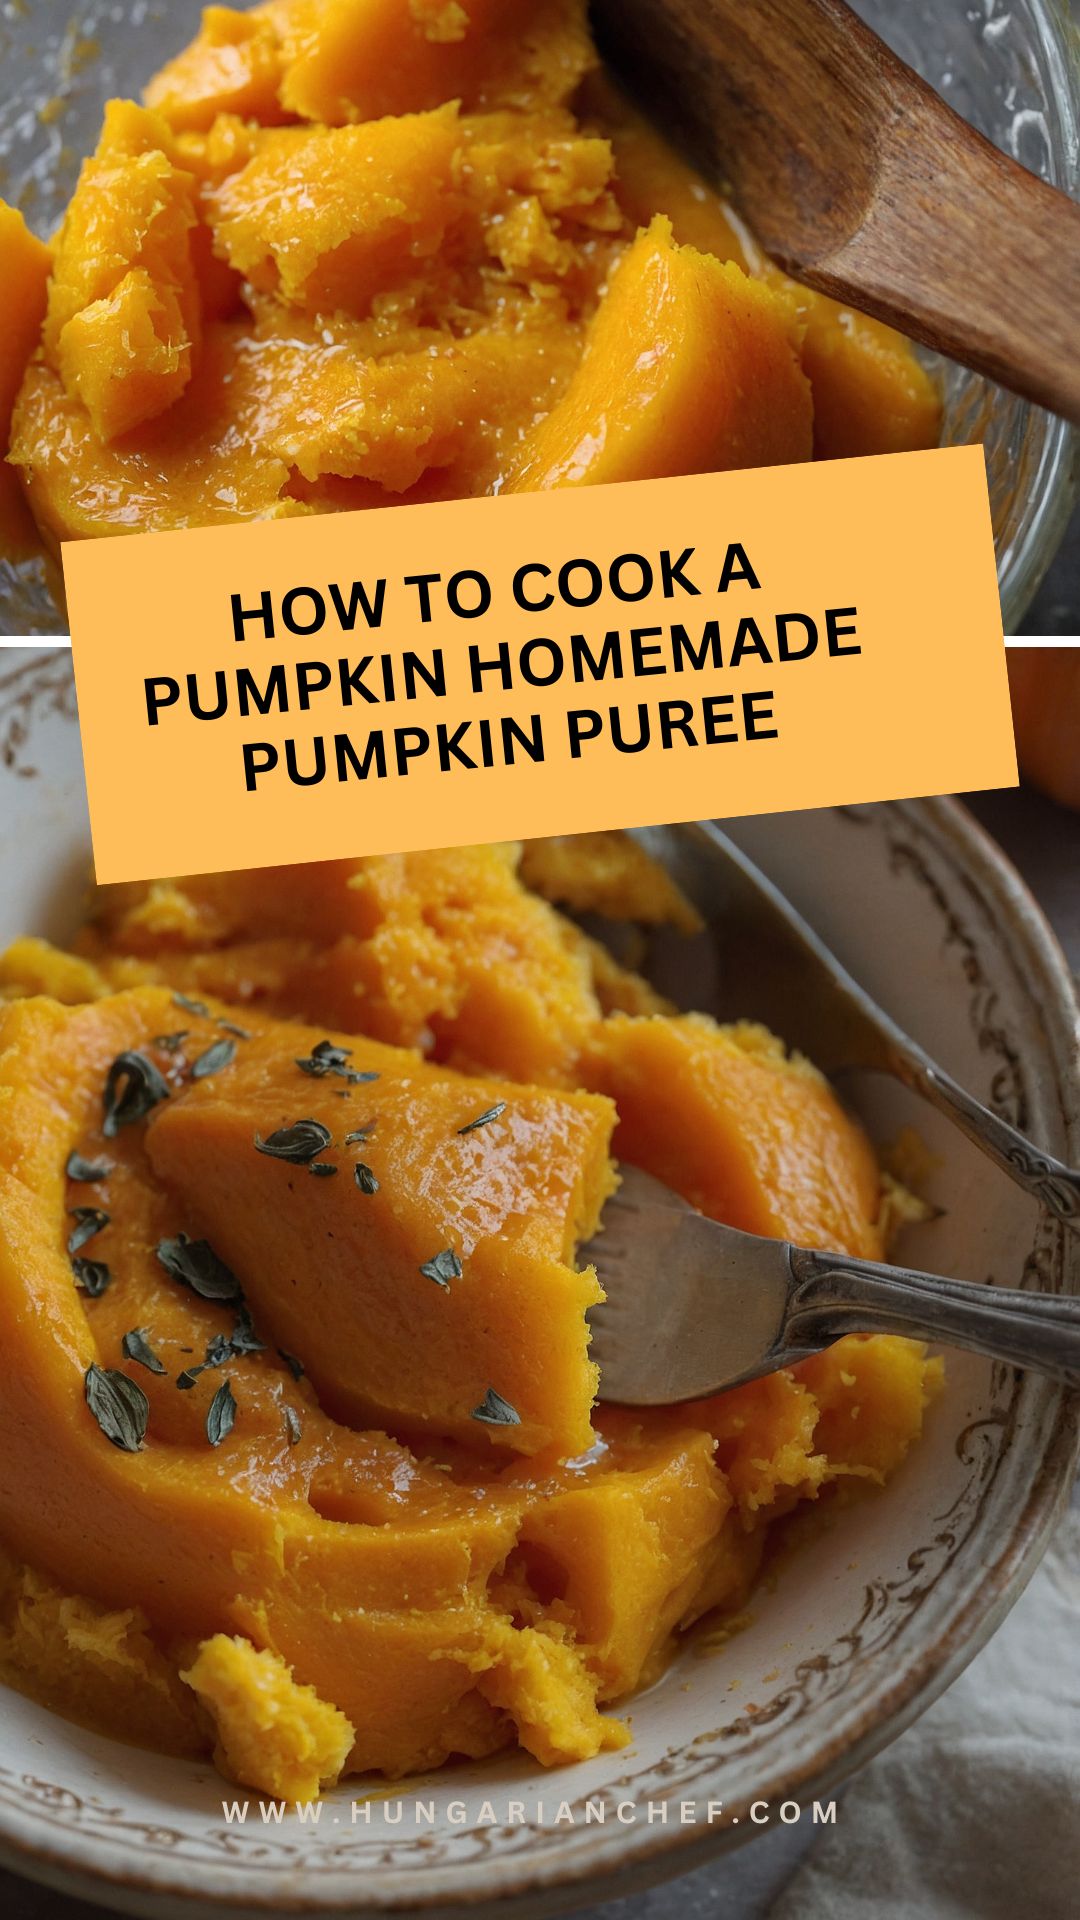
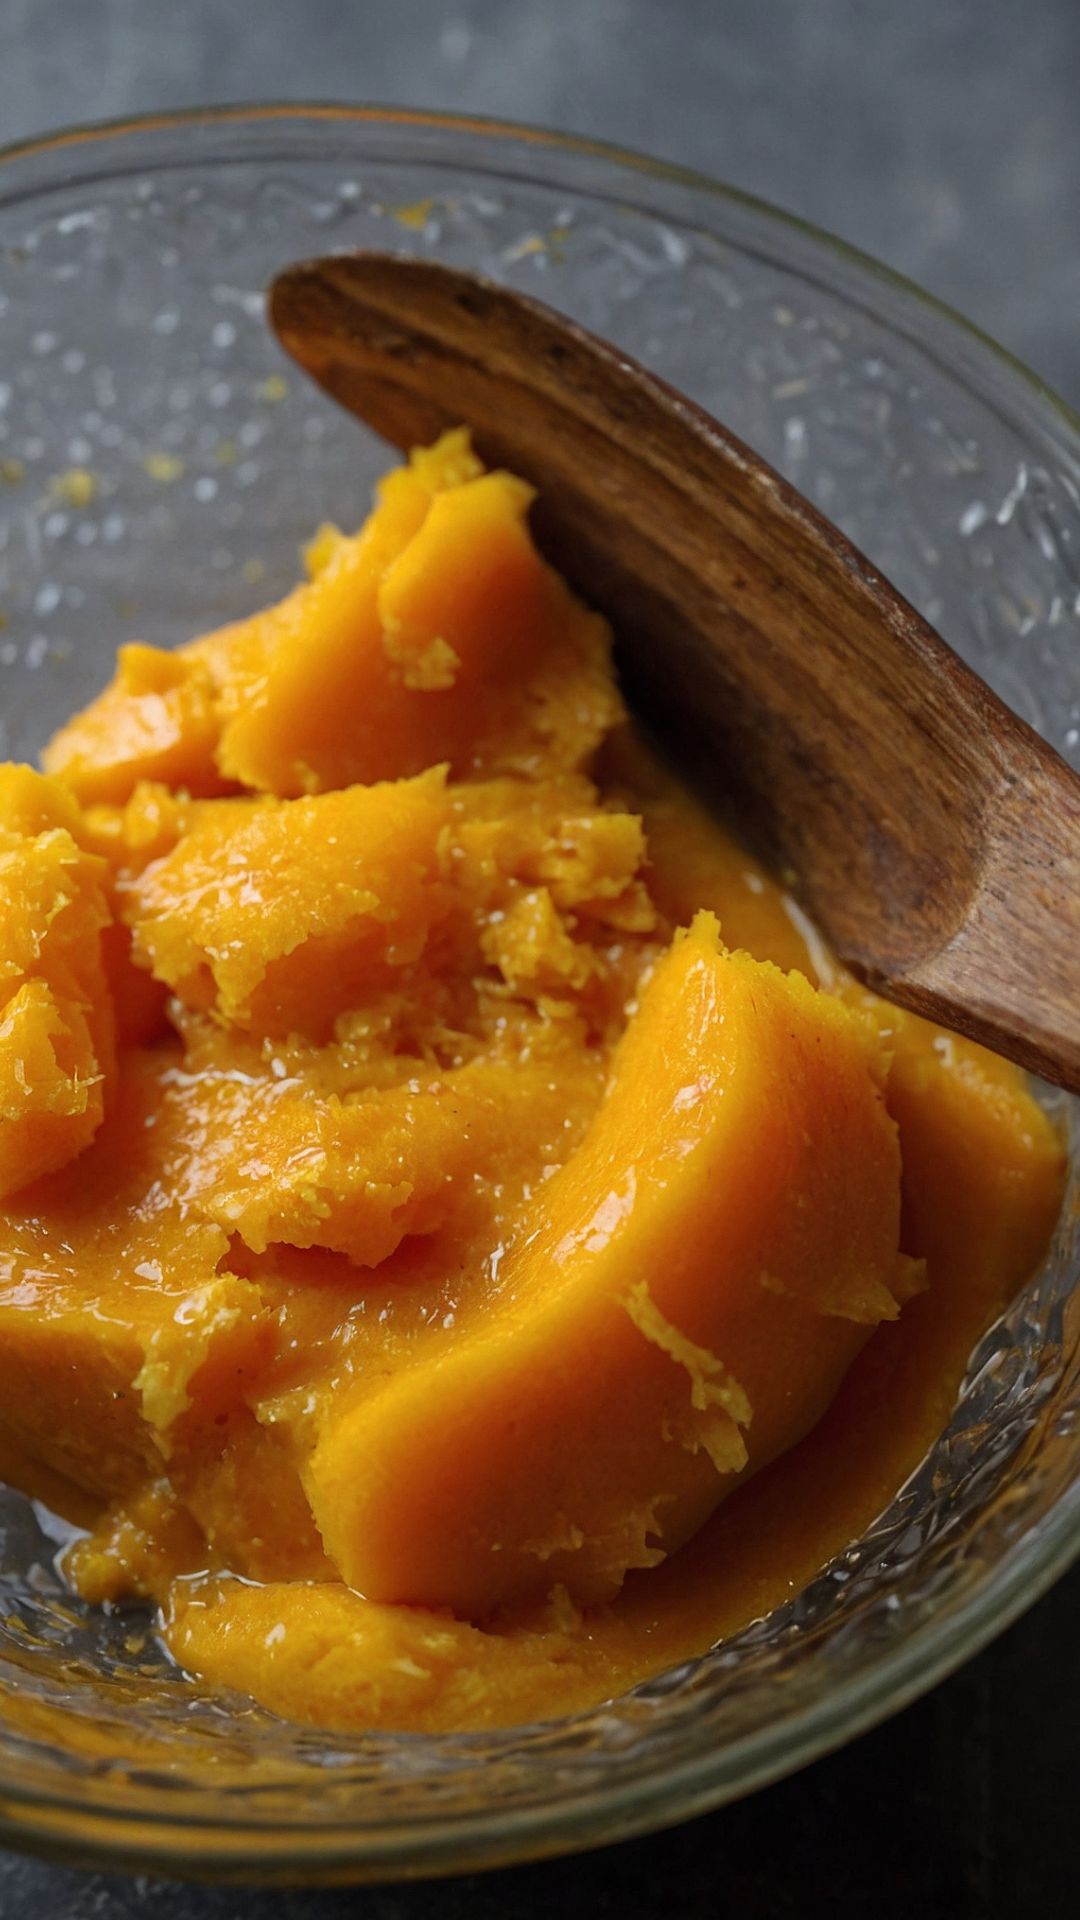
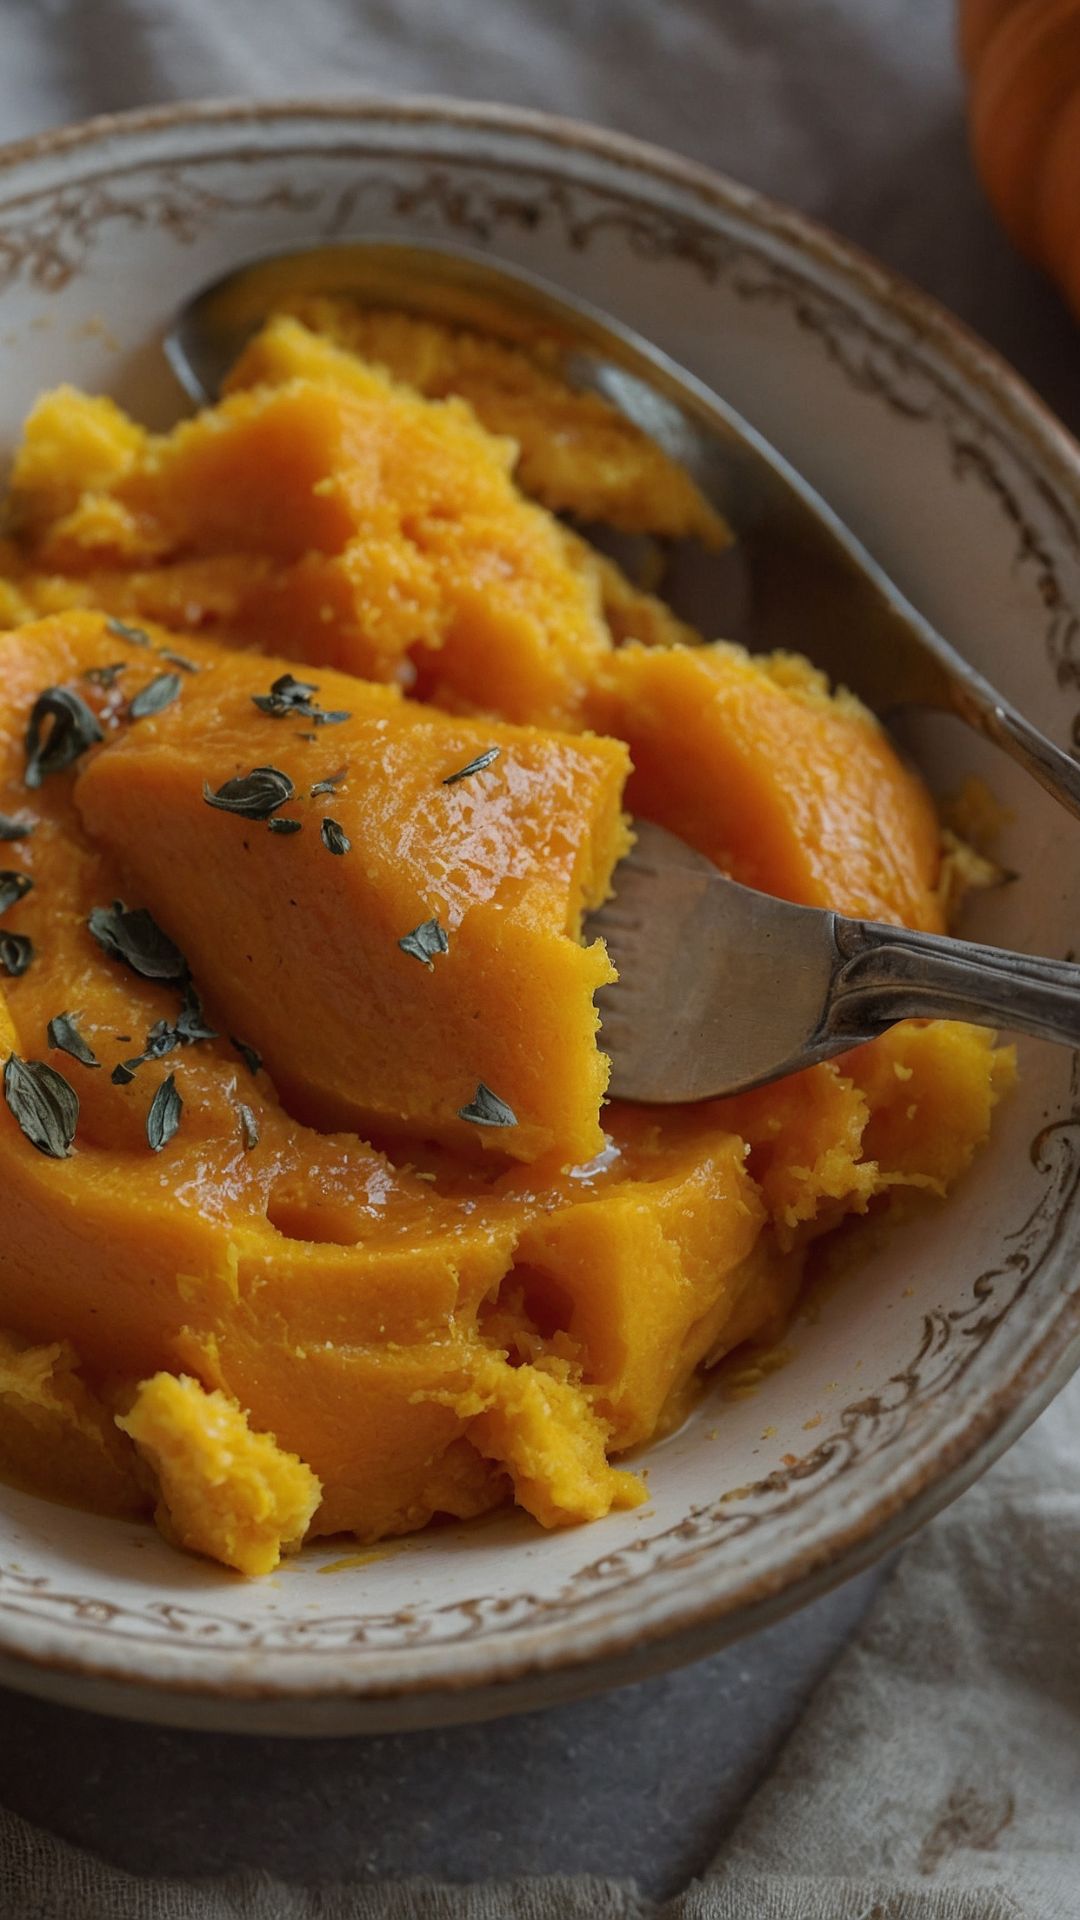
Homemade pumpkin puree is made by cooking and blending fresh pumpkins until smooth. It’s a versatile ingredient that enhances flavors in both sweet and savory dishes. Using fresh pumpkins not only gives you a richer taste but also opens up a world of culinary creativity. You’ll be able to control the texture and flavor better than when using canned puree.
What is the Flavor Profile of This Dish?
The flavor of pumpkin puree is subtly sweet, earthy, and slightly nutty. While many people think of desserts when they hear “pumpkin,” the profile is diverse enough to work in soups and savory dishes. Its neutral flavor allows it to absorb spices and seasonings, making it a fantastic base for many recipes.
A hint of cinnamon or nutmeg can turn your puree into a cozy fall delight.
You will also like the following Sauces recipes!
- Sweetgreen Balsamic Vinaigrette
- How to make Hoffman House Cocktail Sauce
- Copycat Healthy Greek Yogurt Ranch Dressing
What Makes This Recipe Different from Other Pumpkin Puree Recipes?
Many recipes focus on the benefits of canned pumpkin for its convenience, while others give endless instructions on making puree without touching on the key element: simplicity. My approach involves using two small sugar pie pumpkins—these are sweeter and more suitable for pies and other desserts than larger carving pumpkins, which can be stringy.
Plus, with just a few straightforward steps, you’ll have your fresh pumpkin puree ready to use in no time.
Ingredients You’ll Need
Here’s what you’ll need to get started:
- 2 small sugar pie pumpkins or 1 medium baking pumpkin: These are the stars of the show.
- 1 tablespoon neutral oil (like avocado or grapeseed oil): This is for roasting.
- 1/2 teaspoon ground cinnamon (optional): A warm flavor enhancer if desired.

Step-by-Step Directions
Now, let’s break it down step by step so you can confidently create your homemade pumpkin puree.
Step 1: Preheat Your Oven
First off, preheat your oven to 400°F (200°C). A hot oven will do wonders for caramelizing the natural sugars in the pumpkin, enhancing its flavor.
Step 2: Prepare the Pumpkins
Next, wash the pumpkins thoroughly. I like to use a vegetable brush for this. Once clean, slice them in half vertically. Be careful here—the pumpkin skin can be tough. A sharp knife and a little elbow grease will be your best friends.
Step 3: Scoop Out the Seeds
Grab a spoon and scoop out the seeds and stringy pulp from inside the pumpkins. You can save the seeds for roasting later; they make a fantastic snack!
Step 4: Oil the Cut Sides
Drizzle a tablespoon of neutral oil onto the inside of each pumpkin half. This will help in roasting and give a little extra moisture during the cooking process. If you’re feeling festive, sprinkle a pinch of cinnamon inside as well.
Step 5: Roast the Pumpkins
Place the pumpkin halves cut-side down on a baking sheet lined with parchment paper. Roast them in the oven for about 40 to 50 minutes. You’ll know they’re done when a fork easily pierces the skin and flesh.
Step 6: Let Them Cool
Once roasted, take them out of the oven and let the pumpkins cool for a bit. You don’t want to burn yourself while handling them, and a little cooling time makes them easier to handle.
Step 7: Blend to Perfection
When cool enough to touch, scoop the flesh out from the skin and place it into a blender or food processor. Blend until smooth. If the puree feels too thick, add a small amount of water or broth to achieve your desired consistency.
Step 8: Store Your Puree
Finally, transfer your pumpkin puree into an airtight container. Here’s where the fun starts; you can store it in the fridge for up to a week or freeze for later use in your favorite dishes.
Tips on Making Homemade Pumpkin Puree
Here are some useful tips to ensure success with your pumpkin puree:
Choose the Right Pumpkin: Look for sugar pie pumpkins, as they are sweeter and have a smoother texture than standard carving pumpkins.
Don’t Rush the Roasting: Ensure the pumpkins are fully soft by checking with a fork. This makes the blending easier.
Flavor it Up: Experiment with spices like nutmeg or ginger, especially if you’re planning to bake with it.
Storage is Key: If you freeze the puree, label it with the date. It’s great for making fall recipes year-round!
Batch Cooking: Prepare a larger batch and separate it into smaller containers. You’ll thank yourself come holiday baking season.
Nutrition Information
Pumpkin is not only delicious but also packed with nutrition. Here’s a breakdown per cup (245g) of pumpkin puree:
- Calories: 83
- Protein: 2 g
- Carbohydrates: 20 g
- Dietary Fiber: 7 g
- Fat: 0.5 g
- Vitamin A: Over 200% of the daily value
- Vitamin C: 20% of the daily value
You’re getting a lot of goodness for so few calories!
How Can I Store This Homemade Pumpkin Puree?
Storing homemade pumpkin puree properly is essential for preserving its flavor and texture. Here’s how:
Refrigerate: Keep your fresh puree in an airtight container in the fridge. It will last up to a week.
Freeze: For longer shelf life, pour the puree into freezer bags or containers and label them with the date. The puree can be stored this way for up to 3 months. Thaw it overnight in the fridge before use.

Substitute Options for Ingredients
You may not always have everything on hand, and that’s okay! Here are some great substitutes:
Pumpkins: Butternut squash can easily replace pumpkin in most recipes. It offers similar sweetness and flavor.
Neutral Oil: Coconut oil can add a subtle flavor. It works well in roasting but may solidify in the fridge.
Cinnamon: If you’re out of ground cinnamon, pumpkin pie spice works as a solid alternative. This mix often contains nutmeg and ginger, giving it a warm spice blend.
Fresh Pumpkin: In a pinch, you can also use canned pumpkin puree if you need to skip the roasting process, but be sure to check for 100% pumpkin in the ingredient list.

Equipment
- Oven
Ingredients
- 2 small sugar pie pumpkins or 1 medium baking pumpkin: These are the stars of the show.
- 1 tablespoon neutral oil like avocado or grapeseed oil: This is for roasting.
- 1/2 teaspoon ground cinnamon optional: A warm flavor enhancer if desired.
Instructions
Step 1: Preheat Your Oven
- First off, preheat your oven to 400°F (200°C). A hot oven will do wonders for caramelizing the natural sugars in the pumpkin, enhancing its flavor.
Step 2: Prepare the Pumpkins
- Next, wash the pumpkins thoroughly. I like to use a vegetable brush for this. Once clean, slice them in half vertically. Be careful here—the pumpkin skin can be tough. A sharp knife and a little elbow grease will be your best friends.
Step 3: Scoop Out the Seeds
- Grab a spoon and scoop out the seeds and stringy pulp from inside the pumpkins. You can save the seeds for roasting later; they make a fantastic snack!
Step 4: Oil the Cut Sides
- Drizzle a tablespoon of neutral oil onto the inside of each pumpkin half. This will help in roasting and give a little extra moisture during the cooking process. If you’re feeling festive, sprinkle a pinch of cinnamon inside as well.
Step 5: Roast the Pumpkins
- Place the pumpkin halves cut-side down on a baking sheet lined with parchment paper. Roast them in the oven for about 40 to 50 minutes. You’ll know they’re done when a fork easily pierces the skin and flesh.
Step 6: Let Them Cool
- Once roasted, take them out of the oven and let the pumpkins cool for a bit. You don’t want to burn yourself while handling them, and a little cooling time makes them easier to handle.
Step 7: Blend to Perfection
- When cool enough to touch, scoop the flesh out from the skin and place it into a blender or food processor. Blend until smooth. If the puree feels too thick, add a small amount of water or broth to achieve your desired consistency.
Step 8: Store Your Puree
- Finally, transfer your pumpkin puree into an airtight container. Here’s where the fun starts; you can store it in the fridge for up to a week or freeze for later use in your favorite dishes.
Notes
- Choose the Right Pumpkin: Look for sugar pie pumpkins, as they are sweeter and have a smoother texture than standard carving pumpkins.
- Don’t Rush the Roasting: Ensure the pumpkins are fully soft by checking with a fork. This makes the blending easier.
- Flavor it Up: Experiment with spices like nutmeg or ginger, especially if you’re planning to bake with it.
- Storage is Key: If you freeze the puree, label it with the date. It’s great for making fall recipes year-round!
- Batch Cooking: Prepare a larger batch and separate it into smaller containers. You’ll thank yourself come holiday baking season.
Nutrition
Frequently Asked Questions
1. Can I use a regular pumpkin for puree?
Absolutely, but sugar pie pumpkins are preferred due to their sweeter taste and smoother texture. Regular carving pumpkins are often watery and less flavorful.
2. How do I know when the pumpkins are done roasting?
They’re ready when a fork slides easily into the flesh. Aim for tender, soft pumpkin without any resistance.
3. Is homemade pumpkin puree better than canned?
Many prefer homemade for its freshness and richer flavor. However, quality canned pumpkin can be quite good, so choose what best fits your cooking style.
4. Can I use this puree in savory dishes?
Definitely! Pumpkin puree adds creaminess and is excellent in soups, salads, or pasta sauces.
5. How can I tell if my pumpkin puree has gone bad?
If it develops an off smell, changes in texture, or shows signs of mold, it’s best to discard it. Trust your senses—they’re usually right.
Conclusion
Making homemade pumpkin puree is a simple task that can dramatically enhance your dishes. You’ll enjoy the vibrant taste that only fresh pumpkins can offer. Whether you use it in a comforting soup or a delectable pie, you can take pride in knowing it’s made from scratch. So grab those pumpkins, turn on the oven, and let the fall flavors fill your kitchen. Happy cooking!
You’ll also like these latest recipes!

Rebecca Novak is a trained chef with over 10 years of experience in the food industry. She has worked in both fine dining and casual Hungarian restaurants and specializes in creating dishes using fresh, seasonal ingredients. She also loves exploring different cuisines worldwide, which allows her to bring unique flavors and ideas to the recipes she creates for Hungarianchef.com. Read more
