Servings: 4 Cups
Calories: 83kcal
Equipment
- Oven
Ingredients
- 2 small sugar pie pumpkins or 1 medium baking pumpkin: These are the stars of the show.
- 1 tablespoon neutral oil like avocado or grapeseed oil: This is for roasting.
- 1/2 teaspoon ground cinnamon optional: A warm flavor enhancer if desired.
Instructions
Step 1: Preheat Your Oven
- First off, preheat your oven to 400°F (200°C). A hot oven will do wonders for caramelizing the natural sugars in the pumpkin, enhancing its flavor.
Step 2: Prepare the Pumpkins
- Next, wash the pumpkins thoroughly. I like to use a vegetable brush for this. Once clean, slice them in half vertically. Be careful here—the pumpkin skin can be tough. A sharp knife and a little elbow grease will be your best friends.
Step 3: Scoop Out the Seeds
- Grab a spoon and scoop out the seeds and stringy pulp from inside the pumpkins. You can save the seeds for roasting later; they make a fantastic snack!
Step 4: Oil the Cut Sides
- Drizzle a tablespoon of neutral oil onto the inside of each pumpkin half. This will help in roasting and give a little extra moisture during the cooking process. If you’re feeling festive, sprinkle a pinch of cinnamon inside as well.
Step 5: Roast the Pumpkins
- Place the pumpkin halves cut-side down on a baking sheet lined with parchment paper. Roast them in the oven for about 40 to 50 minutes. You’ll know they’re done when a fork easily pierces the skin and flesh.
Step 6: Let Them Cool
- Once roasted, take them out of the oven and let the pumpkins cool for a bit. You don’t want to burn yourself while handling them, and a little cooling time makes them easier to handle.
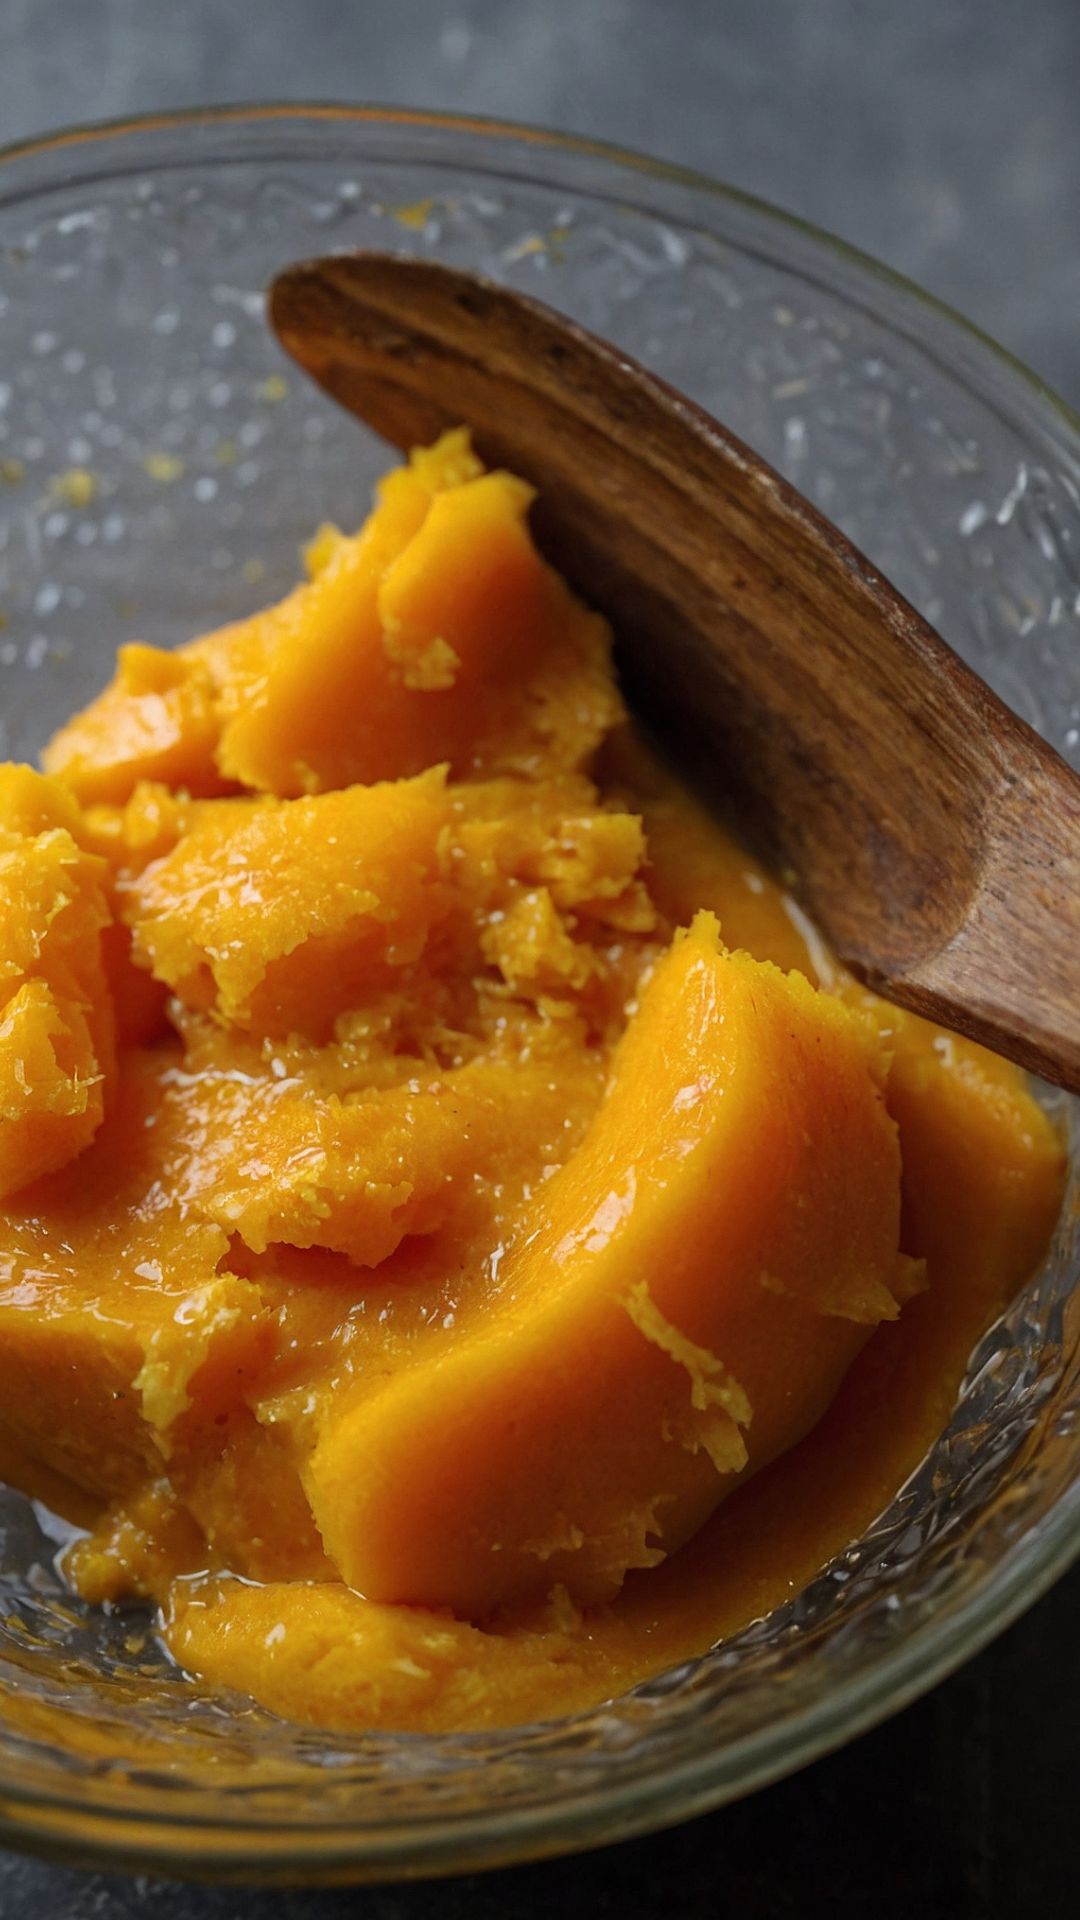
Step 7: Blend to Perfection
- When cool enough to touch, scoop the flesh out from the skin and place it into a blender or food processor. Blend until smooth. If the puree feels too thick, add a small amount of water or broth to achieve your desired consistency.
Step 8: Store Your Puree
- Finally, transfer your pumpkin puree into an airtight container. Here’s where the fun starts; you can store it in the fridge for up to a week or freeze for later use in your favorite dishes.
Notes
- Choose the Right Pumpkin: Look for sugar pie pumpkins, as they are sweeter and have a smoother texture than standard carving pumpkins.
- Don’t Rush the Roasting: Ensure the pumpkins are fully soft by checking with a fork. This makes the blending easier.
- Flavor it Up: Experiment with spices like nutmeg or ginger, especially if you're planning to bake with it.
- Storage is Key: If you freeze the puree, label it with the date. It’s great for making fall recipes year-round!
- Batch Cooking: Prepare a larger batch and separate it into smaller containers. You’ll thank yourself come holiday baking season.
Nutrition
Calories: 83kcal | Carbohydrates: 20g | Protein: 2g | Fat: 0.5g | Fiber: 7g
Tried this recipe?Let us know how it was!