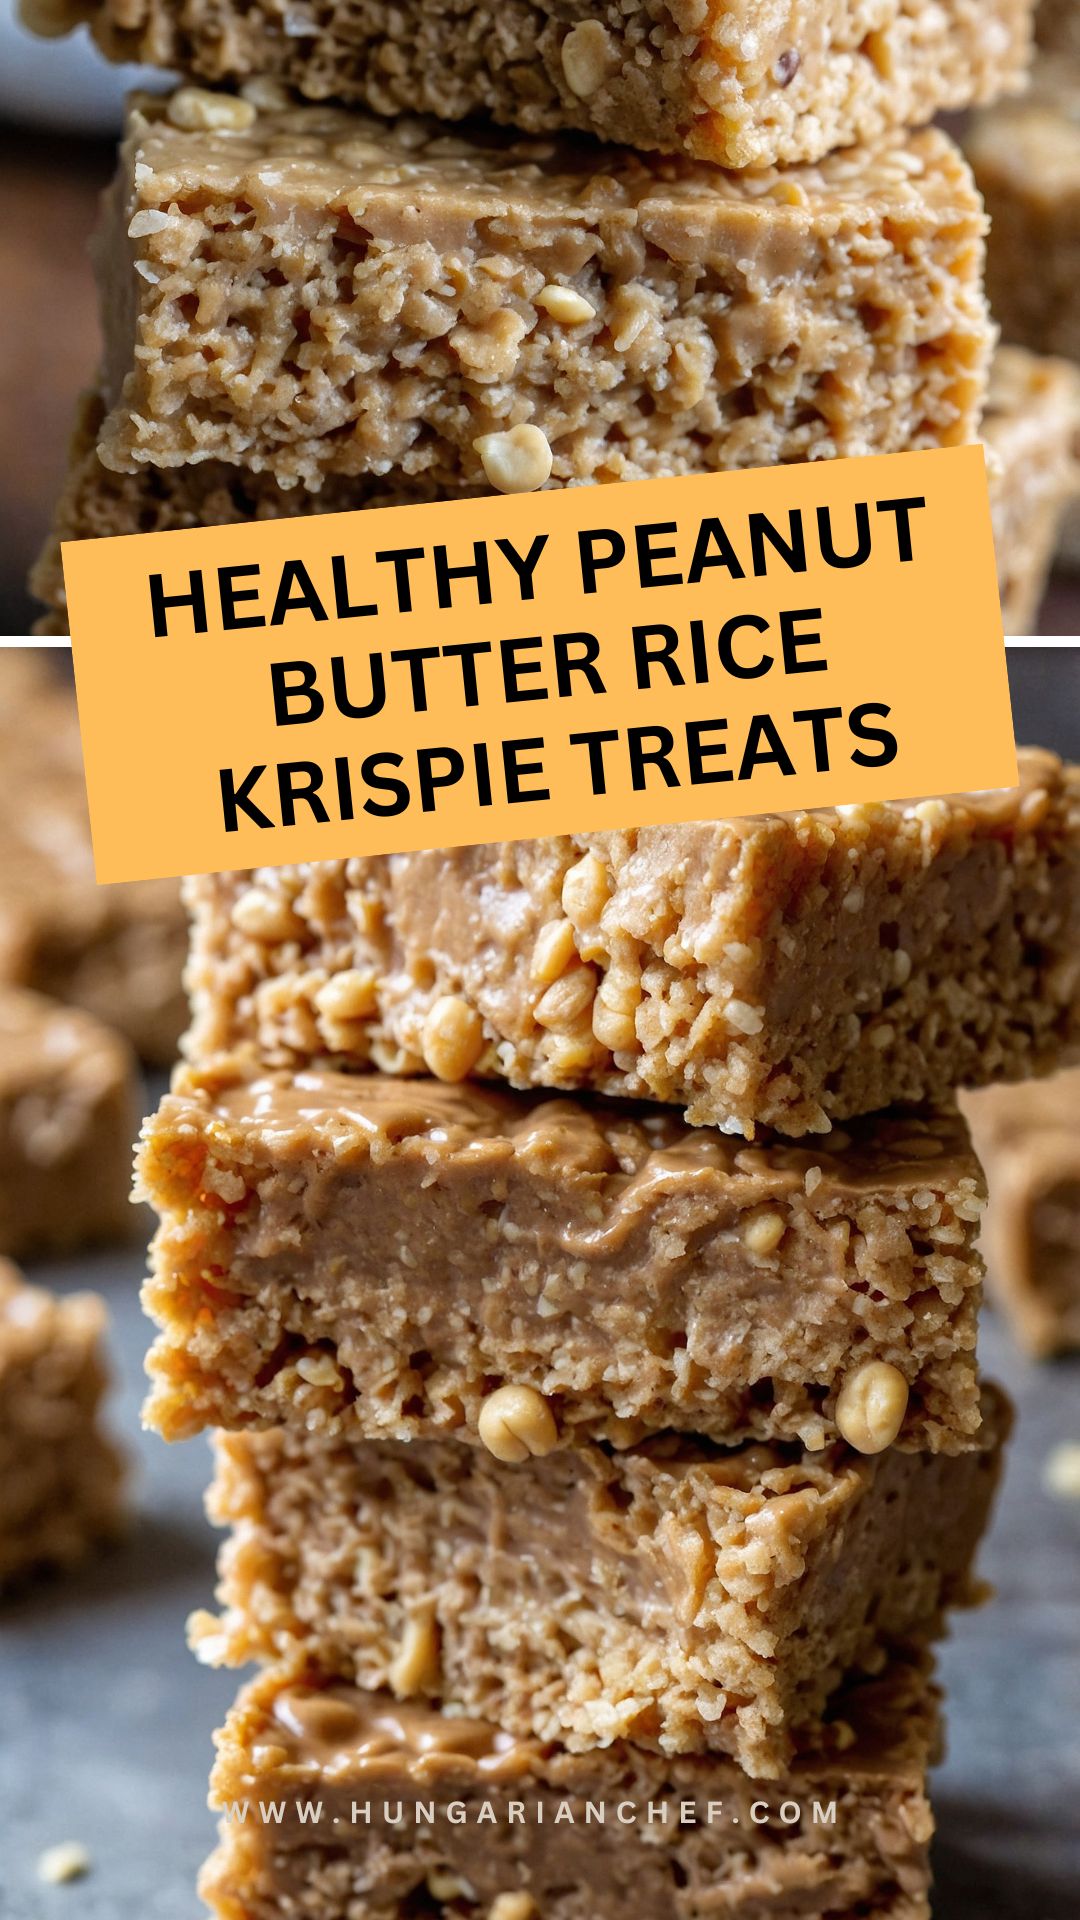
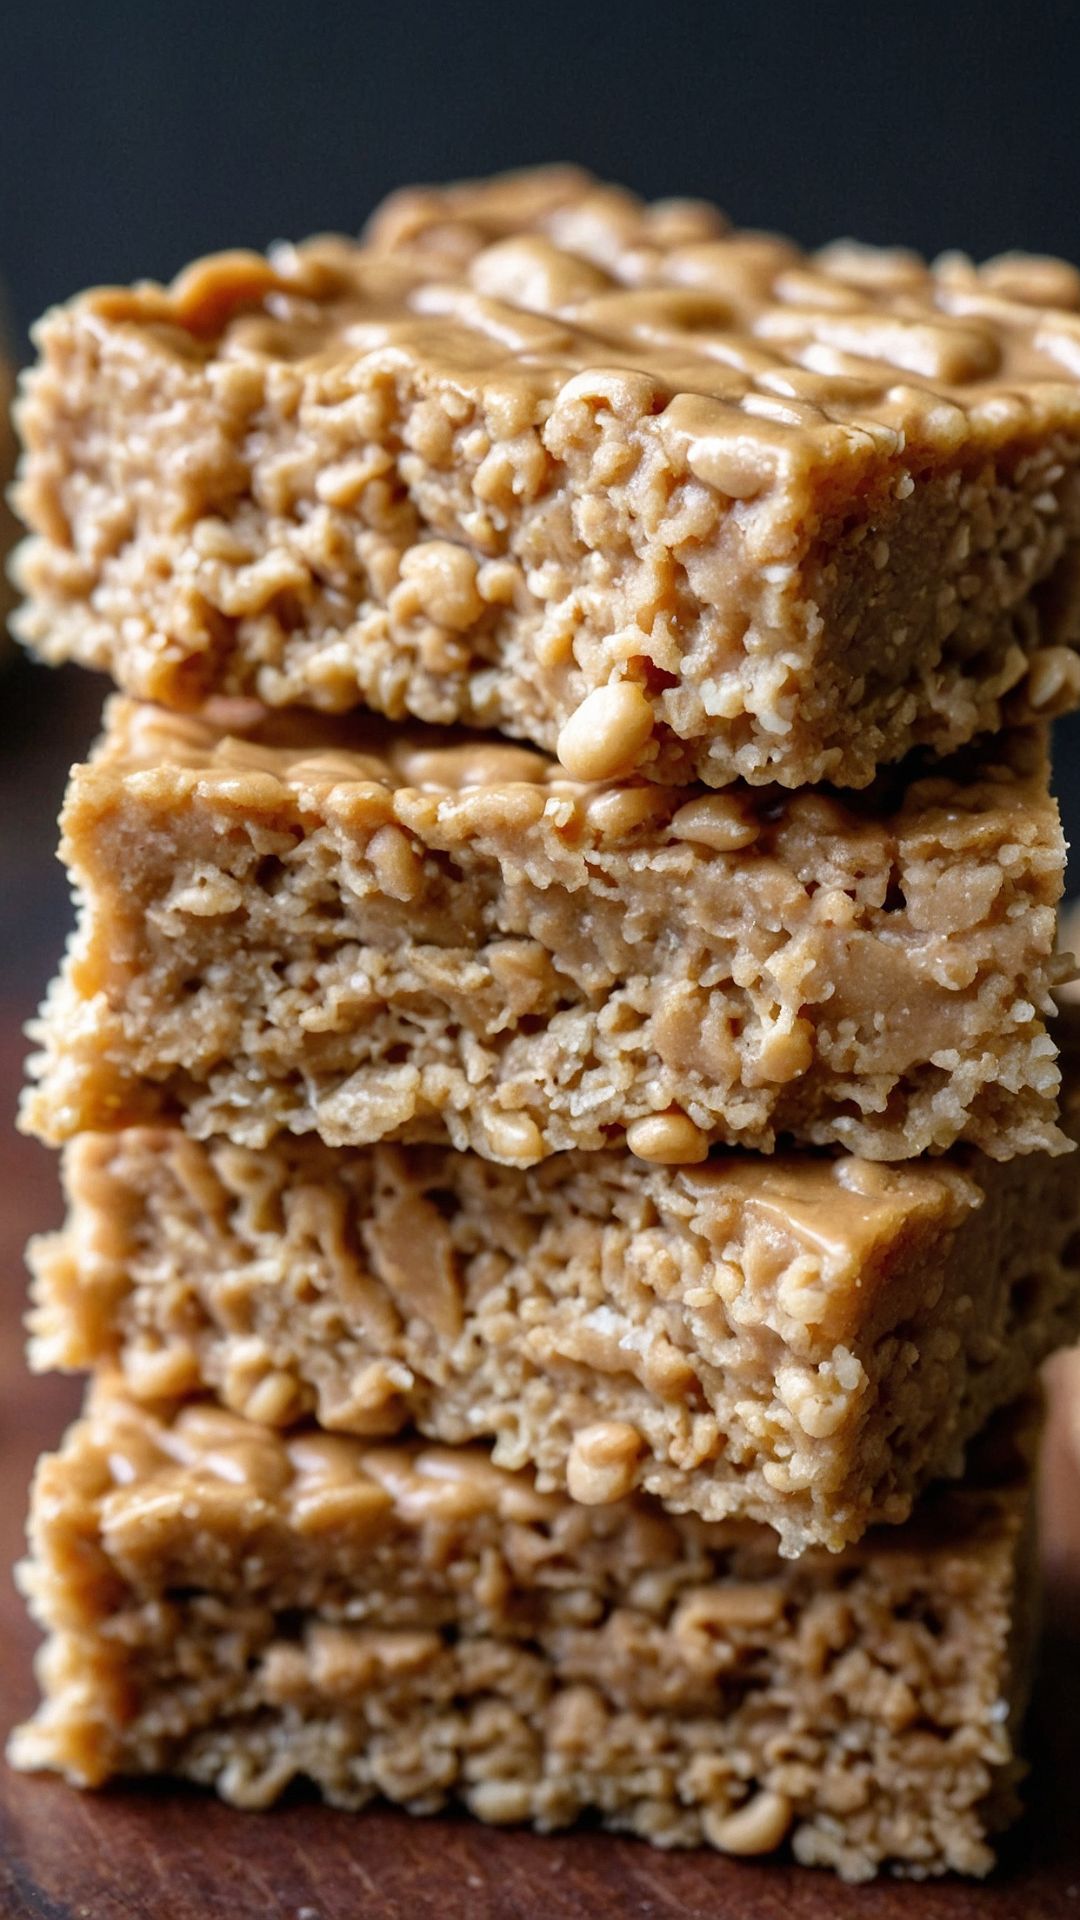
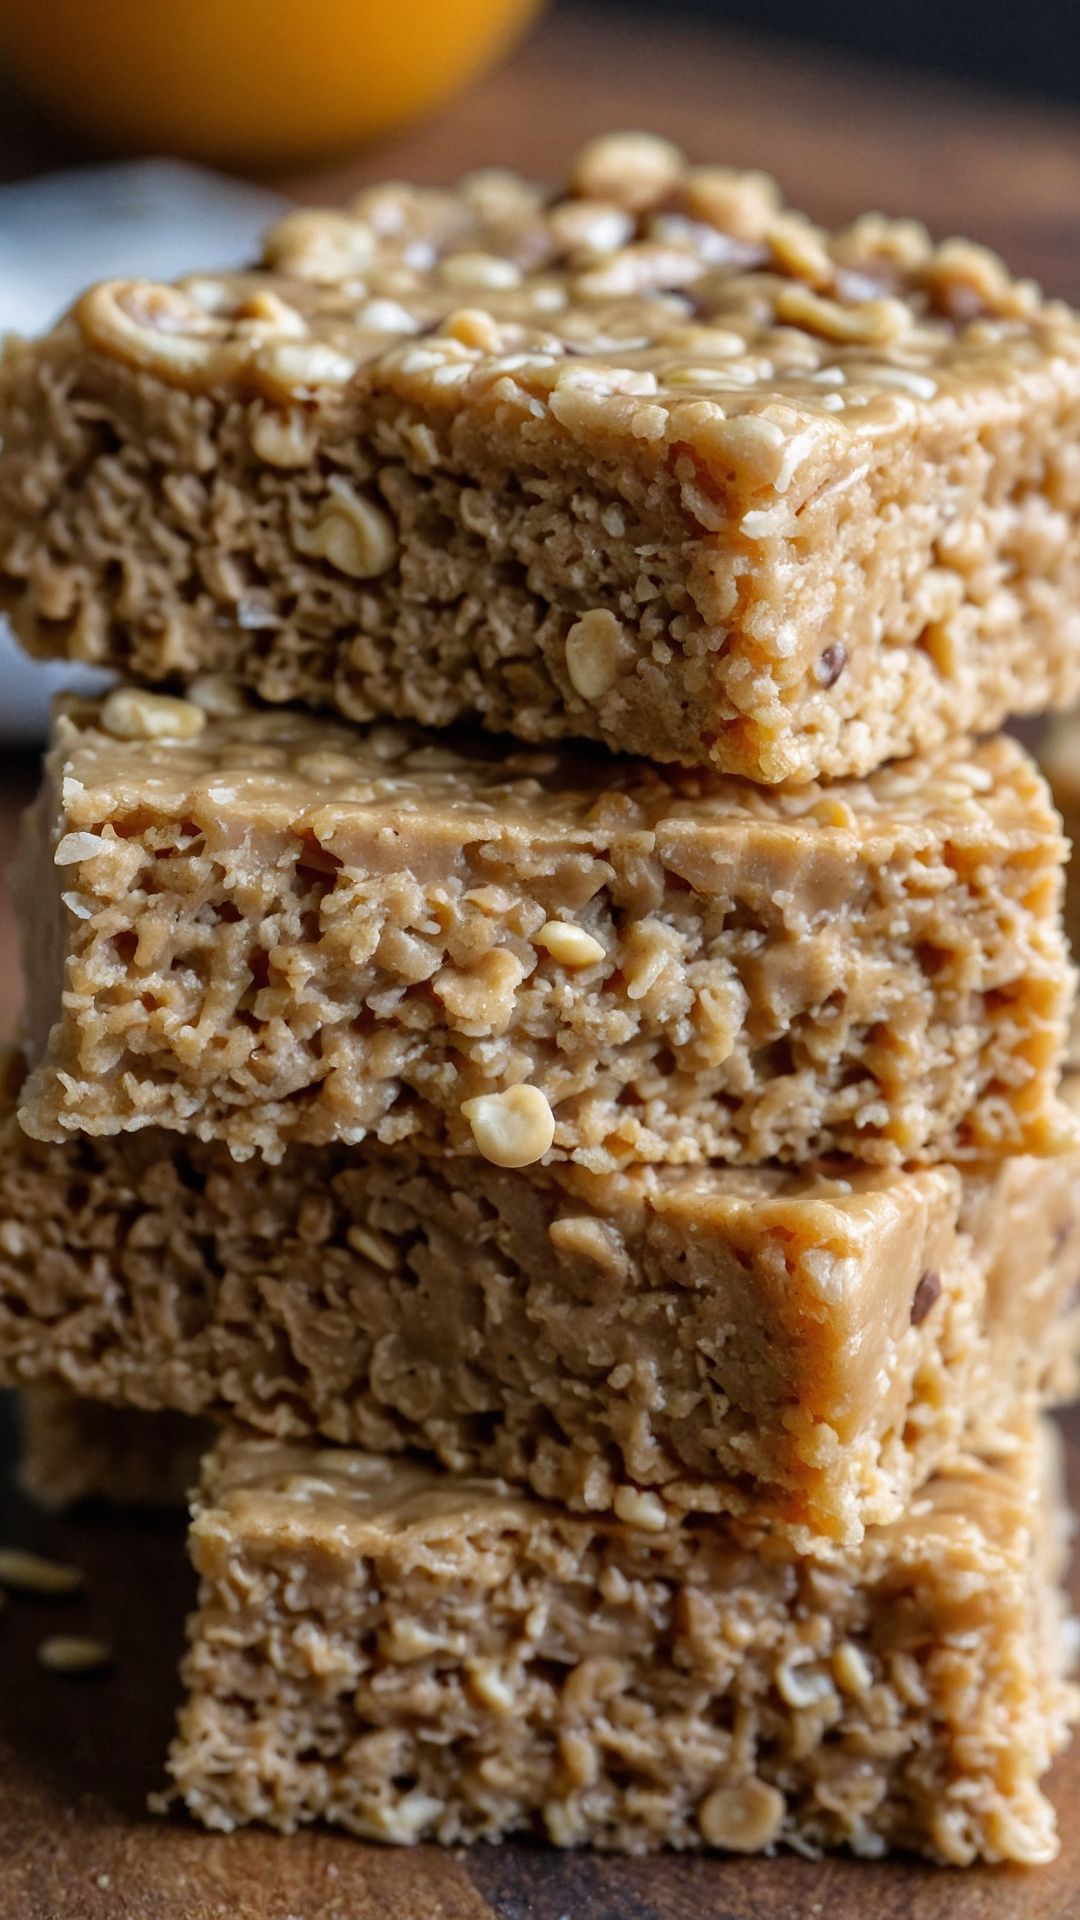
Healthy Peanut Butter Rice Krispie Treats make an excellent snack or dessert, but if you’re looking to elevate the experience, consider pairings that complement their flavors and textures.
A simple glass of almond or oat milk can provide a creamy contrast, helping to balance the nuttiness of the peanut butter. If you’re feeling adventurous, try a dollop of Greek yogurt laced with honey. This combination not only adds creaminess but also an extra boost of protein.
For a crunchy contrast, fresh fruit like apple slices or banana rounds work brilliantly. The natural sweetness of the fruit enhances the flavors of the treats.
For something a bit more indulgent, a scoop of vanilla or chocolate ice cream could turn your rice krispie treasures into a mini sundae. Trust me, an ice cream sandwich made with these treats will become your new favorite dessert!

When I first stumbled upon the idea of Healthy Peanut Butter Rice Krispie Treats, I thought, “Why not give this classic treat a nutritious twist?”
As a registered dietitian and food enthusiast, I’m always on the lookout for recipes that satisfy cravings without sacrificing health. These treats are a delightful blend of creamy peanut butter, crispy rice cereal, and a touch of nature’s sweetness from maple syrup.
Unlike the traditional version packed with marshmallows and refined sugars, this healthier adaptation retains that nostalgic crunch while delivering superior nutrition.
Ideal for busy weeknights or as a quick grab-and-go snack, let me take you through the creation of this healthy confection that will not only tantalize your taste buds but also fuel your body.
What is Healthy Peanut Butter Rice Krispie Treats?
At its core, Healthy Peanut Butter Rice Krispie Treats are a simple, no-bake dessert that swaps out the standard sugary marshmallows for wholesome ingredients.
This recipe focuses on natural peanut butter, brown rice cereal, plant-based oils, and maple syrup. Chia seeds add a boost of omega-3 fatty acids and fiber without compromising flavor.
The result is a chewy yet crunchy treat that appeals to both kids and adults. Many of us grew up enjoying these sweet bites, but this recipe brings a health-conscious twist to a beloved classic—making it guilt-free and delicious!
You will also like the following Dessert recipes!
- My Grandmas Healthy Bran Muffins
- Best Cinnamon Rolls In The World Recipe
- Cottage Cheese Banana Oatmeal Protein Pancakes
What Makes This Recipe Different From Other Healthy Peanut Butter Rice Krispie Treats?
You may wonder, “What sets my recipe apart from the other healthy versions floating around in cyberspace?” It all boils down to the combination of ingredients. While other recipes may still lean heavily on sweeteners or artificial flavors, this one focuses on simplicity and quality.
Natural Sweetness: Instead of traditional sugar-laden sweeteners, I’ve opted for pure maple nectar. It brings a unique flavor profile along with a lower glycemic index, meaning less of a sugar rush!
Healthy Fats: Coconut oil and natural peanut butter provide healthy fats that satisfy cravings—without the added junk.
Added Nutrients: Incorporating chia seeds and collagen peptides boosts the protein content while adding important nutrients. Collagen peptides are known for their benefits for skin, hair, and joints, making this treat a health win, not just a sweet one.
Low Processing: This recipe involves minimal processing so you know exactly what goes into every bite. No hidden ingredients or preservatives—just pure, wholesome goodness!
How Does It Taste?
The taste? Imagine biting into a soft, chewy bite of peanut butter bliss mixed with the welcoming crunch of crispy cereal. There’s just enough maple sweetness to make your taste buds dance without overwhelming your senses.
The hint of cinnamon adds warmth, imbuing the treats with a cozy, homey vibe—perfectly reminiscent of childhood treats yet decidedly grown-up. Each bite carries the satisfying nutty flavor of peanut butter, while the optional chocolate topping offers a decadent finish.
Finish it off with a light sprinkle of flaky sea salt, and you’ll find this healthy treat gives you the comfort of a classic without the guilt.
Ingredients You’ll Need to Make This Dish
For the treats:
2 ½ to 3 cups toasted crispy brown rice cereal
¾ cup natural smooth peanut butter
1 teaspoon pure vanilla essence
1 tablespoon chia seeds
⅓ cup pure maple nectar
½ cup Vital Proteins Collagen Peptides
2 tablespoons extra virgin coconut oil
A pinch of fine sea salt
1 teaspoon ground cinnamon
For the chocolate topping:
3 ½ oz 85% dark cacao chocolate bar, chopped
To garnish:
Flaky sea salt, lightly sprinkled on top

Step-by-Step Instructions
Step 1: Prepare Your Baking Dish
Start by greasing an 8×8 inch baking dish with coconut oil. This will prevent your treats from sticking. You can also line it with parchment paper for easier removal later—trust me on this one!
Step 2: Melt the Peanut Butter Mixture
In a medium saucepan, add the natural peanut butter and coconut oil. Place it over low heat. Stir until melted and well combined. This step should take about 2-3 minutes. The goal is to create a smooth mixture that holds everything together.
Step 3: Add the Sweeteners and Flavorings
Once your peanut butter and coconut oil are melted and mixed well, remove the pan from heat. Then, whisk in the pure maple nectar, vanilla essence, cinnamon, and chia seeds. Combine thoroughly. The mixture should have a consistent, creamy texture.
Step 4: Combine with Rice Cereal
In a large mixing bowl, measure out the brown rice cereal. Carefully pour the peanut butter mixture over the cereal. Using a spatula, gently fold the mixture together until the cereal is evenly coated. Be thorough here—no one wants a dry treat!
Step 5: Add Collagen Peptides
Before you proceed, add the Vital Proteins Collagen Peptides. Mix it in until fully integrated. This ingredient helps boost the protein content and makes your treats a bit more filling.
Step 6: Press Into the Baking Dish
Transfer the mixture to your prepared baking dish. Use a spatula or your hands (wet them if you have to!) to press the mixture evenly into the dish. Ensure it’s tightly packed for sturdy treats.
Step 7: Melt the Chocolate Topping
In a microwave-safe bowl, add the chopped dark cacao chocolate. Heat in short bursts of 20 seconds, stirring in between until the entire bowl is melted and smooth. Pour the melted chocolate over the pressed rice treat mixture. Use a spatula to spread it out evenly.
Step 8: Chill and Set
Refrigerate your dish for at least an hour to allow the chocolate to set and the treats to firm up. This is the hardest part—you’ll be tempted to taste before they are ready!
Step 9: Garnish
Once set, remove the block of treats from the pan. Cut them into squares or rectangles—whatever shapes you desire! Lightly sprinkle a pinch of flaky sea salt on top for an added flavor kick.
Step 10: Store or Serve
You can either serve right away or store in an airtight container in the fridge. They’ll keep for about a week, but I doubt they’ll last that long!
Tips & Tricks for Making Healthy Peanut Butter Rice Krispie Treats
Chill Your Hands: When pressing the mixture into the roasting pan, slightly wet your hands or use baking gloves to prevent the mixture from sticking to your fingers.
Use Real Peanut Butter: Make sure to choose a peanut butter that contains just peanuts and possibly salt. Steer clear of varieties with added sugars or oils.
Experiment with Sweetness: Taste your peanut butter mixture before pressing it down. Depending on your preference, you might want to add a splash more maple nectar or cinnamon for extra flavor.
Customize with Add-Ins: Feel free to mix in extras like mini chocolate chips, dried fruit, or nuts to amp up the flavor and texture.
Storage Options: If you want to keep them fresher longer, freeze the treats! They make an excellent quick treat for later.
Nutrition Information
Healthy Peanut Butter Rice Krispie Treats Nutrition Facts
How Do I Store This Dish?
To store the Healthy Peanut Butter Rice Krispie Treats:
- Room Temperature: They can be kept at room temperature for a day. Always ensure the container is airtight to maintain freshness.
- Refrigerator: Store in the fridge if you plan on keeping them longer. They will stay fresh for up to one week.
- Freezer: For longer storage, freeze them! Place them in a freezer-safe container separated by parchment paper. They can last up to three months in the freezer. When you’re ready to enjoy, just let them thaw out at room temperature.

What Other Substitutes Can You Use in Healthy Peanut Butter Rice Krispie Treats?
Nut Butters: Almond butter or cashew butter can replace peanut butter for different flavors and textures. Choose a nut butter that you enjoy!
Sweeteners: Replace maple syrup with honey or agave nectar if desired. Just note that honey is not vegan.
Seeds: Instead of chia seeds, try flax seeds. They offer similar nutritional benefits and can be a great substitute in texture and taste.
Cereal Options: Use puffed quinoa or oat cereal instead of rice cereal for a change. This can add a different crunch and nutritional profile.
Dairy-Free Topping: Switch out dark chocolate for cacao nibs or dairy-free chocolate chips to make it completely dairy-free.

Equipment
- Baking dish
Ingredients
For the treats:
- 2 ½ to 3 cups toasted crispy brown rice cereal
- ¾ cup natural smooth peanut butter
- 1 teaspoon pure vanilla essence
- 1 tablespoon chia seeds
- ⅓ cup pure maple nectar
- ½ cup Vital Proteins Collagen Peptides
- 2 tablespoons extra virgin coconut oil
- A pinch of fine sea salt
- 1 teaspoon ground cinnamon
For the chocolate topping:
- 3 ½ oz 85% dark cacao chocolate bar chopped
To garnish:
- Flaky sea salt lightly sprinkled on top
Instructions
Step 1: Prepare Your Baking Dish
- Start by greasing an 8×8 inch baking dish with coconut oil. This will prevent your treats from sticking. You can also line it with parchment paper for easier removal later—trust me on this one!
Step 2: Melt the Peanut Butter Mixture
- In a medium saucepan, add the natural peanut butter and coconut oil. Place it over low heat. Stir until melted and well combined. This step should take about 2-3 minutes. The goal is to create a smooth mixture that holds everything together.
Step 3: Add the Sweeteners and Flavorings
- Once your peanut butter and coconut oil are melted and mixed well, remove the pan from heat. Then, whisk in the pure maple nectar, vanilla essence, cinnamon, and chia seeds. Combine thoroughly. The mixture should have a consistent, creamy texture.
Step 4: Combine with Rice Cereal
- In a large mixing bowl, measure out the brown rice cereal. Carefully pour the peanut butter mixture over the cereal. Using a spatula, gently fold the mixture together until the cereal is evenly coated. Be thorough here—no one wants a dry treat!
Step 5: Add Collagen Peptides
- Before you proceed, add the Vital Proteins Collagen Peptides. Mix it in until fully integrated. This ingredient helps boost the protein content and makes your treats a bit more filling.
Step 6: Press Into the Baking Dish
- Transfer the mixture to your prepared baking dish. Use a spatula or your hands (wet them if you have to!) to press the mixture evenly into the dish. Ensure it’s tightly packed for sturdy treats.
Step 7: Melt the Chocolate Topping
- In a microwave-safe bowl, add the chopped dark cacao chocolate. Heat in short bursts of 20 seconds, stirring in between until the entire bowl is melted and smooth. Pour the melted chocolate over the pressed rice treat mixture. Use a spatula to spread it out evenly.
Step 8: Chill and Set
- Refrigerate your dish for at least an hour to allow the chocolate to set and the treats to firm up. This is the hardest part—you’ll be tempted to taste before they are ready!
Step 9: Garnish
- Once set, remove the block of treats from the pan. Cut them into squares or rectangles—whatever shapes you desire! Lightly sprinkle a pinch of flaky sea salt on top for an added flavor kick.
Step 10: Store or Serve
- You can either serve right away or store in an airtight container in the fridge. They’ll keep for about a week, but I doubt they’ll last that long!
Notes
- Chill Your Hands: When pressing the mixture into the roasting pan, slightly wet your hands or use baking gloves to prevent the mixture from sticking to your fingers.
- Use Real Peanut Butter: Make sure to choose a peanut butter that contains just peanuts and possibly salt. Steer clear of varieties with added sugars or oils.
- Experiment with Sweetness: Taste your peanut butter mixture before pressing it down. Depending on your preference, you might want to add a splash more maple nectar or cinnamon for extra flavor.
- Customize with Add-Ins: Feel free to mix in extras like mini chocolate chips, dried fruit, or nuts to amp up the flavor and texture.
- Storage Options: If you want to keep them fresher longer, freeze the treats! They make an excellent quick treat for later.
Nutrition
Frequently Asked Questions
1. Can I make these peanut butter rice krispie treats vegan?
Absolutely! Using maple syrup instead of honey makes these treats fully vegan. Ensure your peanut butter and dark chocolate are also vegan-friendly.
2. Can I add protein powder?
Yes! You can replace the collagen peptides with your favorite protein powder. This will maintain the protein content, just adjust the other sugars to balance the flavor.
3. Are these treats suitable for kids?
Definitely! They’re not only safe for kids but also offer a healthier snack packed with nutrients. My two kids adore them, and they’re a hit at snack time!
4. Can I use other types of chocolate?
Sure! Feel free to experiment with milk chocolate or even white chocolate—just remember that this may change the nutritional profile. Dark chocolate generally offers more health benefits.
5. What if I don’t have chia seeds?
If chia seeds aren’t available, flax seeds are an excellent substitute. You could also omit them altogether, although you’ll miss out on the added fiber and nutrients.
Conclusion
Healthy Peanut Butter Rice Krispie Treats are an easy-to-make, delicious, and wholesome treat everyone can enjoy.
They combine the joy of a classic dessert with the benefits of health-conscious ingredients. Whether you’re snacking on them, bringing them to a gathering, or packing them in lunchboxes, they are sure to impress.
So why not whip up a batch? Soon, these delightful squares may become your go-to snack for every occasion. Trust me; you won’t regret it!
You’ll also like these latest recipes!

Rebecca Novak is a trained chef with over 10 years of experience in the food industry. She has worked in both fine dining and casual Hungarian restaurants and specializes in creating dishes using fresh, seasonal ingredients. She also loves exploring different cuisines worldwide, which allows her to bring unique flavors and ideas to the recipes she creates for Hungarianchef.com. Read more
