Servings: 16
Calories: 176kcal
Equipment
- Baking dish
Ingredients
For the treats:
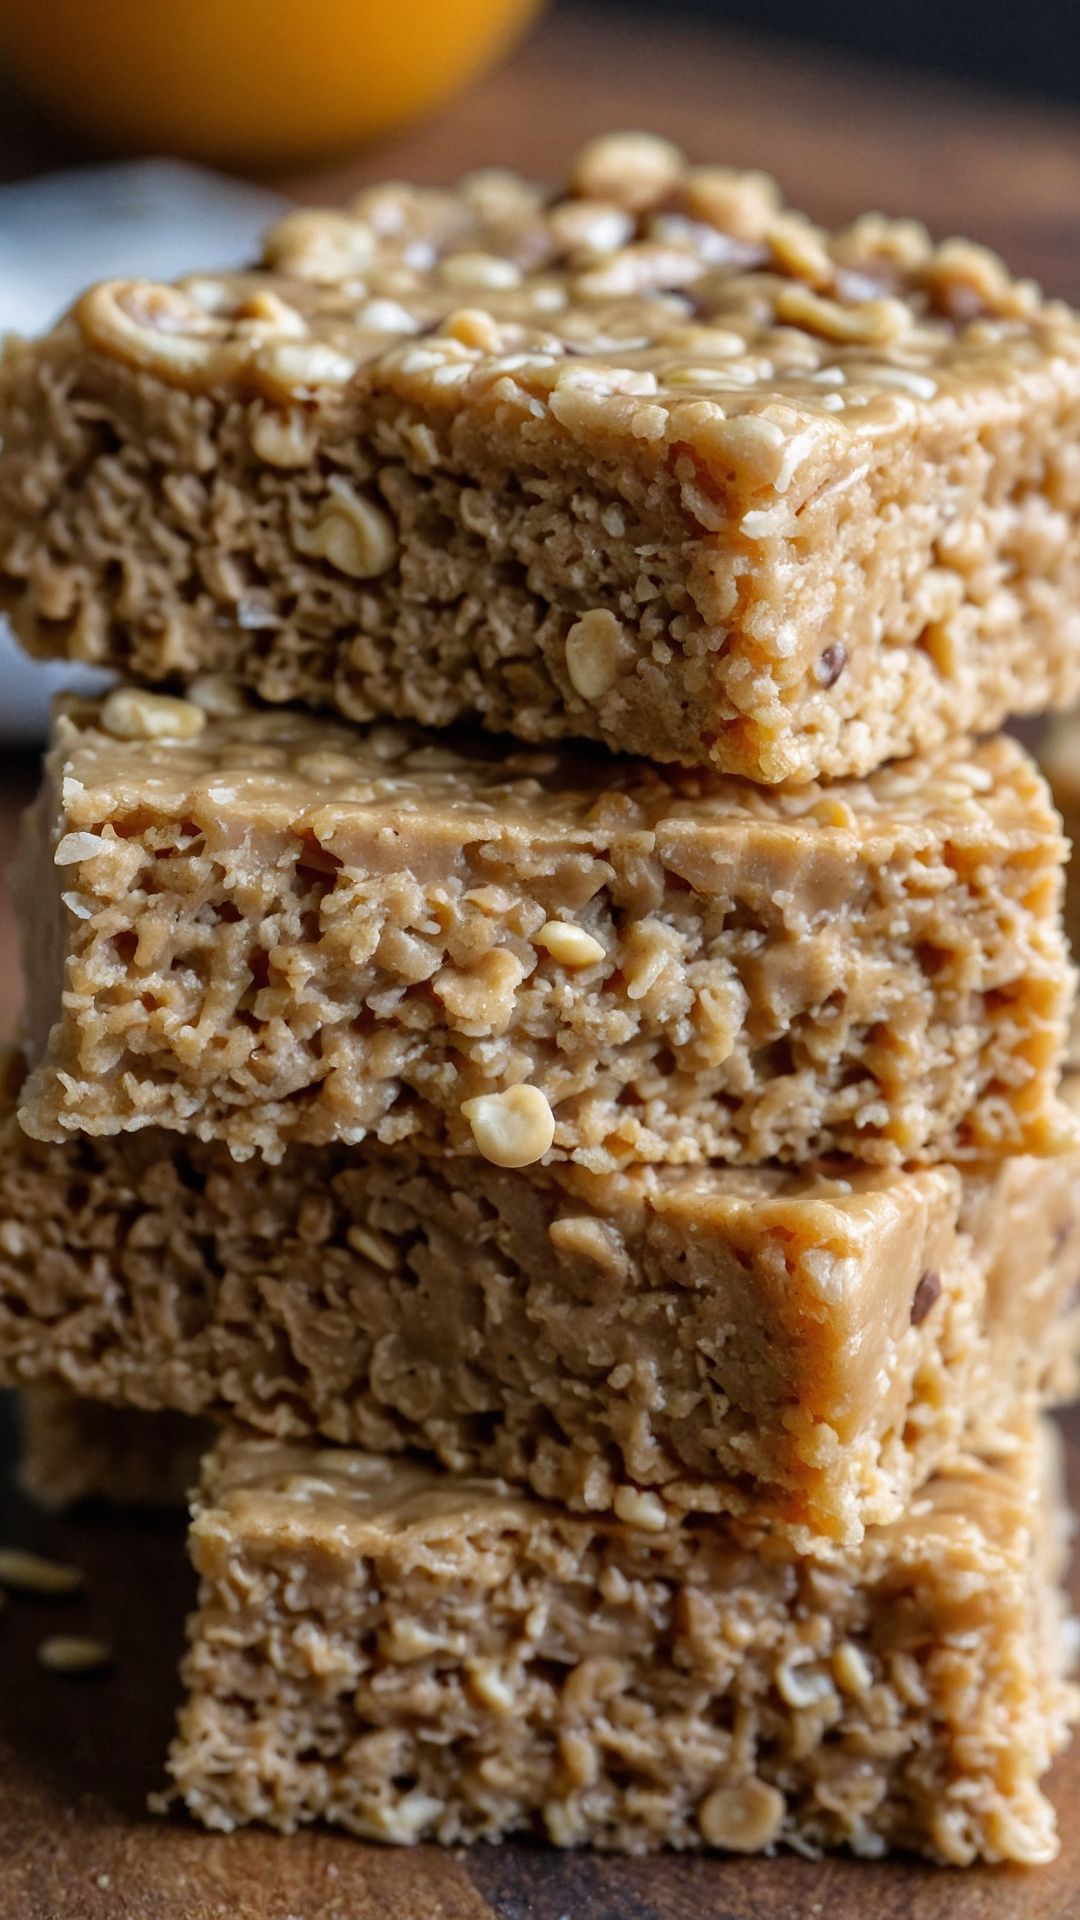
- 2 ½ to 3 cups toasted crispy brown rice cereal
- ¾ cup natural smooth peanut butter
- 1 teaspoon pure vanilla essence
- 1 tablespoon chia seeds
- ⅓ cup pure maple nectar
- ½ cup Vital Proteins Collagen Peptides
- 2 tablespoons extra virgin coconut oil
- A pinch of fine sea salt
- 1 teaspoon ground cinnamon
For the chocolate topping:
- 3 ½ oz 85% dark cacao chocolate bar chopped
To garnish:
- Flaky sea salt lightly sprinkled on top
Instructions
Step 1: Prepare Your Baking Dish
- Start by greasing an 8x8 inch baking dish with coconut oil. This will prevent your treats from sticking. You can also line it with parchment paper for easier removal later—trust me on this one!
Step 2: Melt the Peanut Butter Mixture
- In a medium saucepan, add the natural peanut butter and coconut oil. Place it over low heat. Stir until melted and well combined. This step should take about 2-3 minutes. The goal is to create a smooth mixture that holds everything together.
Step 3: Add the Sweeteners and Flavorings
- Once your peanut butter and coconut oil are melted and mixed well, remove the pan from heat. Then, whisk in the pure maple nectar, vanilla essence, cinnamon, and chia seeds. Combine thoroughly. The mixture should have a consistent, creamy texture.
Step 4: Combine with Rice Cereal
- In a large mixing bowl, measure out the brown rice cereal. Carefully pour the peanut butter mixture over the cereal. Using a spatula, gently fold the mixture together until the cereal is evenly coated. Be thorough here—no one wants a dry treat!
Step 5: Add Collagen Peptides
- Before you proceed, add the Vital Proteins Collagen Peptides. Mix it in until fully integrated. This ingredient helps boost the protein content and makes your treats a bit more filling.
Step 6: Press Into the Baking Dish
- Transfer the mixture to your prepared baking dish. Use a spatula or your hands (wet them if you have to!) to press the mixture evenly into the dish. Ensure it's tightly packed for sturdy treats.
Step 7: Melt the Chocolate Topping
- In a microwave-safe bowl, add the chopped dark cacao chocolate. Heat in short bursts of 20 seconds, stirring in between until the entire bowl is melted and smooth. Pour the melted chocolate over the pressed rice treat mixture. Use a spatula to spread it out evenly.
Step 8: Chill and Set
- Refrigerate your dish for at least an hour to allow the chocolate to set and the treats to firm up. This is the hardest part—you'll be tempted to taste before they are ready!
Step 9: Garnish
- Once set, remove the block of treats from the pan. Cut them into squares or rectangles—whatever shapes you desire! Lightly sprinkle a pinch of flaky sea salt on top for an added flavor kick.
Step 10: Store or Serve
- You can either serve right away or store in an airtight container in the fridge. They’ll keep for about a week, but I doubt they’ll last that long!
Notes
- Chill Your Hands: When pressing the mixture into the roasting pan, slightly wet your hands or use baking gloves to prevent the mixture from sticking to your fingers.
- Use Real Peanut Butter: Make sure to choose a peanut butter that contains just peanuts and possibly salt. Steer clear of varieties with added sugars or oils.
- Experiment with Sweetness: Taste your peanut butter mixture before pressing it down. Depending on your preference, you might want to add a splash more maple nectar or cinnamon for extra flavor.
- Customize with Add-Ins: Feel free to mix in extras like mini chocolate chips, dried fruit, or nuts to amp up the flavor and texture.
- Storage Options: If you want to keep them fresher longer, freeze the treats! They make an excellent quick treat for later.
Nutrition
Serving: 35g | Calories: 176kcal | Carbohydrates: 17g | Protein: 5g | Fat: 9.6g | Saturated Fat: 2.8g | Sodium: 120mg | Fiber: 2g | Sugar: 8g
Tried this recipe?Let us know how it was!