Imagine a lazy Sunday morning. The sun spills through the curtains, warming the kitchen. You hear the soft click of the waffle maker, releasing delicious scents. Grandma’s buttermilk waffles are the centerpiece. But what to serve with this classic comfort?
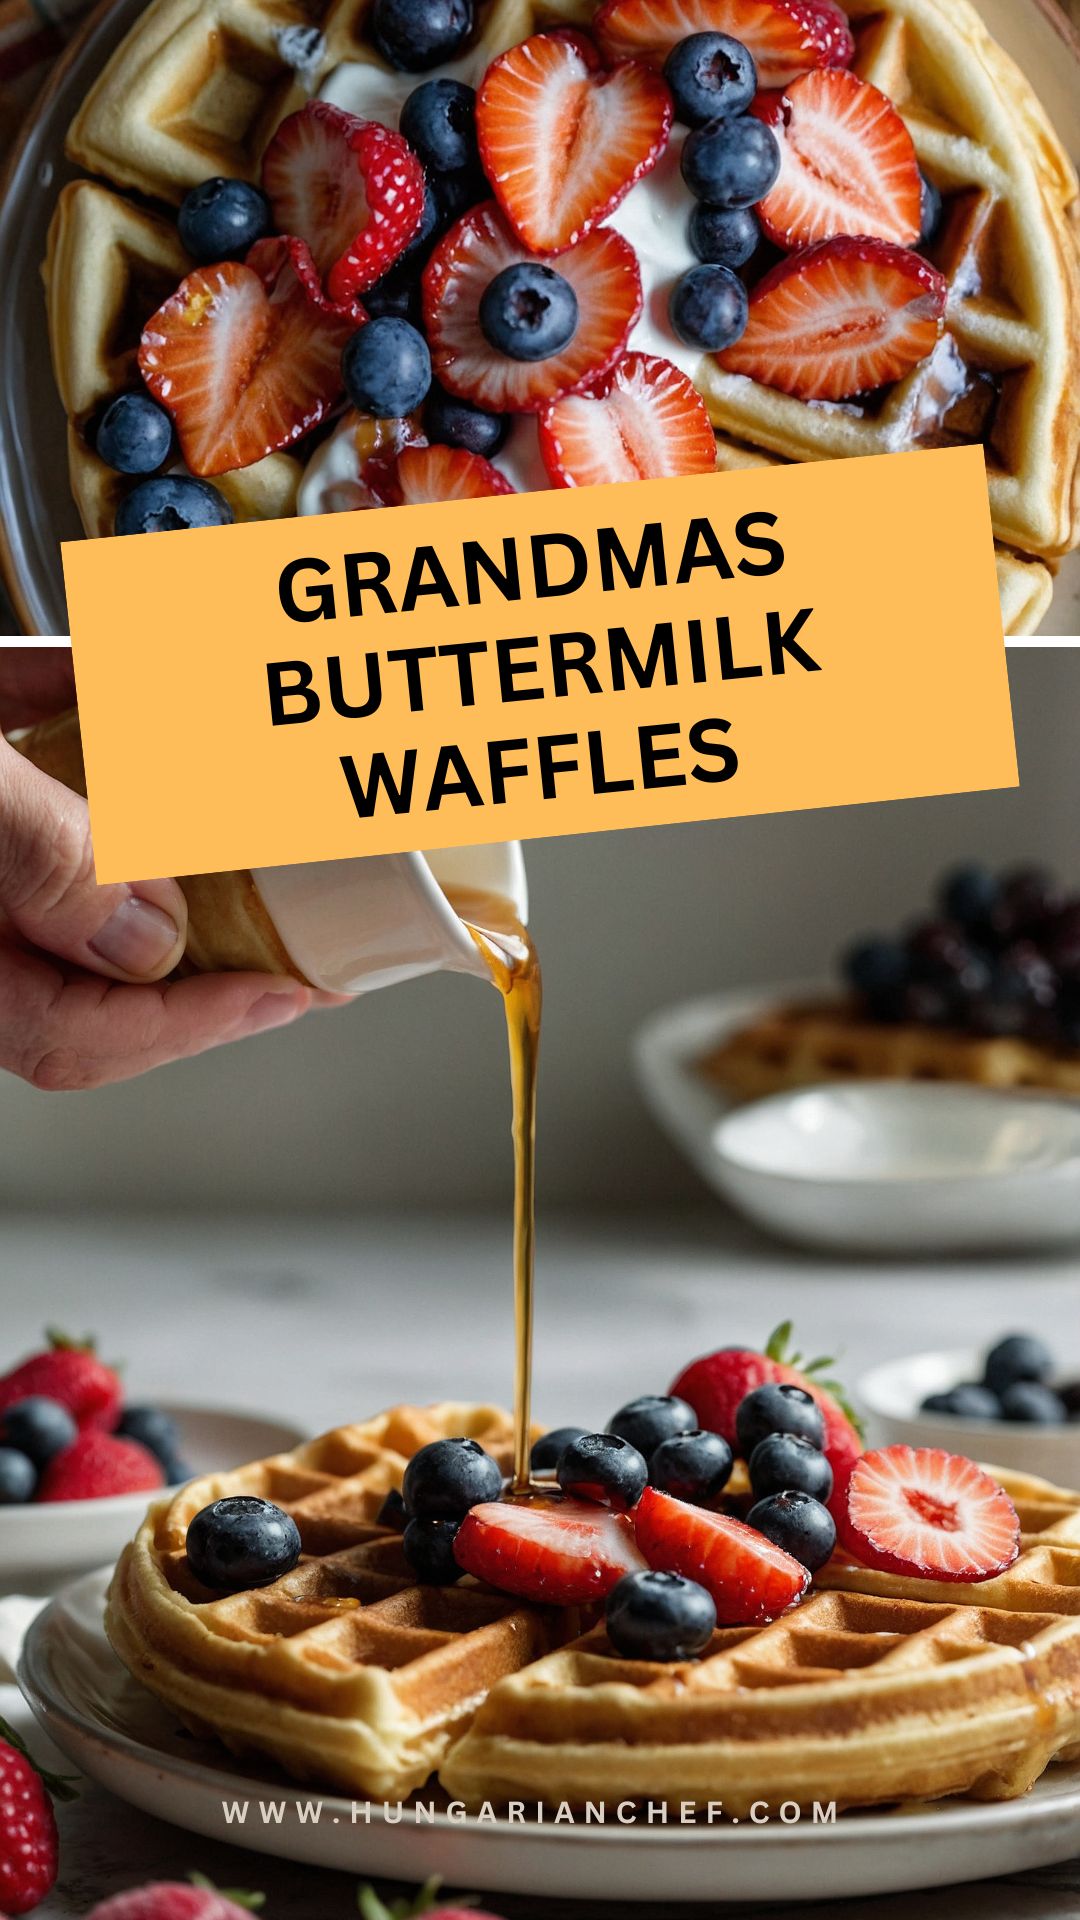
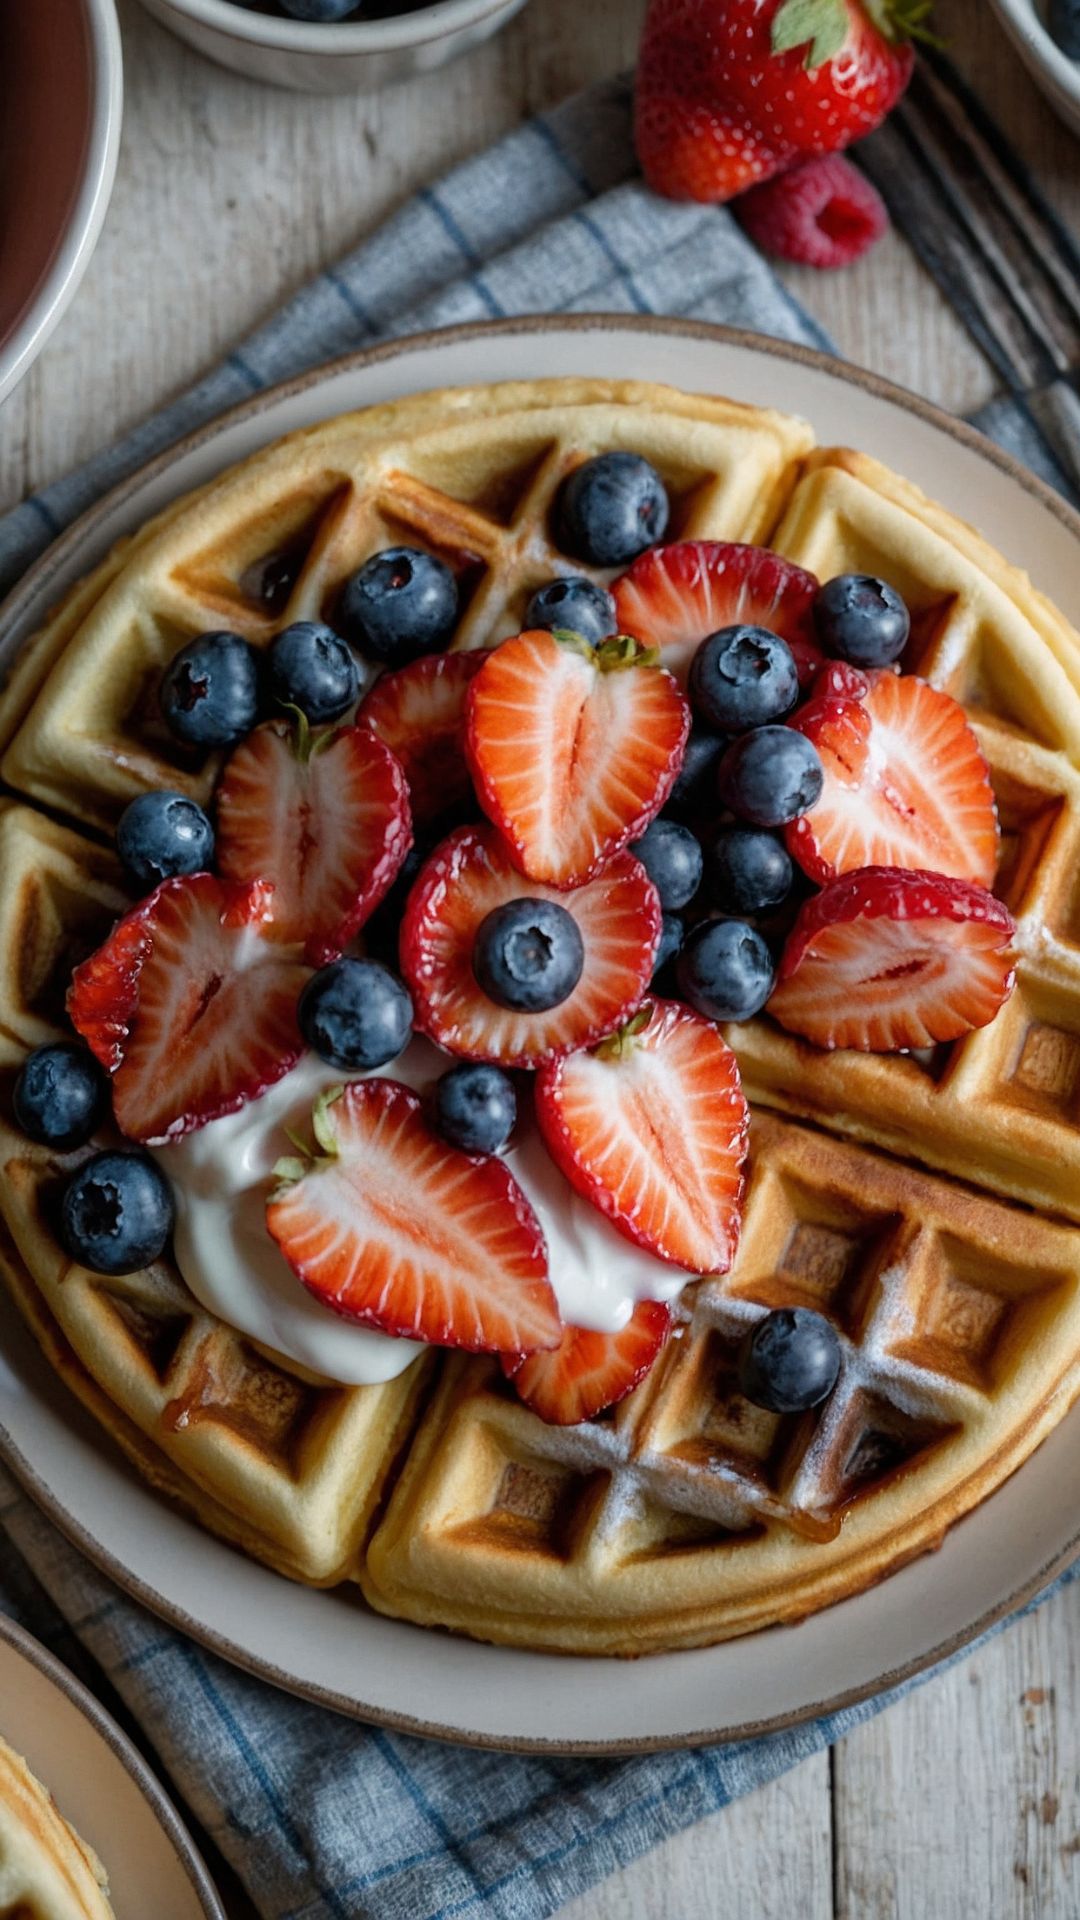
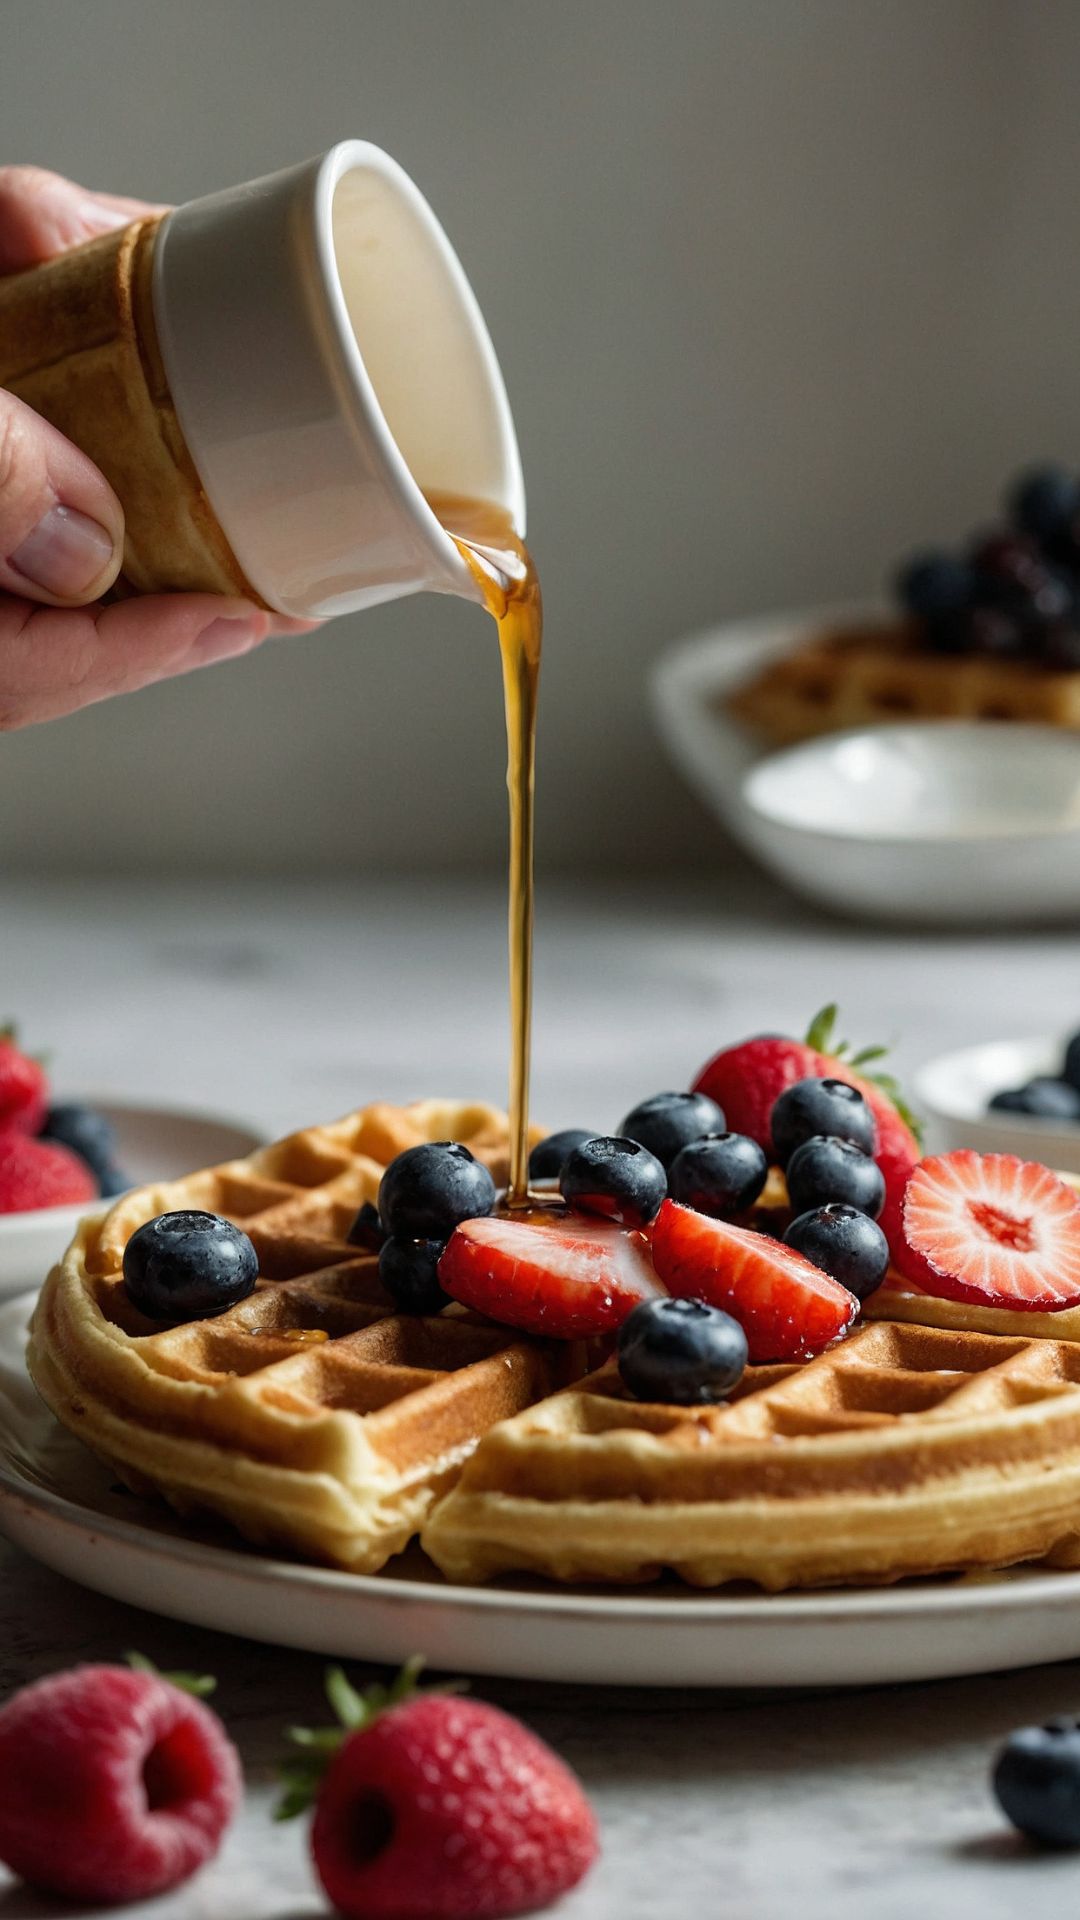
Fresh fruit is an excellent choice. Think sliced strawberries, blueberries, or bananas. They add color and sweetness, complementing the waffles perfectly. A drizzle of warm maple syrup elevates the dish even further. If you want to kick it up a notch, consider a dollop of whipped cream or a smear of Greek yogurt. Both offer a creamy texture that rounds out the waffle’s crispiness.

There’s something profoundly comforting about a plate of grandma’s buttermilk waffles. Each bite is a journey into nostalgia, evoking memories of lazy mornings filled with laughter, warmth, and love. In my kitchen, these waffles have earned a permanent spot on the weekend menu. They’re not just food; they’re a tradition. Join me as I dive into this beloved recipe. We’ll explore what makes it stand out and how to create this masterpiece in your own home.
What Are Grandma’s Buttermilk Waffles?
Grandma’s buttermilk waffles are golden, fluffy delights, with a crisp exterior that gives way to a cloud-like interior. The buttermilk not only tenderizes the batter but adds a distinct tang that elevates these waffles above the rest. This recipe combines simple ingredients to create something special—a perfect brunch option or a cozy breakfast for dinner.
I grew up in the kitchen watching my grandma work her magic. She would whip up a batch with ease. The rhythms of her cooking inspired many delightful mornings filled with sweet smells and even sweeter memories. These waffles have a place in my heart, and I’m excited to share them with you.
What is the Flavor Profile of This Dish?
The flavor of grandma’s buttermilk waffles is both comforting and versatile. Buttermilk lends a slight tang, balancing the sweetness from the sugar. If you include cinnamon and lemon zest, the depth of flavors expands. The cinnamon adds warmth reminiscent of fresh-baked cookies, while the lemon zest brightens each bite. You get a delightful contrast of rich and zesty, sweet and tangy—all harmoniously woven together.
What Makes This Recipe Different from Other Buttermilk Waffle Recipes?
What sets grandma’s buttermilk waffles apart? It’s all in the details. This recipe focuses on quality ingredients, like real buttermilk and fresh eggs. A touch of ground cinnamon and zesty lemon peel differentiate these waffles from typical recipes. It’s not just about making waffles; it’s about crafting a memorable meal. The love and care that go into preparing these waffles elevate them beyond ordinary breakfast fare.
You will also like the following Dessert recipes!
- A Tart Cherry Pie Crust
- Copycat Healthy Double Chocolate Zucchini Muffins
- How to make Healthy Pumpkin Pie
Ingredients You’ll Need
Gather your ingredients before starting. Here’s what you’ll need for this waffle adventure:
2 large eggs, lightly whisked: These provide structure and richness.
2 teaspoons real vanilla extract: For warmth and depth of flavor.
6 tablespoons (85 g) unsalted butter, melted and slightly cooled: Adds richness and moisture.
½ teaspoon baking soda: Helps the waffles rise.
2 cups (240 g) plain all-purpose flour: The base of your batter.
2 tablespoons natural cane sugar (or coconut/brown sugar): Sweetens the waffles.
Nonstick cooking spray (for greasing): Ensures easy release from the waffle maker.
1 teaspoon baking powder (aluminum-free preferred): For added lift.
½ teaspoon fine sea salt: Balances the sweetness.
1 ½ cups (360 g) tangy buttermilk: The star ingredient, giving taste and texture.
1 teaspoon ground cinnamon (optional but adds warmth): For extra flavor.
Zest of 1 lemon (about 1 teaspoon, for brightness): Enhances taste with a fresh kick.

Step-by-Step Directions
Step 1: Preheat Your Waffle Maker
Let’s get that waffle maker preheating. Don’t skip this step! A hot waffle maker ensures perfectly crispy waffles on the outside while keeping the insides fluffy.
Step 2: Prepare the Batter
In a large bowl, whisk the eggs until lightly beaten. Add the vanilla extract and melted butter. Mix these together until combined. In another bowl, whisk together the flour, baking powder, baking soda, salt, and sugar. It’s essential to combine dry ingredients first, ensuring even distribution of the leavening agents.
Step 3: Combine Wet and Dry Ingredients
Now it’s time to unite our two mixtures! Gradually add the dry ingredients to the wet mixture, alternating with the buttermilk. Stir gently until combined. Don’t overmix; it’s okay if a few lumps remain. This batter will bring light, airy waffles.
Step 4: Add Flavor Enhancements
Once your batter is combined, fold in the cinnamon and lemon zest. These additions aren’t just for show—they enhance the flavor profile and make your waffles unforgettable.
Step 5: Grease the Waffle Maker
Spray the waffle maker generously with nonstick spray. This will prevent any surprises when trying to remove a freshly made waffle.
Step 6: Cook the Waffles
Pour enough batter to fill the waffle maker but don’t overfill it. Cook according to the manufacturer’s instructions, usually around 4 to 5 minutes. You’ll know they are done when the steam lessens and they turn golden brown.
Step 7: Serve and Enjoy
Remove the waffles carefully and serve while hot. Top with fresh fruit, maple syrup, or whipped cream. Each bite will remind you of those warm family mornings.
Tips on Making Grandma’s Buttermilk Waffles
Use Fresh Buttermilk: The fresher, the better! It makes the waffles fluffy and gives them a nice tang.
Don’t Overmix: A few lumps in the batter are totally fine. This keeps the waffles light and airy.
Temperature Matters: Preheat the waffle maker properly. This ensures even cooking and that perfect crispiness.
Add-ins Galore: Feel free to mix in chocolate chips, nuts, or dried fruits. These add texture and flavor.
Keep Them Warm: If making multiple batches, keep finished waffles warm in a low oven (around 200°F) until ready to serve.
Nutrition Information
For each fluffy buttermilk waffle (assuming a serving size of 1 waffle), the nutritional breakdown is approximately:
Calories: 210
Protein: 6g
Carbohydrates: 32g
Dietary Fiber: 1g
Sugars: 4g
Total Fat: 8g
Saturated Fat: 5g
Cholesterol: 60mg
This is a general estimation and can vary based on specific ingredients and additional toppings.

How Can I Store These Waffles?
If you have leftover waffles, store them in an airtight container in the refrigerator for up to 3 days. For longer storage, freeze them. Place cooled waffles in a freezer bag, ensuring to remove as much air as possible. They can be frozen for up to 3 months. When ready to enjoy, just pop them in the toaster or a toaster oven. You’ll have crispy waffles all over again!
Substitutions for Ingredients
What if you run out of a key ingredient? No worries! Here are some substitutes you can try:
Buttermilk: If you don’t have buttermilk, mix 1 cup of milk with 1 tablespoon of lemon juice or vinegar. Let it sit for 5 minutes before using. This creates a similar tanginess.
All-Purpose Flour: For a gluten-free option, use a 1:1 gluten-free baking blend. These usually work well in waffle recipes.
Unsalted Butter: You can substitute with coconut oil or vegetable oil. This will alter the flavor slightly, but your waffles will still be delicious.
Sugar: If you’re looking for an alternative sweetener, maple sugar or honey can work. Reduce the liquid in the recipe slightly when using liquid sweeteners.

Equipment
- Bowl
Ingredients
- 2 large eggs lightly whisked: These provide structure and richness.
- 2 teaspoons real vanilla extract: For warmth and depth of flavor.
- 6 tablespoons 85 g unsalted butter, melted and slightly cooled: Adds richness and moisture.
- ½ teaspoon baking soda: Helps the waffles rise.
- 2 cups 240 g plain all-purpose flour: The base of your batter.
- 2 tablespoons natural cane sugar or coconut/brown sugar: Sweetens the waffles.
- Nonstick cooking spray for greasing: Ensures easy release from the waffle maker.
- 1 teaspoon baking powder aluminum-free preferred: For added lift.
- ½ teaspoon fine sea salt: Balances the sweetness.
- 1 ½ cups 360 g tangy buttermilk: The star ingredient, giving taste and texture.
- 1 teaspoon ground cinnamon optional but adds warmth: For extra flavor.
- Zest of 1 lemon about 1 teaspoon, for brightness: Enhances taste with a fresh kick.
Instructions
Step 1: Preheat Your Waffle Maker
- Let’s get that waffle maker preheating. Don’t skip this step! A hot waffle maker ensures perfectly crispy waffles on the outside while keeping the insides fluffy.
Step 2: Prepare the Batter
- In a large bowl, whisk the eggs until lightly beaten. Add the vanilla extract and melted butter. Mix these together until combined. In another bowl, whisk together the flour, baking powder, baking soda, salt, and sugar. It’s essential to combine dry ingredients first, ensuring even distribution of the leavening agents.
Step 3: Combine Wet and Dry Ingredients
- Now it’s time to unite our two mixtures! Gradually add the dry ingredients to the wet mixture, alternating with the buttermilk. Stir gently until combined. Don’t overmix; it’s okay if a few lumps remain. This batter will bring light, airy waffles.
Step 4: Add Flavor Enhancements
- Once your batter is combined, fold in the cinnamon and lemon zest. These additions aren’t just for show—they enhance the flavor profile and make your waffles unforgettable.
Step 5: Grease the Waffle Maker
- Spray the waffle maker generously with nonstick spray. This will prevent any surprises when trying to remove a freshly made waffle.
Step 6: Cook the Waffles
- Pour enough batter to fill the waffle maker but don’t overfill it. Cook according to the manufacturer’s instructions, usually around 4 to 5 minutes. You’ll know they are done when the steam lessens and they turn golden brown.
Step 7: Serve and Enjoy
- Remove the waffles carefully and serve while hot. Top with fresh fruit, maple syrup, or whipped cream. Each bite will remind you of those warm family mornings.
Notes
- Use Fresh Buttermilk: The fresher, the better! It makes the waffles fluffy and gives them a nice tang.
- Don’t Overmix: A few lumps in the batter are totally fine. This keeps the waffles light and airy.
- Temperature Matters: Preheat the waffle maker properly. This ensures even cooking and that perfect crispiness.
- Add-ins Galore: Feel free to mix in chocolate chips, nuts, or dried fruits. These add texture and flavor.
- Keep Them Warm: If making multiple batches, keep finished waffles warm in a low oven (around 200°F) until ready to serve.
Nutrition
Frequently Asked Questions
1. Can I use whole wheat flour instead of all-purpose flour?
Absolutely! Whole wheat flour adds nuttiness and fiber. However, you may want to adjust the liquid slightly as it absorbs more moisture.
2. How can I make these waffles vegan?
You can replace eggs with flax eggs (1 tablespoon of ground flaxseed mixed with 2.5 tablespoons of water per egg) and use plant-based milk and an oil substitute for butter.
3. Can I make the batter the night before?
Yes, you can prepare the batter and refrigerate it. Just stir it gently in the morning to fluff it up before pouring it into the waffle maker.
4. Why didn’t my waffles rise?
This could be due to expired baking powder or baking soda. Always check the freshness of leavening agents for the best outcome.
5. Can I add toppings after cooking?
Of course! There are no rules here. Top with peanut butter, yogurt, and fruit. Get creative!
Conclusion
There’s magic in a dish that carries generations of love and flavor. Grandma’s buttermilk waffles are more than just food; they encapsulate memories and traditions that can be shared with family and friends. Whether enjoyed in the warmth of your kitchen or served at a joyful gathering, these waffles bring people together. With simple ingredients and a hint of nostalgia, you can create a brunch dish that will delight everyone.
So grab your ingredients, fire up that waffle maker, and dive into this delightful recipe. You might just find that these waffles become a cherished part of your own family tradition. Happy cooking!
You’ll also like these latest recipes!

Rebecca Novak is a trained chef with over 10 years of experience in the food industry. She has worked in both fine dining and casual Hungarian restaurants and specializes in creating dishes using fresh, seasonal ingredients. She also loves exploring different cuisines worldwide, which allows her to bring unique flavors and ideas to the recipes she creates for Hungarianchef.com. Read more
