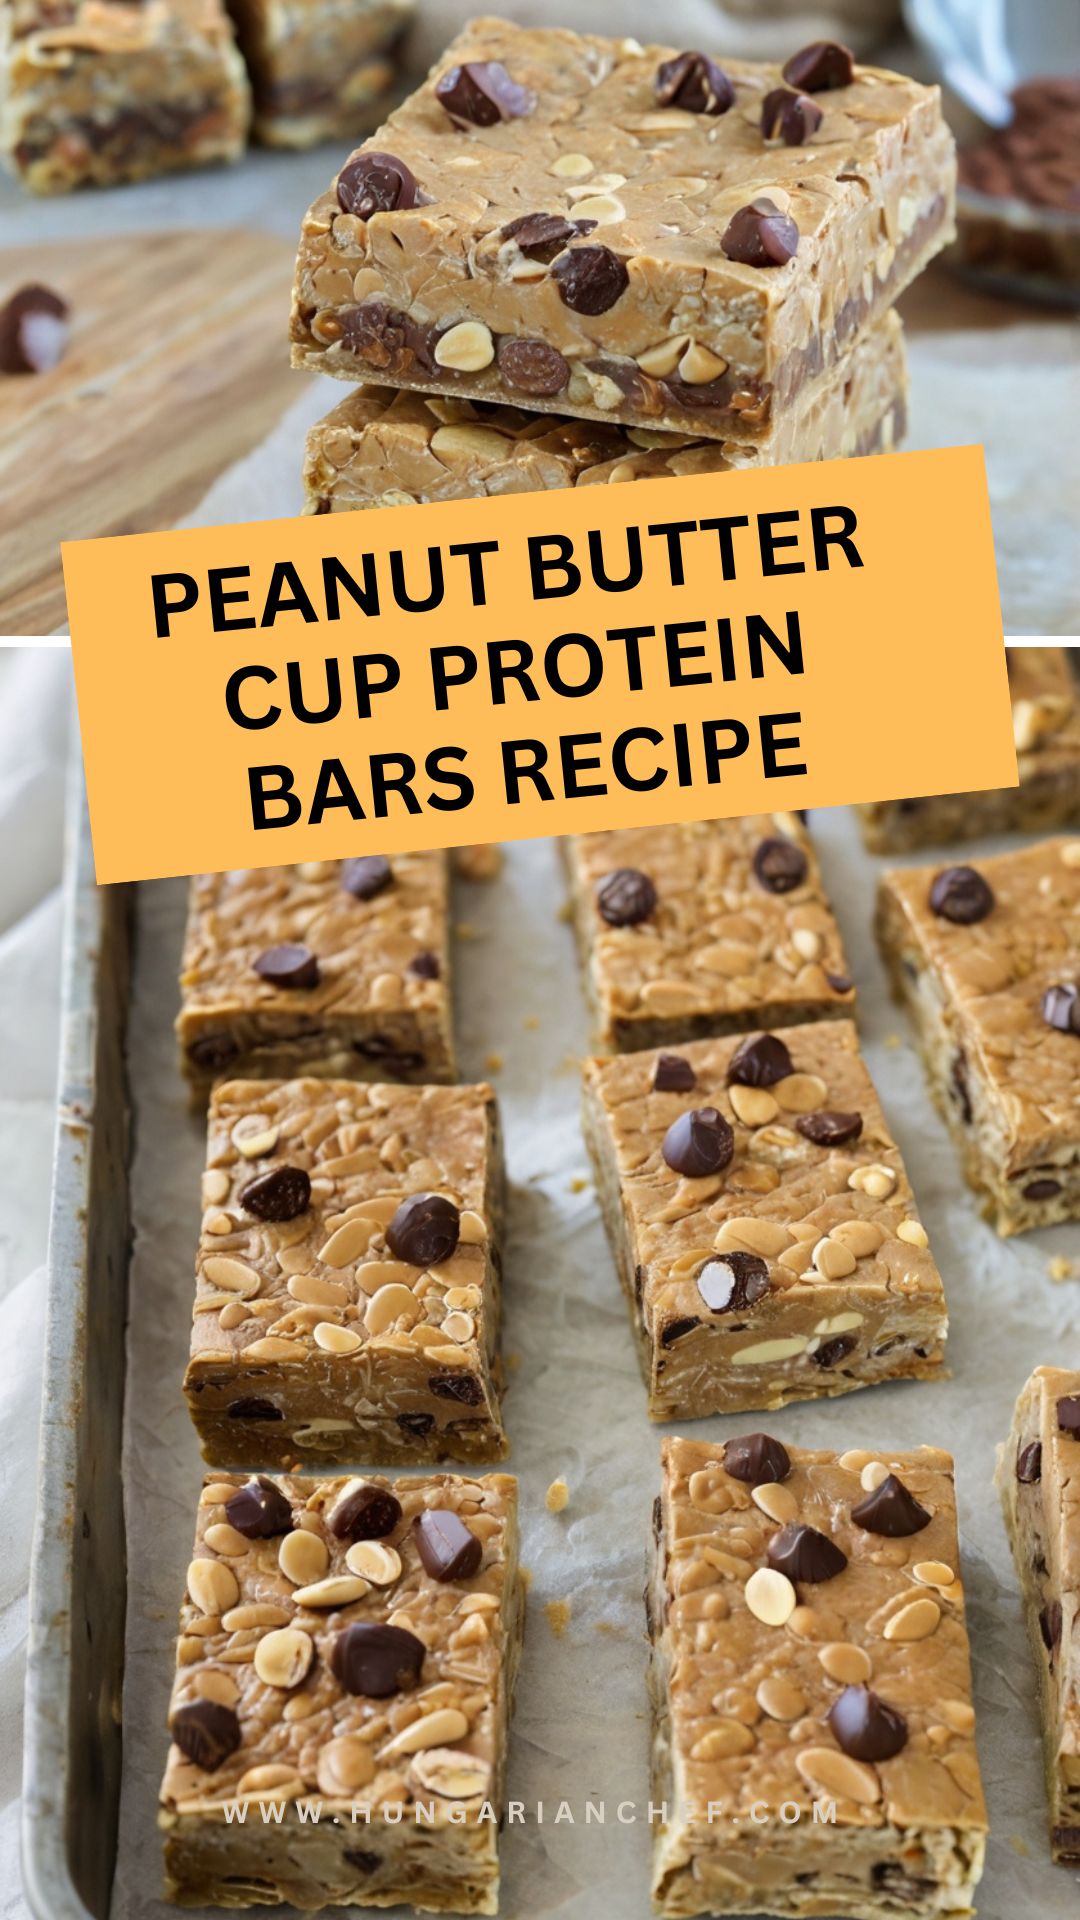
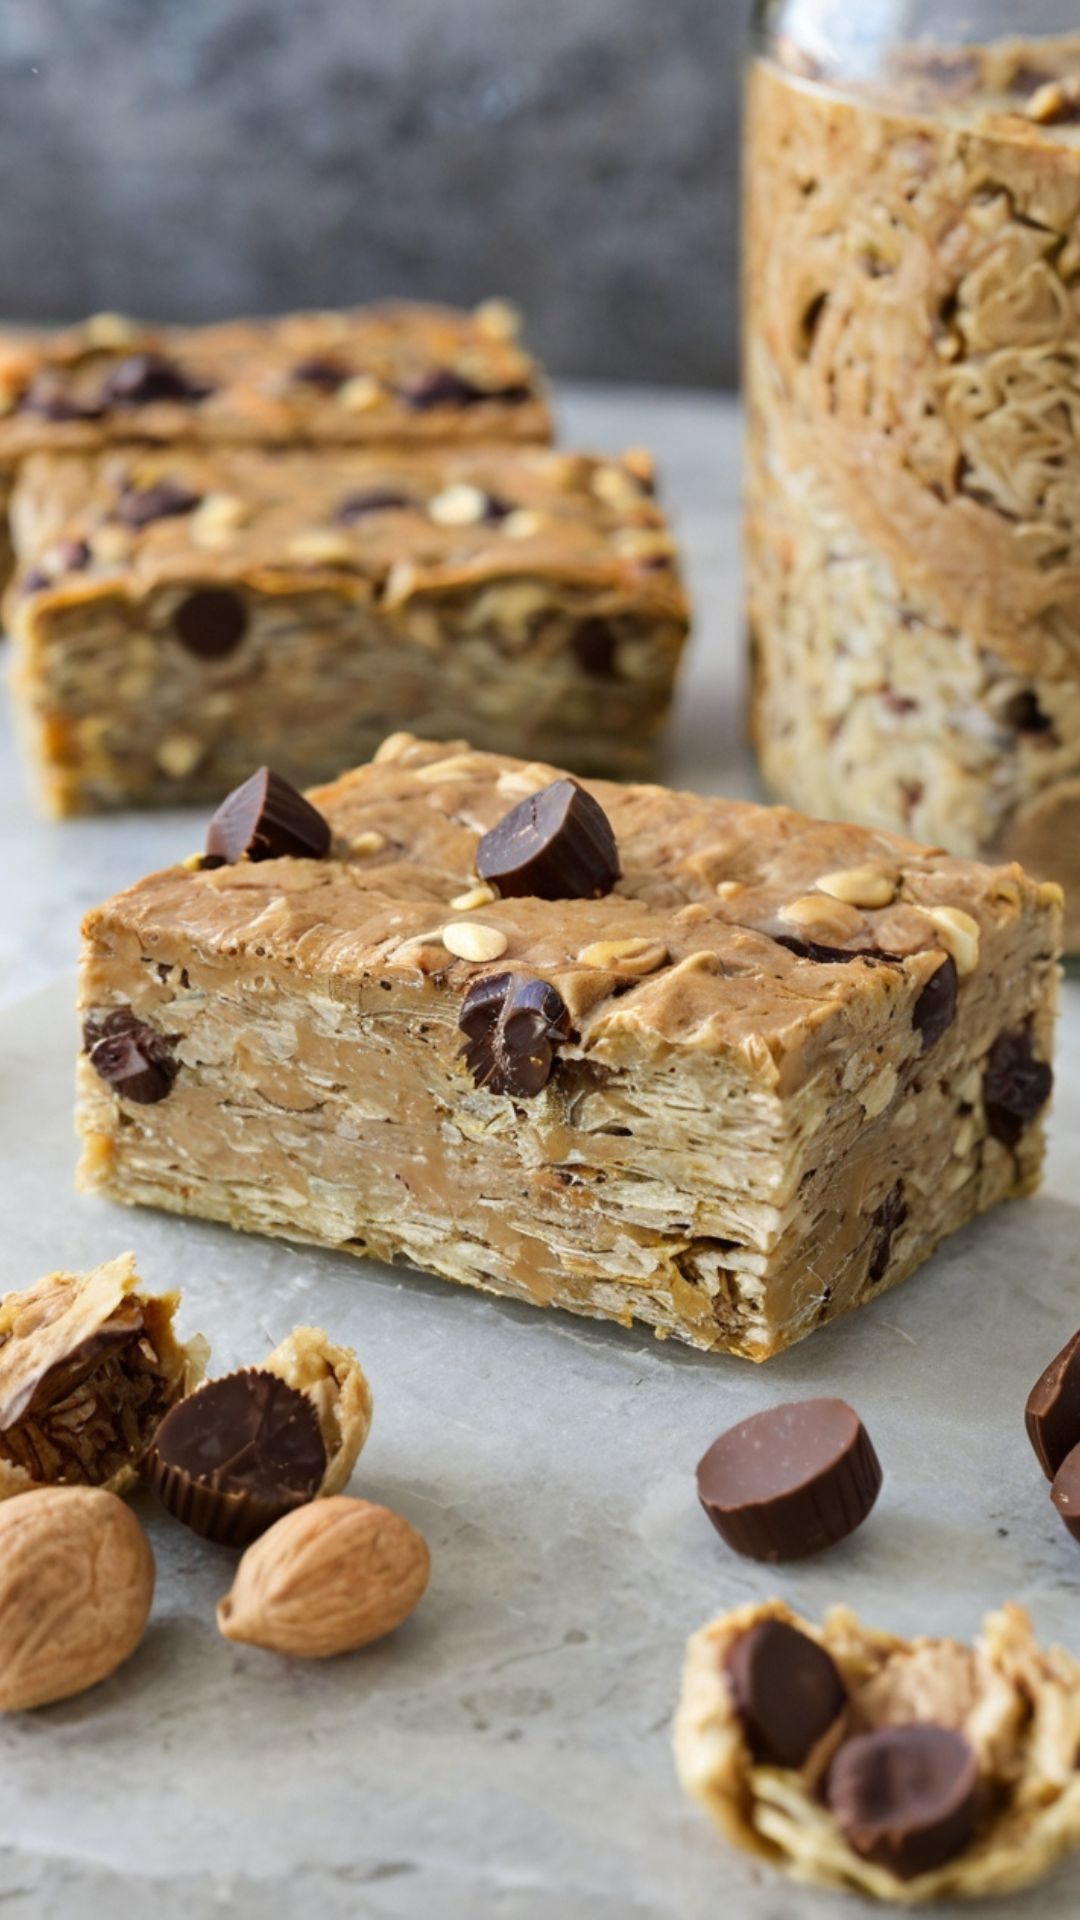
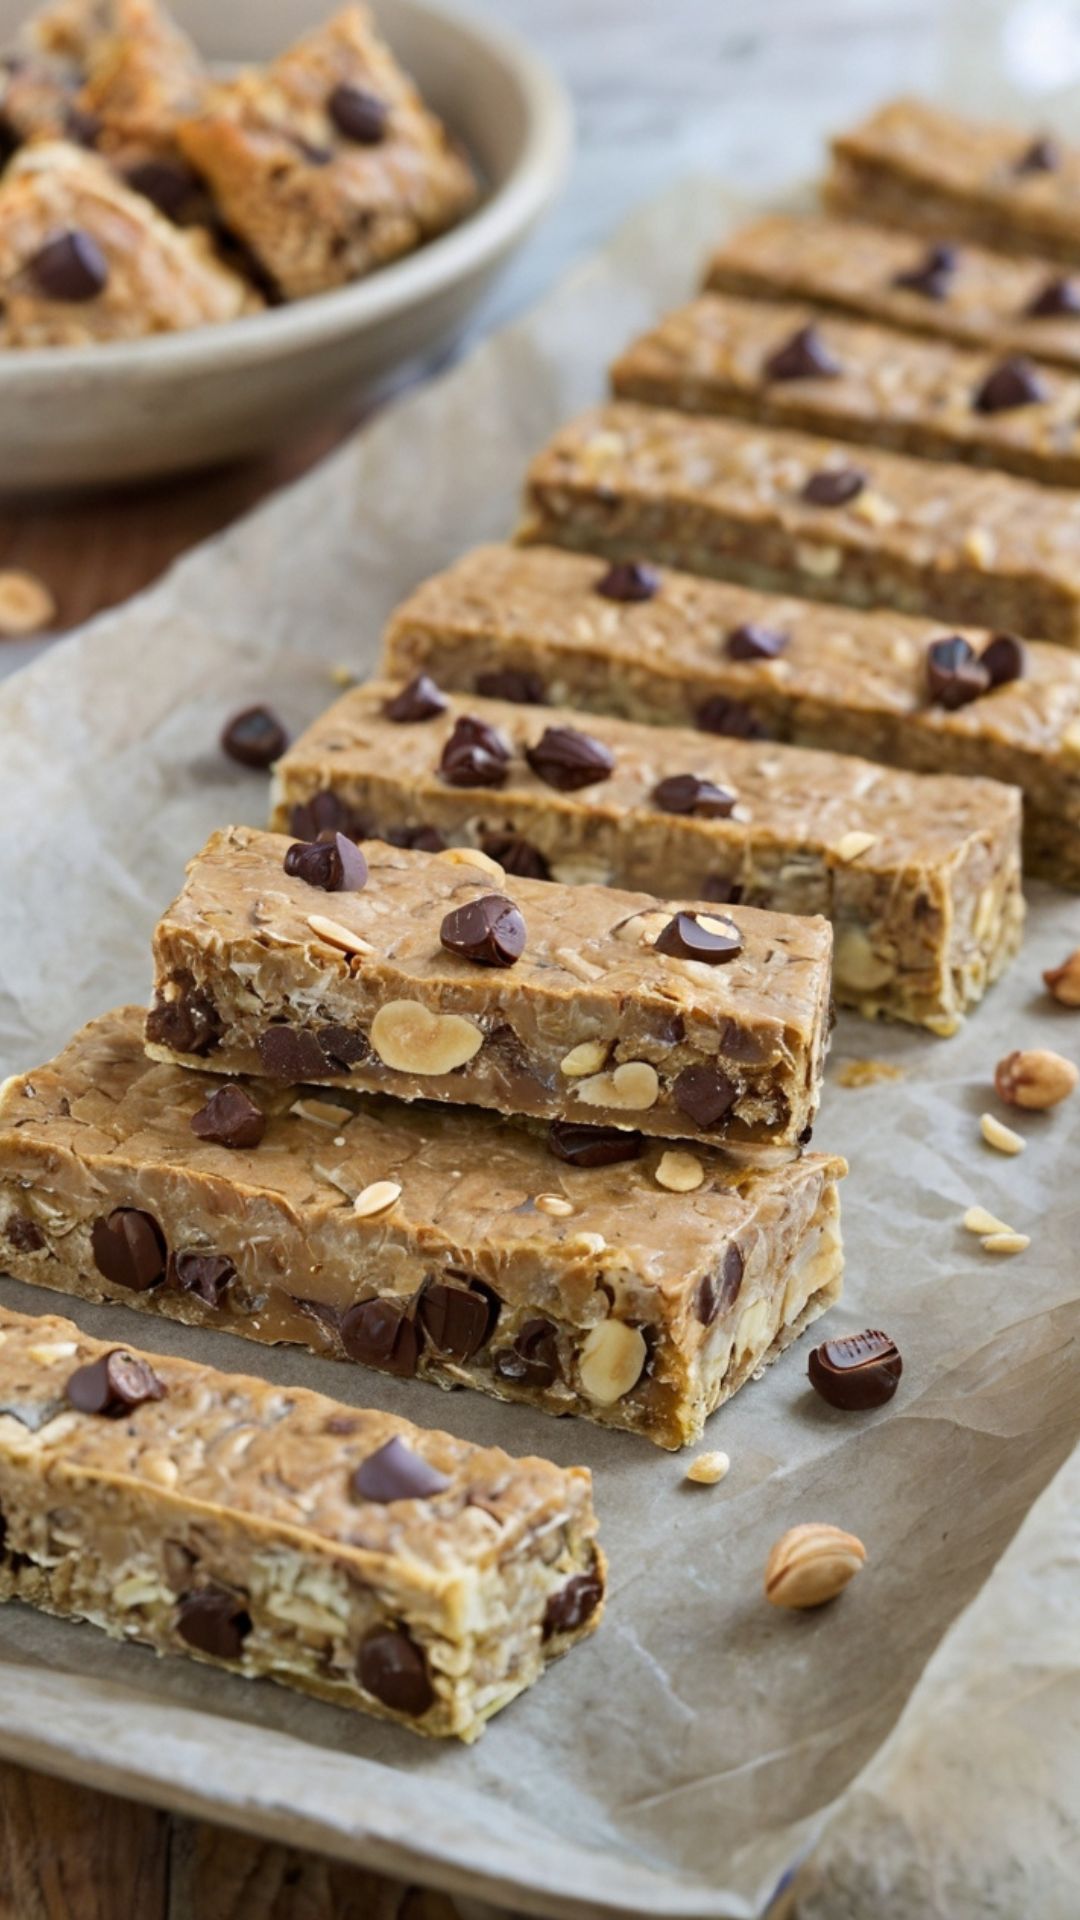
Peanut Butter Cup Protein Bars are tasty and filling, and pairing them with the right sides can make your snack even better. These options add freshness, creaminess, and extra nutrition.
Fresh fruits like apples, bananas, or berries bring natural sweetness and fiber—try dipping apple slices in peanut butter for a double treat. Greek yogurt adds creaminess and probiotics; mix in honey for added flavor.
Blend a protein bar into a smoothie with spinach, banana, and almond milk for a power-packed breakfast. Serving with almond or oat milk complements the chocolate and peanut flavors perfectly.

I’ve always loved the combination of chocolate and peanut butter. To me, it’s a match made in culinary heaven! Pair it with protein, and you have a winning trifecta. Enter the Peanut Butter Cup Protein Bars.
They’re not just for gym-goers; they’re perfect for anyone looking for a quick snack that’s healthy and indulgent at the same time. With my expertise as a registered dietitian and food blogger, I’ve crafted this recipe to ensure it’s packed with nutrition while also satisfying your sweet tooth.
Not only are these bars delicious, but they also incorporate nutrient-dense ingredients. They provide protein and healthy fats, making them ideal for pre- or post-workout fuel. Let’s explore why these bars deserve a spot in your pantry.
What is Peanut Butter Cup Protein Bars?
Peanut Butter Cup Protein Bars are homemade energy-boosting snacks that combine the rich flavors of peanut butter and chocolate. They’re chewy, satisfying, and perfect for anyone on the go.
Why This Recipe Works?
This recipe isn’t just good luck in the kitchen; it’s grounded in careful selection of ingredients and culinary science. Here are four reasons why this recipe shines:
1. Nutritious Ingredients: Each bar is made with rolled oats, peanut butter, and protein powder. These ingredients provide a well-rounded source of carbs, protein, and healthy fats.
2. Easy Preparation: You won’t need to preheat your oven! Everything comes together in a bowl, and chilling in the fridge does the rest. It’s a hands-on approach that saves you time.
3. Customizable to Your Taste: Want to add a dash of cinnamon or swap chocolate chips for dried fruits? Feel free! The base of this recipe is flexible, letting you cater to your preferences.
4. Satisfying Texture: The blend of oats, peanut butter, and chocolate chips creates a chewy yet creamy texture. Each bite is a delightful experience that keeps you coming back for more.
You will also like the following Dessert recipes!
- Copycat No bake summer mango pie
- How to make Paletas de yogurt griego
- Grandma’s old fashioned peanut butter cookie
Ingredients You’ll Need To Make These Peanut Butter Cup Protein Bars
Gather the following items to create your own protein bars:
1⅔ cups rolled old-fashioned oats
⅓ cup mini dark chocolate chips
2 scoops vanilla protein powder
⅔ cup smooth peanut butter
5 tablespoons raw honey
1½ tablespoons melted coconut oil
2 tablespoons ground flaxseed
⅓ cup shredded unsweetened coconut
2 teaspoons pure vanilla extract
¼ teaspoon ground cinnamon
1 tablespoon chia seeds
1 teaspoon finely grated orange zest
flaked sea salt for topping

How To Make These?
Making Peanut Butter Cup Protein Bars is a simple process. Here’s a step-by-step guide to whip these delicious bars together:
Step 1: Gather Your Ingredients
Make sure you have all the ingredients ready. Measurement is key in baking! Set out your oats, peanut butter, honey, and all the rest to avoid scrambling during the mixing process.
Step 2: Mix the Dry Ingredients
In a large bowl, combine rolled oats, ground flaxseed, protein powder, shredded coconut, chia seeds, and ground cinnamon. Stir these dry ingredients until evenly mixed.
Step 3: Combine the Wet Ingredients
In a separate bowl, mix the smooth peanut butter, honey, melted coconut oil, vanilla extract, and finely grated orange zest. Make sure the peanut butter is soft enough to blend well.
Step 4: Combine Wet and Dry Mixtures
Pour the wet mixture into the bowl with the dry ingredients. Stir until everything is well incorporated. The mixture should be thick and slightly sticky.
Step 5: Add Chocolate Chips
Gently fold in the mini dark chocolate chips. It’s crucial to do this last to prevent them from melting in the mixture.
Step 6: Press into a Pan
Line an 8×8 inch baking dish with parchment paper. Transfer the mixture into the dish and press it down firmly with a spatula or your hands. Ensure it’s even.
Step 7: Chill and Set
Refrigerate the mixture for at least two hours to allow it to firm up. This step is vital. If you don’t chill, you’ll end up with a crumbly mess instead of a perfect bar.
Step 8: Cut and Enjoy
Once set, remove the bars from the dish using the parchment paper. Cut them into squares or rectangles as desired. Enjoy one right away!
Tips for Perfect Peanut Butter Cup Protein Bars
To help you achieve the best results with this recipe, here are some practical tips:
– Use Natural Peanut Butter: Choose peanut butter without added sugars or oils. It keeps the bars healthier and enhances flavor.
– Don’t Skip the Chilling: Chilling is not optional! This step solidifies your bars and keeps them from falling apart.
– Adjust Sweetness: If you prefer your bars sweeter, feel free to add more honey. Just keep in mind that this might alter the texture slightly.
– Experiment with Flavors: Don’t hesitate to adjust ingredients. Substitute almond butter for peanut butter or try different extracts.
– Store Properly: Keep bars in an airtight container in the fridge. This makes them last longer and stay fresh.
Nutrition Information
Peanut Butter Cup Protein Bars Recipe Nutrition Facts
How to Store the Leftovers?
To keep your bars fresh, follow these simple storage methods:
– Refrigerator: Store in an airtight container. They can last for up to a week in the fridge.
– Freezer: For longer storage, freeze individual bars wrapped in foil or plastic wrap. They can stay good for several months. Just thaw before enjoying!

Recommended Side Dishes for Peanut Butter Cup Protein Bars
These bars are delicious on their own, but they shine even brighter when paired with these options:
1. Fresh Fruit Salad: A blend of seasonal fruits adds a refreshing contrast to the richness of the bar.
2. Mixed Nuts: A handful of nuts provides extra crunch and protein. Choose your favorites like almonds or walnuts.
3. Trail Mix: Combine nut butter bars with your favorite trail mix. The variety will be a treat for the taste buds.
4. Cottage Cheese: Creamy cottage cheese is full of protein and can be enjoyed on the side, possibly with some fruit or a drizzle of honey.
Ingredient Substitutes
If you find yourself missing one of the ingredients, don’t sweat it! Here are some potential substitutes:
1. Rolled Oats: Substitute with quick oats or a gluten-free alternative like quinoa flakes if you’re gluten-sensitive.
2. Peanut Butter: Almond or cashew butter works just as well if you want a nutty twist.
3. Honey: Maple syrup or agave nectar can be swapped for a vegan option.
4. Coconut Oil: Use any neutral oil like avocado oil or olive oil in its place.

Equipment
- Bowl
Ingredients
- 1⅔ cups rolled old-fashioned oats
- ⅓ cup mini dark chocolate chips
- 2 scoops vanilla protein powder
- ⅔ cup smooth peanut butter
- 5 tablespoons raw honey
- 1½ tablespoons melted coconut oil
- 2 tablespoons ground flaxseed
- ⅓ cup shredded unsweetened coconut
- 2 teaspoons pure vanilla extract
- ¼ teaspoon ground cinnamon
- 1 tablespoon chia seeds
- 1 teaspoon finely grated orange zest
- flaked sea salt for topping
Instructions
Step 1: Gather Your Ingredients
- Make sure you have all the ingredients ready. Measurement is key in baking! Set out your oats, peanut butter, honey, and all the rest to avoid scrambling during the mixing process.
Step 2: Mix the Dry Ingredients
- In a large bowl, combine rolled oats, ground flaxseed, protein powder, shredded coconut, chia seeds, and ground cinnamon. Stir these dry ingredients until evenly mixed.
Step 3: Combine the Wet Ingredients
- In a separate bowl, mix the smooth peanut butter, honey, melted coconut oil, vanilla extract, and finely grated orange zest. Make sure the peanut butter is soft enough to blend well.
Step 4: Combine Wet and Dry Mixtures
- Pour the wet mixture into the bowl with the dry ingredients. Stir until everything is well incorporated. The mixture should be thick and slightly sticky.
Step 5: Add Chocolate Chips
- Gently fold in the mini dark chocolate chips. It’s crucial to do this last to prevent them from melting in the mixture.
Step 6: Press into a Pan
- Line an 8×8 inch baking dish with parchment paper. Transfer the mixture into the dish and press it down firmly with a spatula or your hands. Ensure it’s even.
Step 7: Chill and Set
- Refrigerate the mixture for at least two hours to allow it to firm up. This step is vital. If you don’t chill, you’ll end up with a crumbly mess instead of a perfect bar.
Step 8: Cut and Enjoy
- Once set, remove the bars from the dish using the parchment paper. Cut them into squares or rectangles as desired. Enjoy one right away!
Notes
- Use Natural Peanut Butter: Choose peanut butter without added sugars or oils. It keeps the bars healthier and enhances flavor.
- Don’t Skip the Chilling: Chilling is not optional! This step solidifies your bars and keeps them from falling apart.
- Adjust Sweetness: If you prefer your bars sweeter, feel free to add more honey. Just keep in mind that this might alter the texture slightly.
- Experiment with Flavors: Don’t hesitate to adjust ingredients. Substitute almond butter for peanut butter or try different extracts.
- Store Properly: Keep bars in an airtight container in the fridge. This makes them last longer and stay fresh.
Nutrition
Frequently Asked Questions
1. Can I use protein powder alternatives?
Yes! Plant-based protein powders like pea or rice can replace whey protein. Just ensure it mixes well.
2. How long will these bars last?
In the fridge, they can last up to a week. For long-term storage, freeze them for several months.
3. Can I add additional mix-ins?
Absolutely! Feel free to include nuts, seeds, or dried fruits to boost both flavor and nutrition.
4. Are these bars suitable for kids?
Definitely! They’re a great healthy snack that kids generally love, especially with the chocolate chips.
5. Can I bake these bars?
This recipe is designed for no-bake bars. Baking isn’t recommended as it alters the texture.
Conclusion
Creating Peanut Butter Cup Protein Bars at home is a rewarding venture. They tick all the boxes: nutritious, easy to prepare, and utterly delicious.
Whether you’re looking for a snack after a workout or just needing a pick-me-up between meals, these bars satisfy both your hunger and taste buds. With this recipe, you’ve got the perfect combination of flavor, nutrition, and convenience.
So, put on your apron, channel your inner chef, and whip up a batch of these delightful snacks. I guarantee you won’t regret it! Happy snacking!
You’ll also like these latest recipes!
- Homemade Roasted Tomato Basil Soup
- Good Morning Coffee Smoothie
- Healthy Peanut Butter Rice Krispie Treats Recipe

Rebecca Novak is a trained chef with over 10 years of experience in the food industry. She has worked in both fine dining and casual Hungarian restaurants and specializes in creating dishes using fresh, seasonal ingredients. She also loves exploring different cuisines worldwide, which allows her to bring unique flavors and ideas to the recipes she creates for Hungarianchef.com. Read more
