Before diving into the delightful world of homemade healthy peanut butter cups, let’s chat about what you can pair them with. These treats are versatile – they can be grand companions to a cup of vibrant coffee or a refreshing glass of almond milk. If it’s summer, imagine them alongside a fruity smoothie bursting with berries.
Maybe even toss a few in your lunchbox along with some apple slices for that sweet and savory combo. They also shine when served at gatherings, complementing a spread of fruits, nuts, or even a refreshing salad. The possibilities are endless!

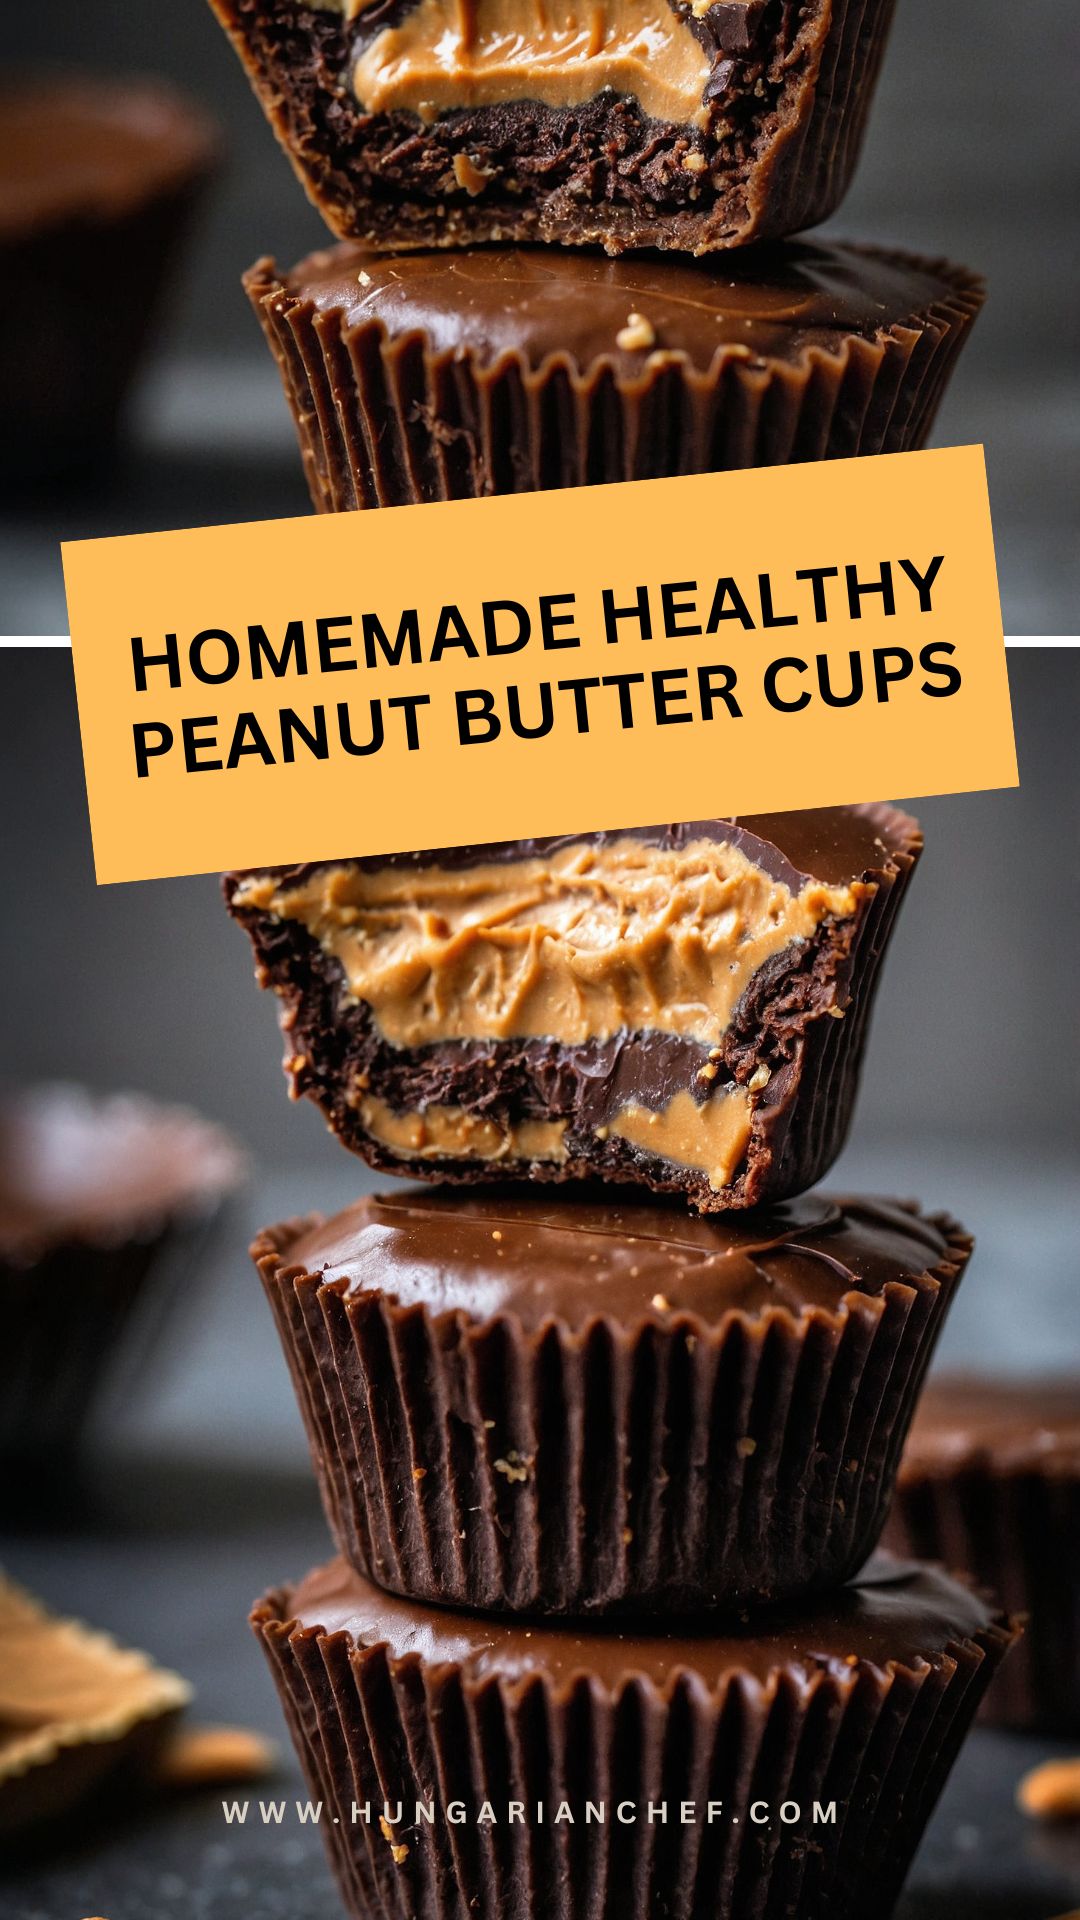
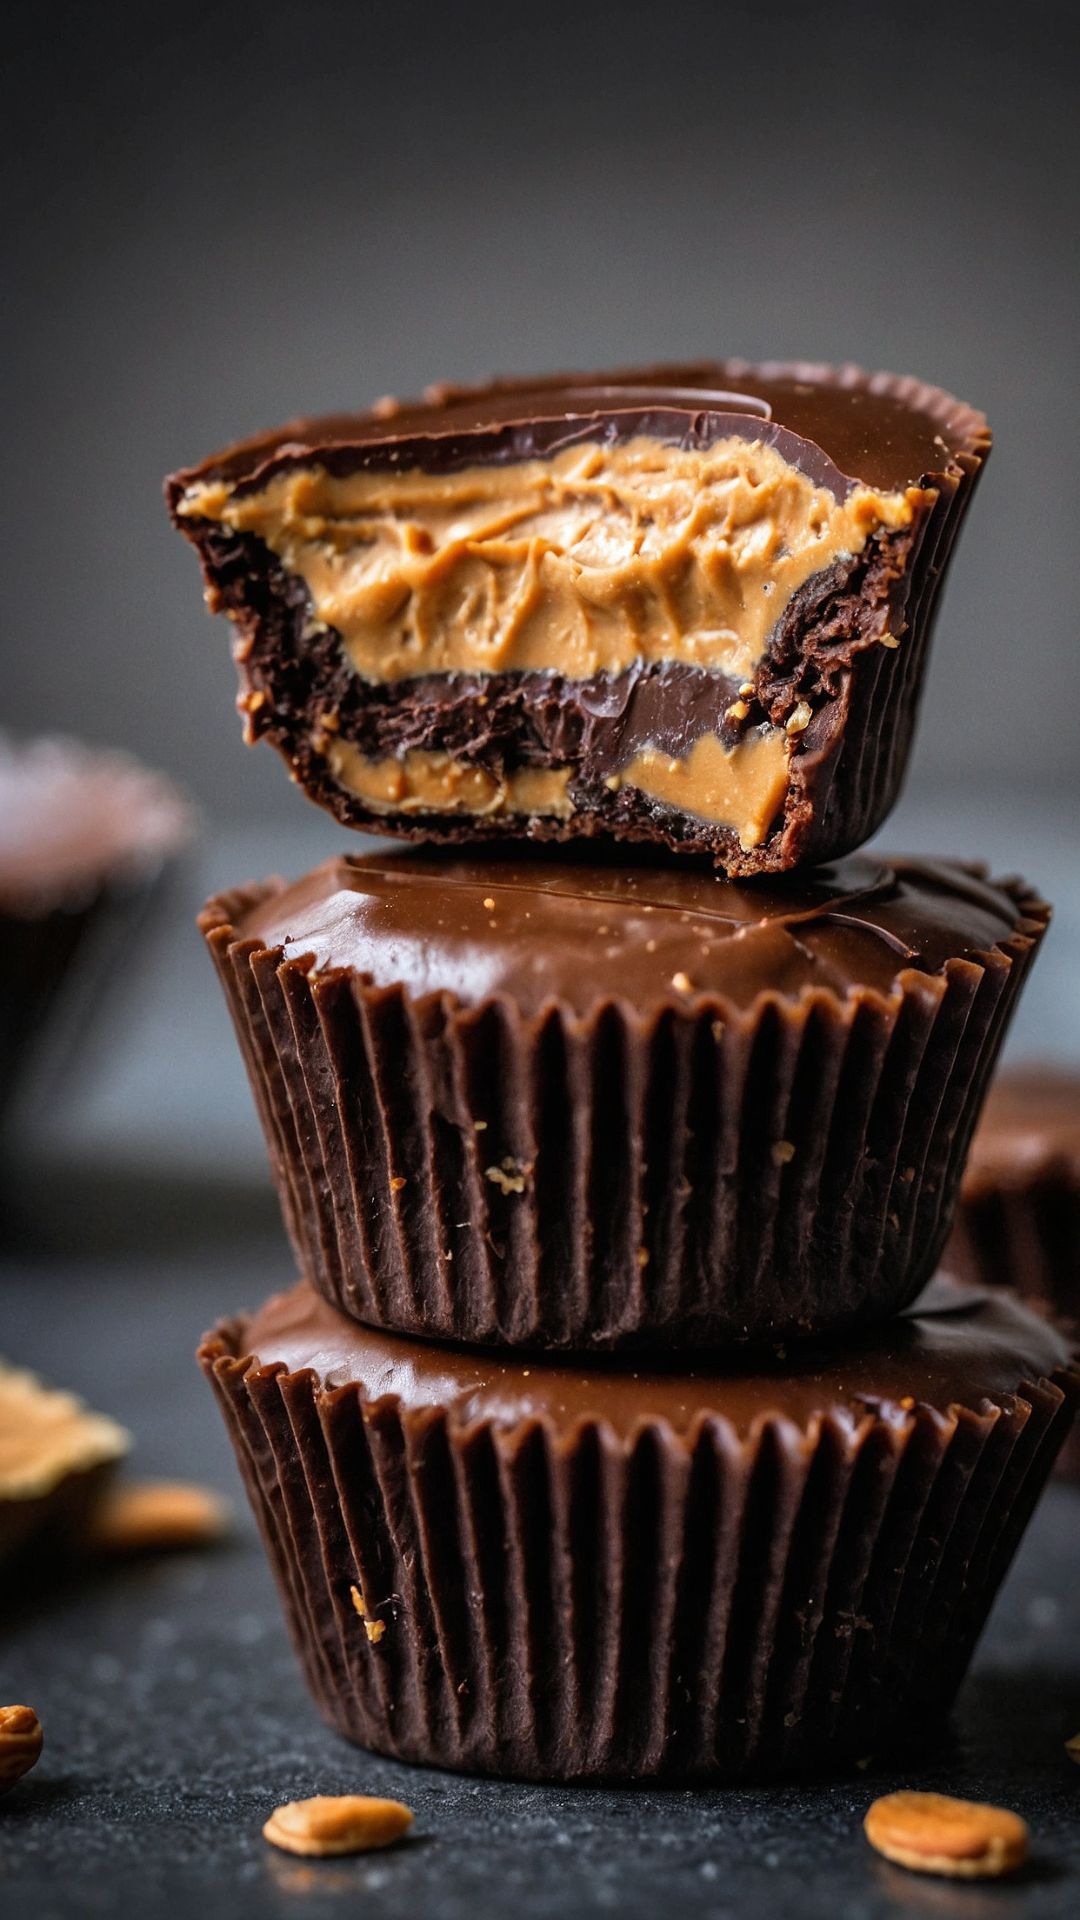
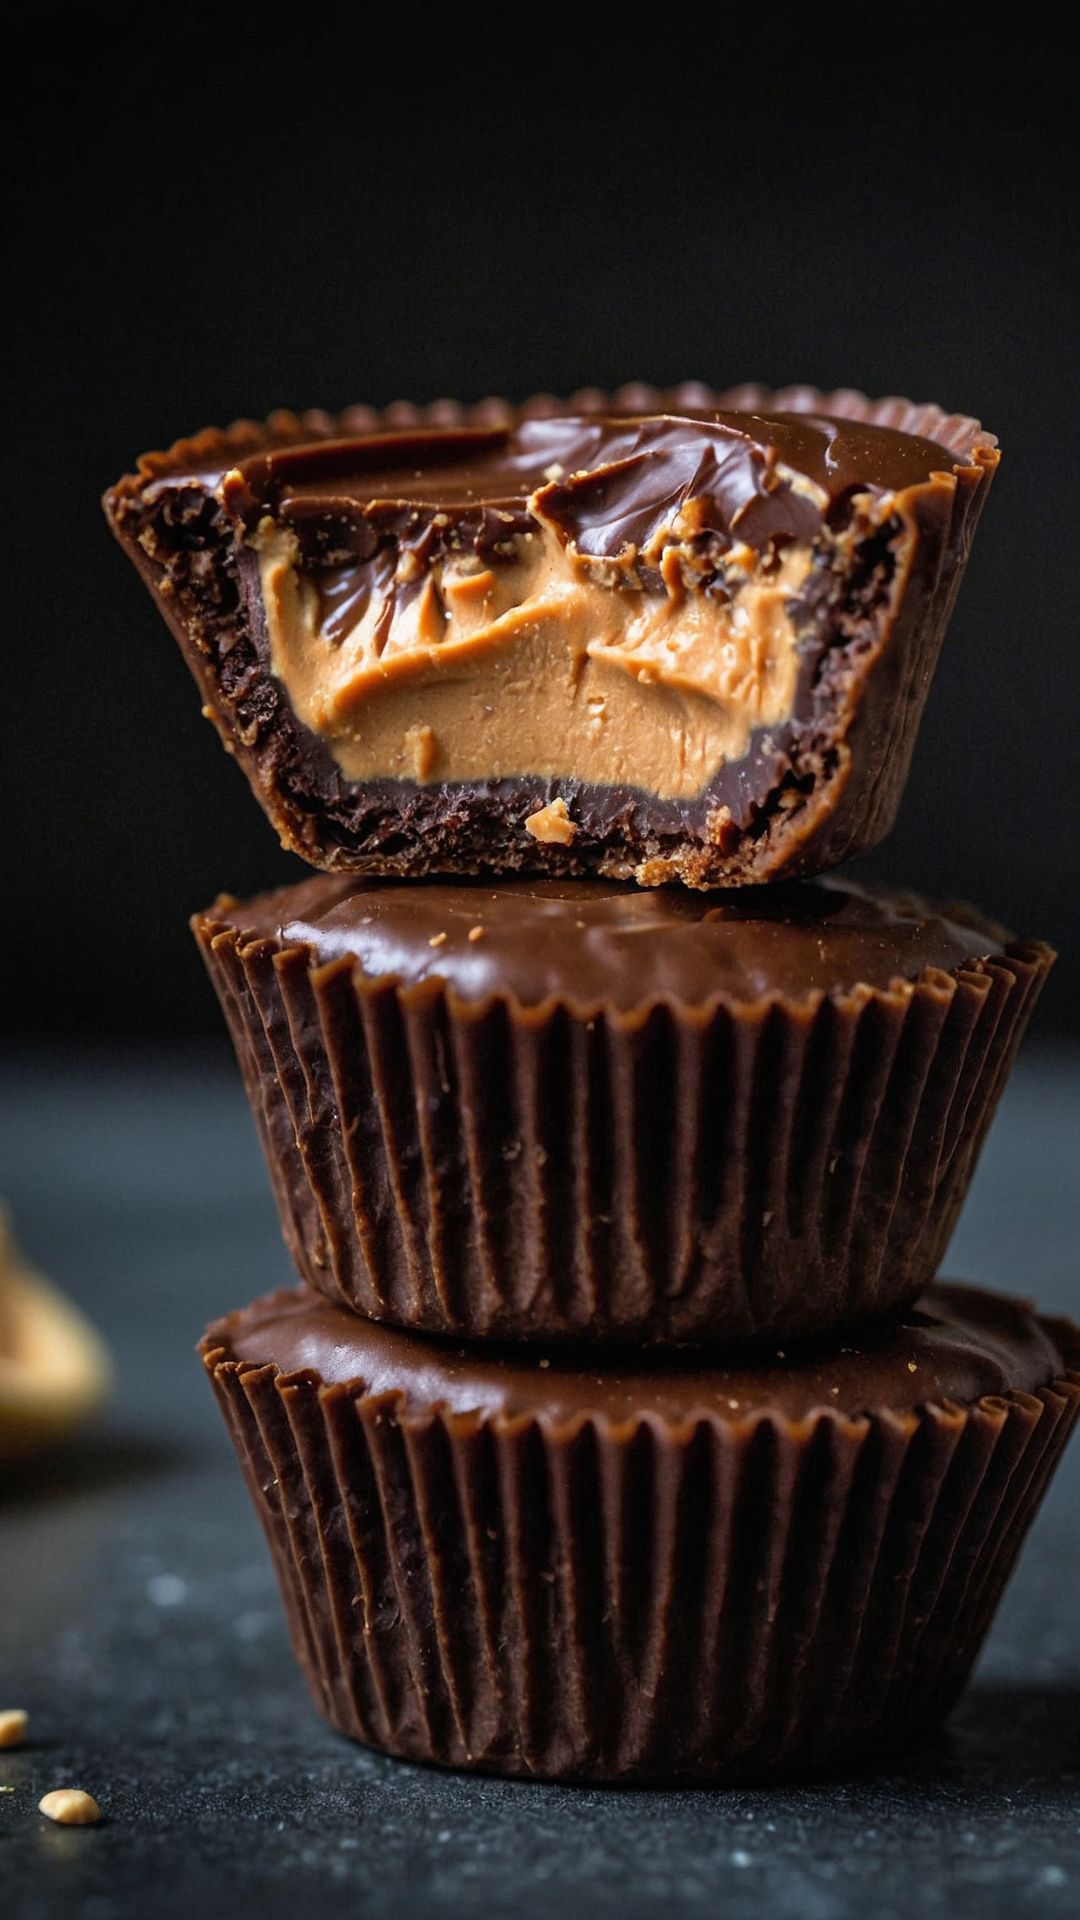
Ah, the joy of creating something delicious in your own kitchen! Enter homemade healthy peanut butter cups. These bites are not just a nostalgic nod to the classic candy we all love; they’re a wholesome alternative that doesn’t skimp on flavor. Picture this: creamy peanut butter filling enveloped in rich dark chocolate. It’s a treat that beckons you back for more, bite after satisfying bite.
I first ventured into making homemade peanut butter cups one rainy afternoon. I was craving something sweet yet healthy, and I was determined to whip up a recipe that was as kind to my hips as it was to my taste buds. Fast forward to today; I’m delighted to share my method, and I promise you’ll end up loving these creations just as much as I do.
What Are Homemade Healthy Peanut Butter Cups?
Homemade healthy peanut butter cups are a delightful spin on a classic treat. Unlike store-bought options loaded with added sugars and unhealthy fats, my version uses only wholesome ingredients.
The star is smooth natural peanut butter, which provides that rich creaminess. Instead of processed chocolate, I use quality dark chocolate that offers antioxidants and a touch of sophistication. These cups deliver familiar flavors without the guilt – a true win-win!
What Is the Flavor Profile of This Dish?
Imagine sinking your teeth into a homemade peanut butter cup. The first taste is the enticing bitterness of dark chocolate, melting in your mouth. Next comes the nutty richness of peanut butter, perfectly balanced with a hint of sweetness from maple syrup and a sprinkle of cinnamon.
The optional flakes of sea salt elevate every bite, adding a delightful contrast. Each element works harmoniously, creating a bite-sized indulgence you’ll adore.
You will also like the following Dessert recipes!
Why You’ll Love This?
You’re probably intrigued already. Here’s why you’ll cherish these peanut butter cups:
1. Healthy Ingredients: You know exactly what goes into these treats. No hidden chemicals here.
2. Customizable: Swap in your favorite nut butters, add fillings, or tinker with toppings. The power is in your hands.
3. Quick to Make: With just a few easy steps, you’ll whip these up in no time. Perfect for when that sweet tooth strikes unexpectedly!
4. Great for Meal Prep: Make a batch and store them for later. Perfect for those busy days when you crave something satisfying.
5. Kid-Friendly: Kids love the combination of chocolate and peanut butter. Plus, you can feel good about giving them a healthier alternative.
Ingredients
Here’s what you’ll need to create these tasty treats:
- ½ cup smooth natural peanut butter: Creamy and luscious, it’s the heart of this recipe.
- 1 (3.5 ounce) bar 85% dark chocolate: Quality chocolate for rich flavor.
- ½ tablespoon pure maple syrup or agave nectar: A touch of sweetness without the guilt.
- ½ tablespoon finely shredded coconut flour: Adds a unique texture and helps bind.
- ¼ teaspoon pure vanilla extract (optional): Boosts the overall flavor.
- 1/8 teaspoon ground cinnamon (optional): A warm spice that complements the chocolate.
- Pinch of sea salt: Enhances the flavor of the peanut butter.
- Fancy flaked sea salt: For sprinkling on top as a finishing touch.

Step-by-Step Instructions
Creating these peanut butter cups is as straightforward as pie – or should I say, peanut butter cups!
Step 1: Prepare Your Molds
Start by grabbing a muffin tin and lining it with cupcake liners. This ensures that your treats come out easily and are a breeze to serve.
Step 2: Melt the Chocolate
Next, chop your dark chocolate into smaller chunks to ensure even melting. Use a microwave-safe bowl and heat it in 30-second intervals, stirring in between. Once melted, let it cool slightly.
Step 3: Coat the Bottoms
Spoon about a teaspoon of melted chocolate into the bottom of each liner. Tilt the tray to ensure the chocolate coats the bottom evenly. Place the tin in the refrigerator for about 10 minutes to set.
Step 4: Make the Peanut Butter Filling
While your chocolate is setting, get your peanut butter mixture ready. In a bowl, combine the smooth peanut butter, maple syrup, coconut flour, vanilla extract, cinnamon, and salt. Stir until smooth; it should be creamy and well-blended.
Step 5: Fill with Peanut Butter
Remove the muffin tin from the fridge. Now, add about a tablespoon of the peanut butter mixture into each mold. Spread it evenly, keeping it centered.
Step 6: Top with Chocolate
Pour the remaining melted chocolate over the peanut butter filling, covering it completely. Tap the tin gently on the counter to level the top and remove any air bubbles.
Step 7: Chill to Set
Return the tin to the refrigerator for at least an hour to allow the chocolate to harden. Once set, carefully peel away the liners.
Tips & Tricks
Here are some nuggets of wisdom to elevate your peanut butter cup game:
- Quality Matters: Use high-quality chocolate for a richer taste. Your taste buds will thank you.
- Storage: Keep these treats in an airtight container in the fridge. They can last up to two weeks, but good luck having them around that long!
- Experiment: Try almond butter or sun butter for a nut-free alternative. The flavor adjusts beautifully.
- Flavor Variations: Add pieces of dried fruit or crushed nuts into the filling for an exciting twist.
- Serving Ideas: Pair with fresh fruit or yogurt for a light dessert.
Nutrition Information
Each homemade healthy peanut butter cup contains approximately:
- Calories: 130
- Protein: 4g
- Carbohydrates: 10g
- Fat: 10g
- Fiber: 2g
- Sugar: 2g
This is an estimate but showcases the health-conscious nature of these treats compared to commercially available options, which can be laden with additional sugars and fats.

How Can You Store These Homemade Healthy Peanut Butter Cups?
Storing your creations is easy. Keep them in an airtight container. Placing them in the refrigerator will keep them firm and fresh. If you want to extend their life, consider freezing them. They freeze well for up to three months. Just be sure to separate layers with parchment paper to prevent sticking.
Ingredient Alternatives
Sometimes, you might not have all the ingredients on hand, no worries! Here are some alternatives:
- Nut Butter Options: If you don’t have peanut butter, almond butter or sunflower seed butter are excellent substitutions. Both offer a creamy texture with unique flavors that shine through.
- Sweeteners: You can replace maple syrup with honey or agave syrup. Each will provide a different flavor profile but will still deliver that essential sweetness.
- Chocolate Choices: If dark chocolate isn’t your thing, you could use milk chocolate or dairy-free chocolate chips. Just make sure the chocolate you choose has a quality that enhances the overall flavor.

Equipment
- teaspoon
Ingredients
- ½ cup smooth natural peanut butter: Creamy and luscious it’s the heart of this recipe.
- 1 3.5 ounce bar 85% dark chocolate: Quality chocolate for rich flavor.
- ½ tablespoon pure maple syrup or agave nectar: A touch of sweetness without the guilt.
- ½ tablespoon finely shredded coconut flour: Adds a unique texture and helps bind.
- ¼ teaspoon pure vanilla extract optional: Boosts the overall flavor.
- 1/8 teaspoon ground cinnamon optional: A warm spice that complements the chocolate.
- Pinch of sea salt: Enhances the flavor of the peanut butter.
- Fancy flaked sea salt: For sprinkling on top as a finishing touch.
Instructions
Step 1: Prepare Your Molds
- Start by grabbing a muffin tin and lining it with cupcake liners. This ensures that your treats come out easily and are a breeze to serve.
Step 2: Melt the Chocolate
- Next, chop your dark chocolate into smaller chunks to ensure even melting. Use a microwave-safe bowl and heat it in 30-second intervals, stirring in between. Once melted, let it cool slightly.
Step 3: Coat the Bottoms
- Spoon about a teaspoon of melted chocolate into the bottom of each liner. Tilt the tray to ensure the chocolate coats the bottom evenly. Place the tin in the refrigerator for about 10 minutes to set.
Step 4: Make the Peanut Butter Filling
- While your chocolate is setting, get your peanut butter mixture ready. In a bowl, combine the smooth peanut butter, maple syrup, coconut flour, vanilla extract, cinnamon, and salt. Stir until smooth; it should be creamy and well-blended.
Step 5: Fill with Peanut Butter
- Remove the muffin tin from the fridge. Now, add about a tablespoon of the peanut butter mixture into each mold. Spread it evenly, keeping it centered.
Step 6: Top with Chocolate
- Pour the remaining melted chocolate over the peanut butter filling, covering it completely. Tap the tin gently on the counter to level the top and remove any air bubbles.
Step 7: Chill to Set
- Return the tin to the refrigerator for at least an hour to allow the chocolate to harden. Once set, carefully peel away the liners.
Notes
- Quality Matters: Use high-quality chocolate for a richer taste. Your taste buds will thank you.
- Storage: Keep these treats in an airtight container in the fridge. They can last up to two weeks, but good luck having them around that long!
- Experiment: Try almond butter or sun butter for a nut-free alternative. The flavor adjusts beautifully.
- Flavor Variations: Add pieces of dried fruit or crushed nuts into the filling for an exciting twist.
- Serving Ideas: Pair with fresh fruit or yogurt for a light dessert.
Nutrition
Frequently Asked Questions
1. Can I make these vegan?
Absolutely! Using dairy-free chocolate and leaving out any animal-derived ingredients will make them vegan-friendly. Always check labels for hidden dairy.
2. Can these peanut butter cups be made sugar-free?
Yes! Opt for sugar-free chocolate and use a sugar substitute for the maple syrup, such as erythritol or stevia if you can find them.
3. Are these suitable for children with nut allergies?
If you’re serving kids with nut allergies, switch out the peanut butter for sunflower seed butter or even tahini, a sesame seed paste, to avoid any allergic reactions.
4. How can I make these more decadent?
For a rich twist, consider adding a layer of caramel sauce or a sprinkle of crushed pretzels in the middle for that perfect salty-sweet balance.
5. What’s the best way to keep the chocolate from blooming?
To prevent chocolate from blooming, store your peanut butter cups in a cool place and keep them from direct sunlight and temperature fluctuations.
Conclusion
Homemade healthy peanut butter cups are not just a treat; they’re a step towards a more balanced dessert experience. With easy-to-source ingredients and simple steps, you’ll have the power to create something delicious without the guilt. Whether for yourself, your family, or a crowd, these little treats are sure to impress.
So why wait? Grab those ingredients, head to your kitchen, and start creating! You won’t regret it; after just one bite, you’ll understand why these are a staple in my home. Happy snacking!
You’ll also like these latest recipes!

Rebecca Novak is a trained chef with over 10 years of experience in the food industry. She has worked in both fine dining and casual Hungarian restaurants and specializes in creating dishes using fresh, seasonal ingredients. She also loves exploring different cuisines worldwide, which allows her to bring unique flavors and ideas to the recipes she creates for Hungarianchef.com. Read more
