Have you ever experienced a dessert so heavenly that it made you feel like you were dreaming?
Well, let me introduce you to the indulgent world of Dream Pie – a luscious, creamy delight that is sure to transport your taste buds to cloud nine.
Join me on a culinary journey as we explore the magic behind this irresistible treat and learn how to create it right in your own kitchen.

What is Dream Pie?
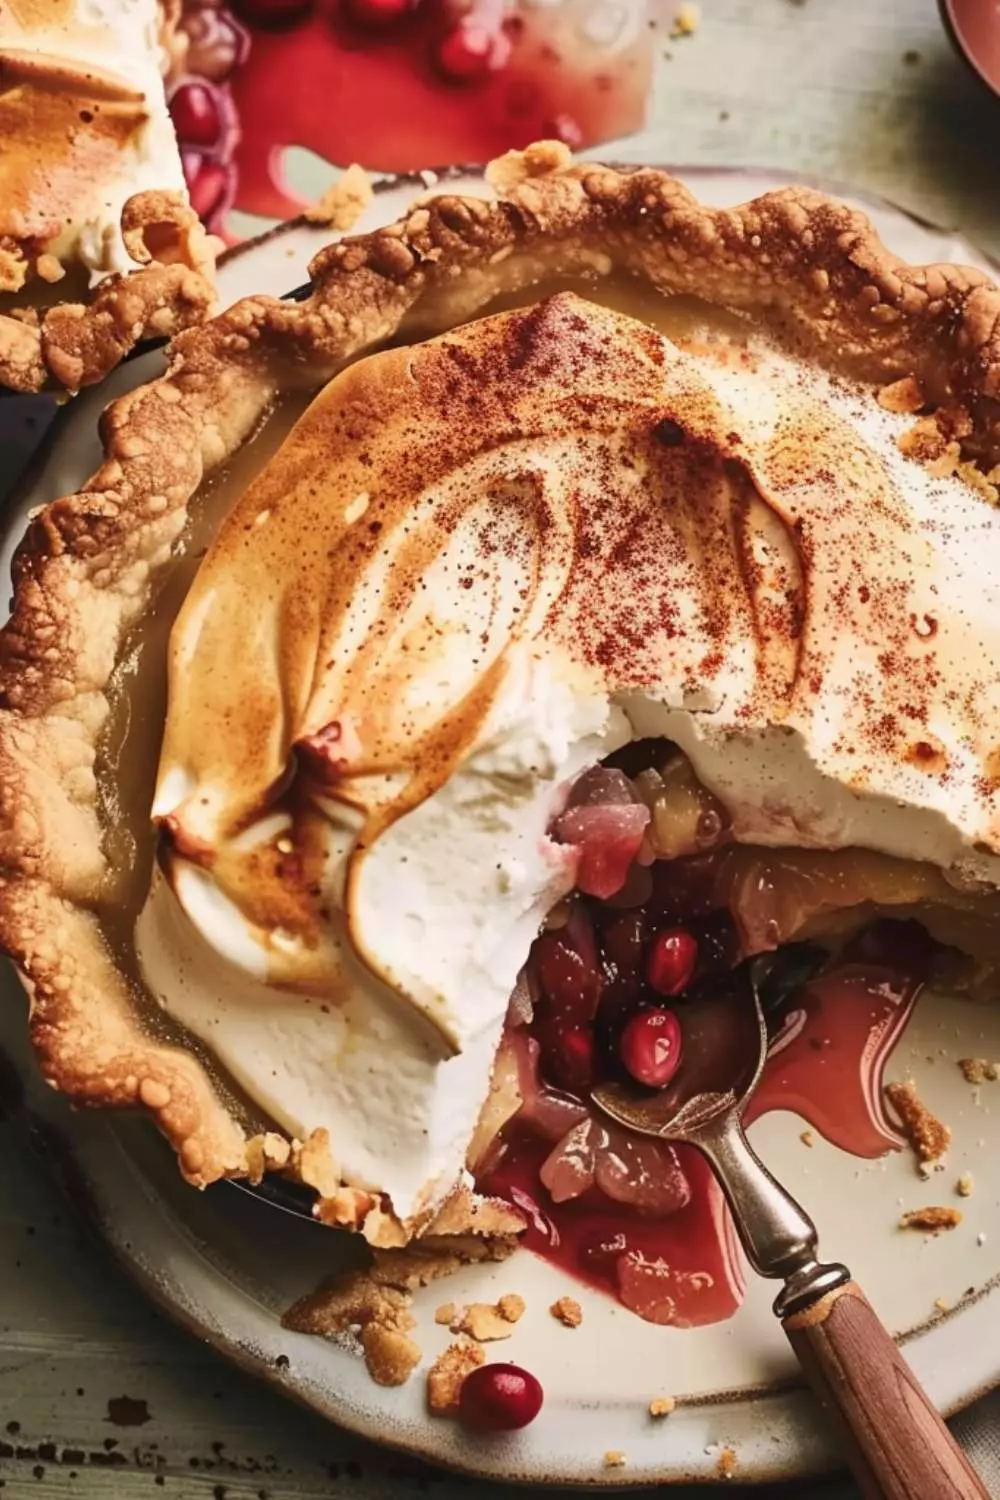
Dream Pie is a decadent dessert that combines the rich flavors of cream cheese, whipped topping, and sweetened condensed milk to create a velvety smooth filling that sits atop a buttery graham cracker crust.
This delightful creation is then topped with a generous layer of cherry pie filling, adding a burst of fruity sweetness to every bite. The contrast of creamy and tangy flavors in this pie is truly a match made in dessert heaven, making it a favorite among those with a sweet tooth.
Why This Recipe Works?
1. Creamy Indulgence: The combination of cream cheese, whipped topping, and sweetened condensed milk results in a filling that is luxuriously creamy and velvety smooth, creating a melt-in-your-mouth sensation with every bite.
2. Perfect Balance of Flavors: The tanginess of the lemon zest and juice cuts through the richness of the filling, adding a refreshing twist to the overall taste profile of the pie.
3. Easy Preparation: With simple ingredients and straightforward steps, this Dream Pie recipe is perfect for both novice and experienced bakers alike, ensuring a stress-free and enjoyable baking experience.
4. Crowd-Pleaser: Whether you’re hosting a dinner party or simply craving a sweet treat, this Dream Pie is guaranteed to impress and satisfy even the most discerning dessert lovers with its irresistible flavors and decadent texture.
You’ll also like the following Dessert recipes!
Ingredients You’ll Need To Make This Dream Pie:
For Crust:
Graham Cracker Pie Crust:
I opted for a 6 oz. prepared graham cracker pie crust as the base for my Dream Pie. Its buttery, crumbly goodness provides the perfect foundation, offering a delightful contrast to the creamy filling that follows. This crust ensures a satisfying bite in every slice, complementing the overall flavor profile.
Filling:
Lemon Zest:
The addition of 1/2 teaspoon of lemon zest brings a burst of citrus freshness to my Dream Pie. This small but vibrant ingredient enhances the filling, providing a subtle zing that elevates the entire dessert experience.
Unsalted Butter, Softened:
For a rich and velvety texture, I included 1 cup of softened unsalted butter in the filling. Its creamy consistency adds a luxurious touch, contributing to the Dream Pie’s indulgent and satisfying nature.
Vanilla Extract:
The incorporation of 1 1/2 teaspoons of vanilla extract enhances the flavor profile, infusing a sweet and aromatic note into the filling. This classic ingredient complements the other flavors, creating a well-rounded and delicious taste.
Fresh Lemon Juice:
To intensify the citrus flavor, I use 1/4 cup of fresh lemon juice. The tangy acidity of the lemon juice provides a refreshing balance, ensuring each bite is a delightful blend of sweet and zesty elements.
Sweetened Condensed Milk:
Including a 14 oz. can of Sweetened Condensed Milk adds a rich sweetness to the filling. This ingredient not only sweetens but also contributes to the creamy consistency, making the Dream Pie irresistibly smooth.
Cream Cheese, Softened:
A crucial element in creating the Dream Pie’s creamy texture is the addition of an 8 oz. package of softened cream cheese. Its velvety smoothness combines with other ingredients, resulting in a luxurious and satisfying filling.
Frozen Whipped Topping, Thawed:
For a light and airy finish, I top my Dream Pie with thawed frozen whipped topping. Its fluffy texture not only adds a delightful consistency but also serves as an enticing visual garnish.
Bloomed Gelatin, Microwaved:
For those who prefer a firmer texture, I introduce bloomed gelatin into the filling. After microwaving, this gelatin is gently folded in, providing a subtle jiggle and a smooth, velvety consistency to the Dream Pie.
Decoration:
Cherry Pie Filling:
To complete the pie and add a burst of color and fruity sweetness, I decorate the Dream Pie with a 21 oz. can of cherry pie filling. The vibrant cherries on top not only make it visually appealing but also introduce a delightful fruity layer to each slice, enhancing the overall taste experience.

How To Make These?
Step 1 Prepare the Crust:
Start by placing the graham cracker pie crust in a pie dish. Press it down gently to form an even crust layer.
Step 2 Create the Filling:
In a large bowl, beat the softened cream cheese until fluffy using an electric mixer on medium speed. Add the softened butter, vanilla extract, lemon juice, and lemon zest. Beat until well combined.
Step 3 Introduce Sweetened Condensed Milk:
Pour in the sweetened condensed milk, ensuring a smooth and creamy consistency in the filling mixture.
Step 4 Incorporate Bloomed Gelatin (if adding):
If using bloomed gelatin for added texture, microwave it for 5 seconds to loosen, then gently fold it into the filling mixture.
Step 5 Transfer to Pie Crust:
Pour the prepared filling into the graham cracker pie crust, ensuring an even distribution.
Step 6 Chill Until Set:
Cover the pie and place it in the refrigerator to chill for at least 3 hours or until the filling is set.
Step 7 Add Cherry Topping:
Once set, remove the pie from the refrigerator. Using a slotted spoon, remove cherries from the pie filling can and spoon them onto the top of the pie.
Step 8 Garnish with Whipped Topping:
For an extra touch of indulgence, garnish your dream pie with thawed frozen whipped topping. Spread it evenly over the pie.
Step 9 Ready to Serve:
Your delightful Dream Pie is now ready to be enjoyed! Slice it up and savor the creamy, zesty goodness in every bite. Perfect for any occasion!
Tips:
– Room Temperature Ingredients: Ensure that the cream cheese and butter are softened to room temperature before starting the recipe to ensure a smooth and lump-free filling.
Chill Thoroughly: For the best results, chill the pie in the refrigerator for the recommended time to allow the filling to set properly and develop its full flavor.
– Customize Your Toppings: Get creative with the pie’s decoration by using different fruit toppings such as strawberries or blueberries to personalize the dessert to your liking.
– Serve Chilled: Dream Pie is best enjoyed cold, so be sure to store any leftovers in the refrigerator and serve chilled for maximum enjoyment.
– Make Ahead: This pie can be made ahead of time and stored in the refrigerator until ready to serve, making it a convenient dessert option for gatherings and events.

Nutrition Information:
Serving Size- 1 slice
Sodium- 190 mg
Total Fat- 16 g
Calories From Fat- 140 g
Protein- 5 g
Saturated Fat- 7 g
Trans Fat- 2 g
Cholesterol- 35 mg
Sugars- 29 g
Total Carbohydrates- 52 g
Dietary Fiber- 0 g
Calories Per Serving- 370
How to Store The Leftovers?
To store any leftover Dream Pie, simply cover the pie with plastic wrap or aluminum foil and refrigerate it to maintain its freshness and quality. Enjoy the remaining slices within 2-3 days for the best taste and texture.
What are some recommended side dishes for Dream Pie?
1. Fresh Berries: Serve a side of fresh berries such as strawberries, raspberries, or blackberries to complement the creamy and fruity flavors of the Dream Pie.
2. Whipped Cream: Offer a dollop of whipped cream on the side for an extra creamy and light addition to each bite of the pie.
3. Vanilla Ice Cream: Pair the Dream Pie with a scoop of vanilla ice cream for a classic and indulgent dessert experience.
4. Coffee or Tea: Enjoy a hot cup of coffee or tea alongside the Dream Pie to balance out the sweetness with a warm and comforting beverage.
If the items are not available in your pantry, what are some substitute options for the ingredients?
1. Graham Cracker Crust: If you don’t have a graham cracker crust on hand, you can easily make one by crushing graham crackers and mixing them with melted butter to form a crumbly crust base.
2. Cream Cheese: In place of cream cheese, you can use mascarpone cheese or Greek yogurt for a similar creamy texture and tangy flavor in the filling.
3. Whipped Topping: Instead of frozen whipped topping, you can whip up heavy cream with powdered sugar until stiff peaks form to create a homemade whipped cream topping for the pie.
4. Cherry Pie Filling: If cherry pie filling is unavailable, you can use other fruit preserves or pie fillings such as blueberry, apple, or peach as a flavorful alternative topping for the Dream Pie.
Equipment
- Wooden spoon
- knife
- cutting board
- Parchment Paper or Silicone Baking Mats
- Mixing bowl
- Spatula
- Electric mixer
- Pie Dish
Ingredients
- 1 6 oz. prepared graham cracker pie crust
- 1/2 teaspoon lemon zest
- 1 cup unsalted butter softened
- 1 1/2 teaspoon vanilla extract
- 1/4 cup fresh lemon juice
- 1 14 oz. can Sweetened Condensed Milk
- 1 8 oz. package cream cheese, softened
- frozen whipped topping thawed
- Bloomed Gelatin microwaved
- 1 21 oz. can cherry pie filling
Instructions
- Start by placing the graham cracker pie crust in a pie dish. Press it down gently to form an even crust layer.
- In a large bowl, beat the softened cream cheese until fluffy using an electric mixer on medium speed. Add the softened butter, vanilla extract, lemon juice, and lemon zest. Beat until well combined.
- Pour in the sweetened condensed milk, ensuring a smooth and creamy consistency in the filling mixture.
- Step 4 Incorporate Bloomed Gelatin (if adding):
- If using bloomed gelatin for added texture, microwave it for 5 seconds to loosen, then gently fold it into the filling mixture.
- Pour the prepared filling into the graham cracker pie crust, ensuring an even distribution.
- Cover the pie and place it in the refrigerator to chill for at least 3 hours or until the filling is set.
- Once set, remove the pie from the refrigerator. Using a slotted spoon, remove cherries from the pie filling can and spoon them onto the top of the pie.
- For an extra touch of indulgence, garnish your dream pie with thawed frozen whipped topping. Spread it evenly over the pie.
- Your delightful Dream Pie is now ready to be enjoyed! Slice it up and savor the creamy, zesty goodness in every bite. Perfect for any occasion!
Notes
- Room Temperature Ingredients: Ensure that the cream cheese and butter are softened to room temperature before starting the recipe to ensure a smooth and lump-free filling.
- Chill Thoroughly: For the best results, chill the pie in the refrigerator for the recommended time to allow the filling to set properly and develop its full flavor.
- Customize Your Toppings: Get creative with the pie’s decoration by using different fruit toppings such as strawberries or blueberries to personalize the dessert to your liking.
- Serve Chilled: Dream Pie is best enjoyed cold, so be sure to store any leftovers in the refrigerator and serve chilled for maximum enjoyment.
- Make Ahead: This pie can be made ahead of time and stored in the refrigerator until ready to serve, making it a convenient dessert option for gatherings and events.
Nutrition
Frequently Asked Questions:
Q: Can I make a vegan version of Dream Pie?
A: Yes, you can adapt the recipe to create a vegan-friendly version by using dairy-free cream cheese, butter alternatives, and plant-based whipped topping to achieve a similar creamy texture and taste.
Q: Is it possible to customize the flavors of Dream Pie?
A: Absolutely! You can experiment with different extract flavors such as almond or coconut, add in crushed cookies or nuts for extra texture, or swirl in fruit purees for a unique twist on the classic recipe.
Q: How far in advance can I prepare Dream Pie for an event?
A: Dream Pie can be made up to 1-2 days in advance and stored in the refrigerator, covered, to preserve its freshness and taste until ready to serve.
Q: Can I freeze leftover Dream Pie for later consumption?
A: While it is possible to freeze Dream Pie, the texture of the filling may slightly change upon thawing, so it is recommended to enjoy the pie fresh for the best quality and taste.
Q: Can I substitute fresh fruit for the cherry pie filling on top of the Dream Pie?
A: Yes, you can use a variety of fresh or canned fruits such as strawberries, peaches, or pineapple as a topping for the Dream Pie to suit your preferences and seasonal availability. Just make sure to adjust the sweetness level accordingly.
Conclusion:
In conclusion, Dream Pie is a dessert masterpiece that combines the best of creamy textures, tangy flavors, and sweet indulgence in every heavenly bite.
Whether you’re looking to impress guests at a gathering or simply treat yourself to a delectable sweet treat, this recipe is sure to become a beloved favorite in your baking repertoire.
By following the tips, substitutions, and serving suggestions shared in this article, you can easily create your version of this dreamy dessert and savor the magic of every slice.
So why wait? Indulge in the enchanting world of Dream Pie today and let your taste buds embark on a blissful journey of sweet dreams and delicious delight.
You’ll also like these latest recipes!
- How to make Grill Dads Bbq Sauce
- Date Nut Roll With Eagle Brand Milk
- Chippy Dippy Bars Copycat Recipe

Rebecca Novak is a trained chef with over 10 years of experience in the food industry. She has worked in both fine dining and casual Hungarian restaurants and specializes in creating dishes using fresh, seasonal ingredients. She also loves exploring different cuisines worldwide, which allows her to bring unique flavors and ideas to the recipes she creates for Hungarianchef.com. Read more