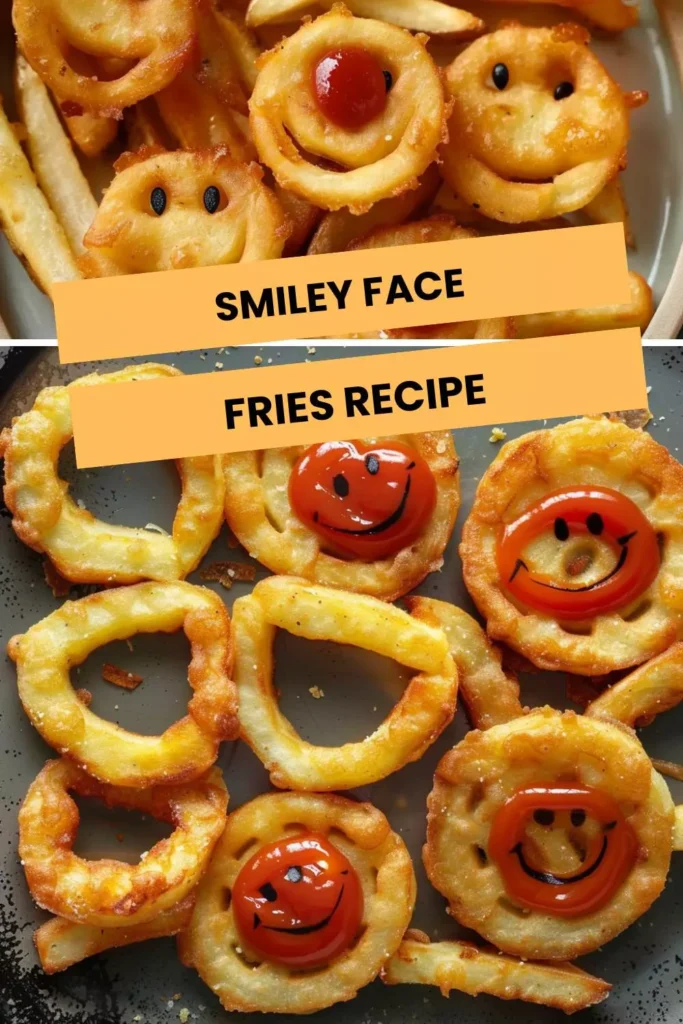
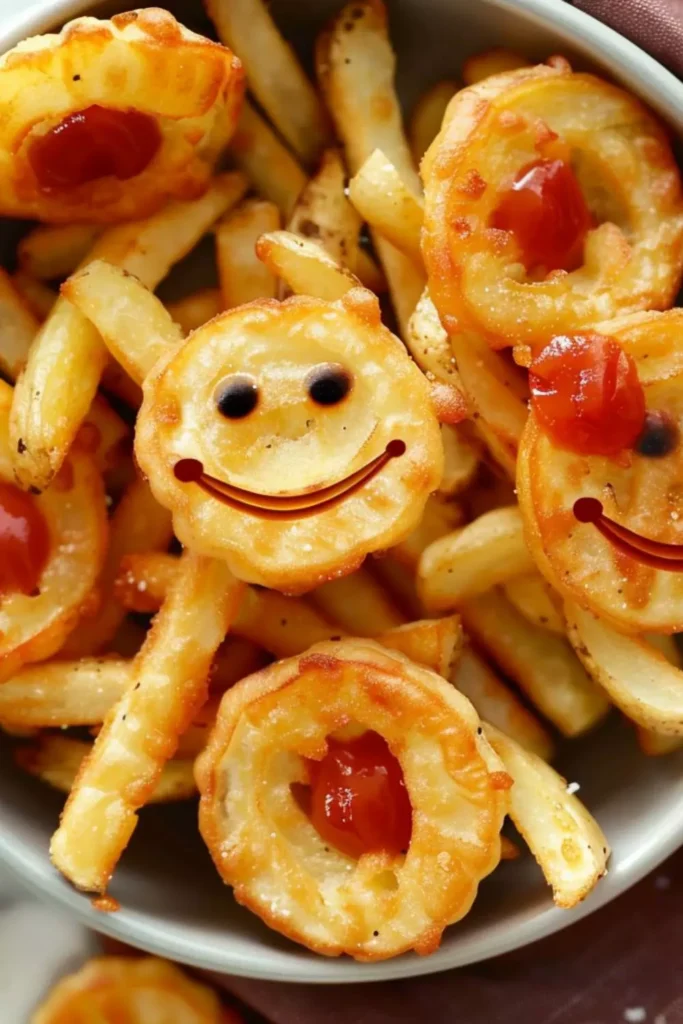
Hello, fellow foodies! Today, I am thrilled to share with you one of my all-time favorite recipes – Smiley Face Fries.
These delightful, crispy treats are not only a nostalgic throwback to childhood but also a satisfying and delicious snack for all ages.
As I walk you through the process of creating these adorable smiley face fries, I will also share valuable insights, tips, and variations to help you master this recipe in your own kitchen.
First and foremost, let’s talk about the star of the show – potatoes. I always opt for boiling the potatoes before grating them to ensure a soft and creamy texture inside the crispy exterior of the fries.
The combination of corn flour, garlic powder, and red chilli powder adds a burst of flavor to the potatoes, elevating them from ordinary fries to a gourmet snack. The addition of bread crumbs not only helps in binding the ingredients together but also provides a satisfying crunch with every bite.
The optional sauces – ketchup, mustard, and ranch dressing – serve as perfect companions to the smiley face fries, offering a variety of flavor profiles to suit every palate.

You’ll also like the following Appetizer recipes!
Ingredients:
- Salt: I use salt to enhance the flavor of the boiled potatoes. It adds a necessary element to balance out the taste and make the Smiley Face Fries more appetizing.
- Boiled Potatoes, Grated: These form the base of my Smiley Face Fries. The boiled potatoes provide a soft and malleable texture, and when grated, they contribute to the overall consistency of the mixture.
- Corn Flour: I incorporate corn flour to bind the ingredients together. It acts as a thickening agent, ensuring that the mixture holds its shape and doesn’t fall apart during frying.
- Kashmiri Red Chilli Powder: This spice not only adds a vibrant red color to the Smiley Face Fries but also imparts a mild heat. It enhances the overall flavor profile, giving the fries a subtle kick without being too overpowering.
- Bread Crumbs: I use bread crumbs to coat the Smiley Face Fries before frying. This creates a crispy and golden exterior, adding a delightful crunch to each bite.
- Oil for Deep Frying: Deep-frying the Smiley Face Fries in oil ensures they cook evenly and attain a crispy texture on the outside while remaining tender on the inside.
- Garlic Powder: Adding garlic powder contributes a savory and aromatic element to the Smiley Face Fries. It complements the other flavors and adds depth to the overall taste.
- Pepper: Pepper adds a hint of spiciness and warmth, balancing the flavors and enhancing the overall taste experience of the Smiley Face Fries.
- Optional: Ketchup, Ranch Dressing, and Mustard: These condiments serve as optional dipping sauces, providing a range of flavors to accompany the Smiley Face Fries. Ketchup adds sweetness, ranch dressing adds creaminess, and mustard adds a tangy kick.

How to Make “Smiley Face Fries”:
Creating Smiley Face Fries:
Step 1: Prepare Potato Mix
– Begin by combining 2 cups of boiled and grated potato in a large mixing bowl.
– Introduce ¼ cup of bread crumbs, 2 tbsp of corn flour, ½ tsp of kashmiri red chilli powder, 1/2 tsp of garlic powder, and 1/4 tsp of pepper.
– Adjust the bread crumbs as needed to achieve a soft, non-sticky dough.
Step 2: Chill the Dough
– Cover the potato mixture and let it chill in the refrigerator for 30 minutes. This ensures the smiley faces hold their shape during frying.
Step 3: Shape the Smiley Faces
– Take a portion of the chilled potato dough and flatten it slightly on a butter paper to prevent sticking.
– Use a cookie cutter or glass to cut rounds.
– Employ a straw for eyes and a spoon for smiles.
Step 4: Choose Your Cooking Method
– Option 1: Deep fry the potato smiles in hot oil until they achieve a golden brown perfection. Stir occasionally and maintain a medium flame for consistent frying.
– Option 2: For a healthier twist, brush the smiles with oil and bake in a preheated oven at 180 degrees Celsius. Aim for approximately 25 minutes or until they turn golden and crisp.
Step 5: Serve with Joy
– Present the delightful Smiley Face Fries with your preferred condiments—whether it’s classic ketchup, zesty mustard, or creamy ranch dressing.
Savor the playful and delicious Smiley Face Fries as a whimsical snack or a delightful side dish!
Recipe Notes:
– Corn Flour: Corn flour acts as a binding agent in this recipe, helping to hold the potato mixture together. It also adds a light and crispy texture to the fries.
– Kashmiri Red Chilli Powder: Kashmiri red chilli powder is known for its vibrant color and mild heat, making it ideal for adding a pop of flavor to the smiley face fries without overpowering the dish.
– Bread Crumbs: The bread crumbs not only add a crunchy coating to the fries but also help in absorbing excess moisture, resulting in perfectly crisp fries.
Recipe Variations:
– Cheesy Smiley Face Fries: Sprinkle grated cheese on top of the smiley face fries before frying for a gooey and indulgent twist.
– Spicy Smiley Face Fries: Add a pinch of cayenne pepper or paprika to the seasoning mixture for an extra kick of heat.
– Herb-infused Smiley Face Fries: Mix chopped herbs like parsley, thyme, or rosemary into the potato mixture for a fresh and aromatic flavor.

Nutrient :
-Calories: 131
-Fat (1g saturated fat): 7g
-Cholesterol : 0
-Sodium : 208mg
-Carbohydrate (0 sugars, 2g fiber) : 14g
-Protein : 2g
-Serving : 1

Equipment
- measuring cups, and spoons
- Spoons and Forks
- Potato Grater
- strainer
- Spatula
- Wooden spoon
- Mixing bowl
- Large pot
- Frying pan
- knife
- cutting board
Ingredients
- 1/2 teaspoon salt
- 2 cups boiled potatoes grated
- 2 tbsp corn flour
- 1/2 tsp Kashmiri red chilli powder
- 1/4 cup bread crumbs
- Oil for deep frying
- 1/2 teaspoon garlic powder
- 1/4 teaspoon pepper
Instructions
- Begin by combining 2 cups of boiled and grated potato in a large mixing bowl.
- Introduce ¼ cup of bread crumbs, 2 tbsp of corn flour, ½ tsp of kashmiri red chilli powder, 1/2 tsp of garlic powder, and 1/4 tsp of pepper.
- Adjust the bread crumbs as needed to achieve a soft, non-sticky dough.
- Cover the potato mixture and let it chill in the refrigerator for 30 minutes. This ensures the smiley faces hold their shape during frying.
- Take a portion of the chilled potato dough and flatten it slightly on a butter paper to prevent sticking.
- Use a cookie cutter or glass to cut rounds.
- Employ a straw for eyes and a spoon for smiles.
- Deep fry the potato smiles in hot oil until they achieve a golden brown perfection. Stir occasionally and maintain a medium flame for consistent frying.
- For a healthier twist, brush the smiles with oil and bake in a preheated oven at 180 degrees Celsius. Aim for approximately 25 minutes or until they turn golden and crisp.
- Present the delightful Smiley Face Fries with your preferred condiments—whether it’s classic ketchup, zesty mustard, or creamy ranch dressing.
- Savor the playful and delicious Smiley Face Fries as a whimsical snack or a delightful side dish!
Notes
- Corn Flour: Corn flour acts as a binding agent in this recipe, helping to hold the potato mixture together. It also adds a light and crispy texture to the fries.
- Kashmiri Red Chilli Powder: Kashmiri red chilli powder is known for its vibrant color and mild heat, making it ideal for adding a pop of flavor to the smiley face fries without overpowering the dish.
- Bread Crumbs: The bread crumbs not only add a crunchy coating to the fries but also help in absorbing excess moisture, resulting in perfectly crisp fries.
Nutrition
Frequently Asked Questions:
Q1: Can I use sweet potatoes instead of regular potatoes for this recipe?
A1: Yes, you can definitely use sweet potatoes to make smiley face fries. Just adjust the seasoning according to your taste preferences.
Q2: How can I make these smiley face fries healthier?
A2: To make a healthier version of smiley face fries, you can bake them instead of deep-frying. Simply place the shaped fries on a baking sheet, spray them with oil, and bake in a preheated oven until crispy.
Q3: Can I make a larger batch of smiley face fries and freeze them for later?
A3: Absolutely! You can prepare a big batch of smiley face fries, freeze them on a baking sheet until firm, and then transfer them to a freezer-safe bag for storage. When ready to eat, simply fry or bake them straight from the freezer.
Q4: Are there any alternative dipping sauces that pair well with these fries?
A4: Apart from ketchup, mustard, and ranch dressing, you can also try serving the smiley face fries with garlic aioli, BBQ sauce, or sriracha mayo for a flavorful twist.
Q5: Can I add additional toppings to the smiley face fries before serving them?
A5: Yes, you can customize the smiley face fries by adding toppings like crispy bacon bits, chopped scallions, or diced jalapenos for extra flavor and texture.
Q6: How do I prevent the smiley face fries from becoming soggy after frying?
A6: To ensure that the smiley face fries remain crispy, make sure to drain them on a paper towel after frying to remove excess oil. Serving them immediately also helps in maintaining their crunchiness.
Conclusion:
In conclusion, making smiley face fries at home is not only a fun and rewarding experience but also a delicious way to enjoy a classic snack with a creative twist.
By following the simple steps and tips shared in this guide, you can elevate your snack game and treat yourself to a plate of irresistible smiley face fries whenever the craving strikes. So, gather your ingredients, put on your chef hat, and get ready to impress your family and friends with this delightful recipe. Happy cooking!
Remember, creativity knows no bounds when it comes to cooking, so feel free to experiment with different seasonings, shapes, and presentations to make these smiley face fries truly your own. Enjoy every crispy, smiley bite!
You’ll also like these latest recipes!

Rebecca Novak is a trained chef with over 10 years of experience in the food industry. She has worked in both fine dining and casual Hungarian restaurants and specializes in creating dishes using fresh, seasonal ingredients. She also loves exploring different cuisines worldwide, which allows her to bring unique flavors and ideas to the recipes she creates for Hungarianchef.com. Read more
