Ever had that tangy crunch of a dill pickle and thought, “I could eat this forever”? Well, why not make your own to have endless supply? Let’s dive into the ultimate homemade dill pickle recipe. It’s a game-changer, trust me.
Before that, keep in mind that this goes really well with Costco Tortellini Pasta Salad, Chicken Chesapeake Sandwich and Trader Joe’s Baby Back Ribs. So, you can check them out too!

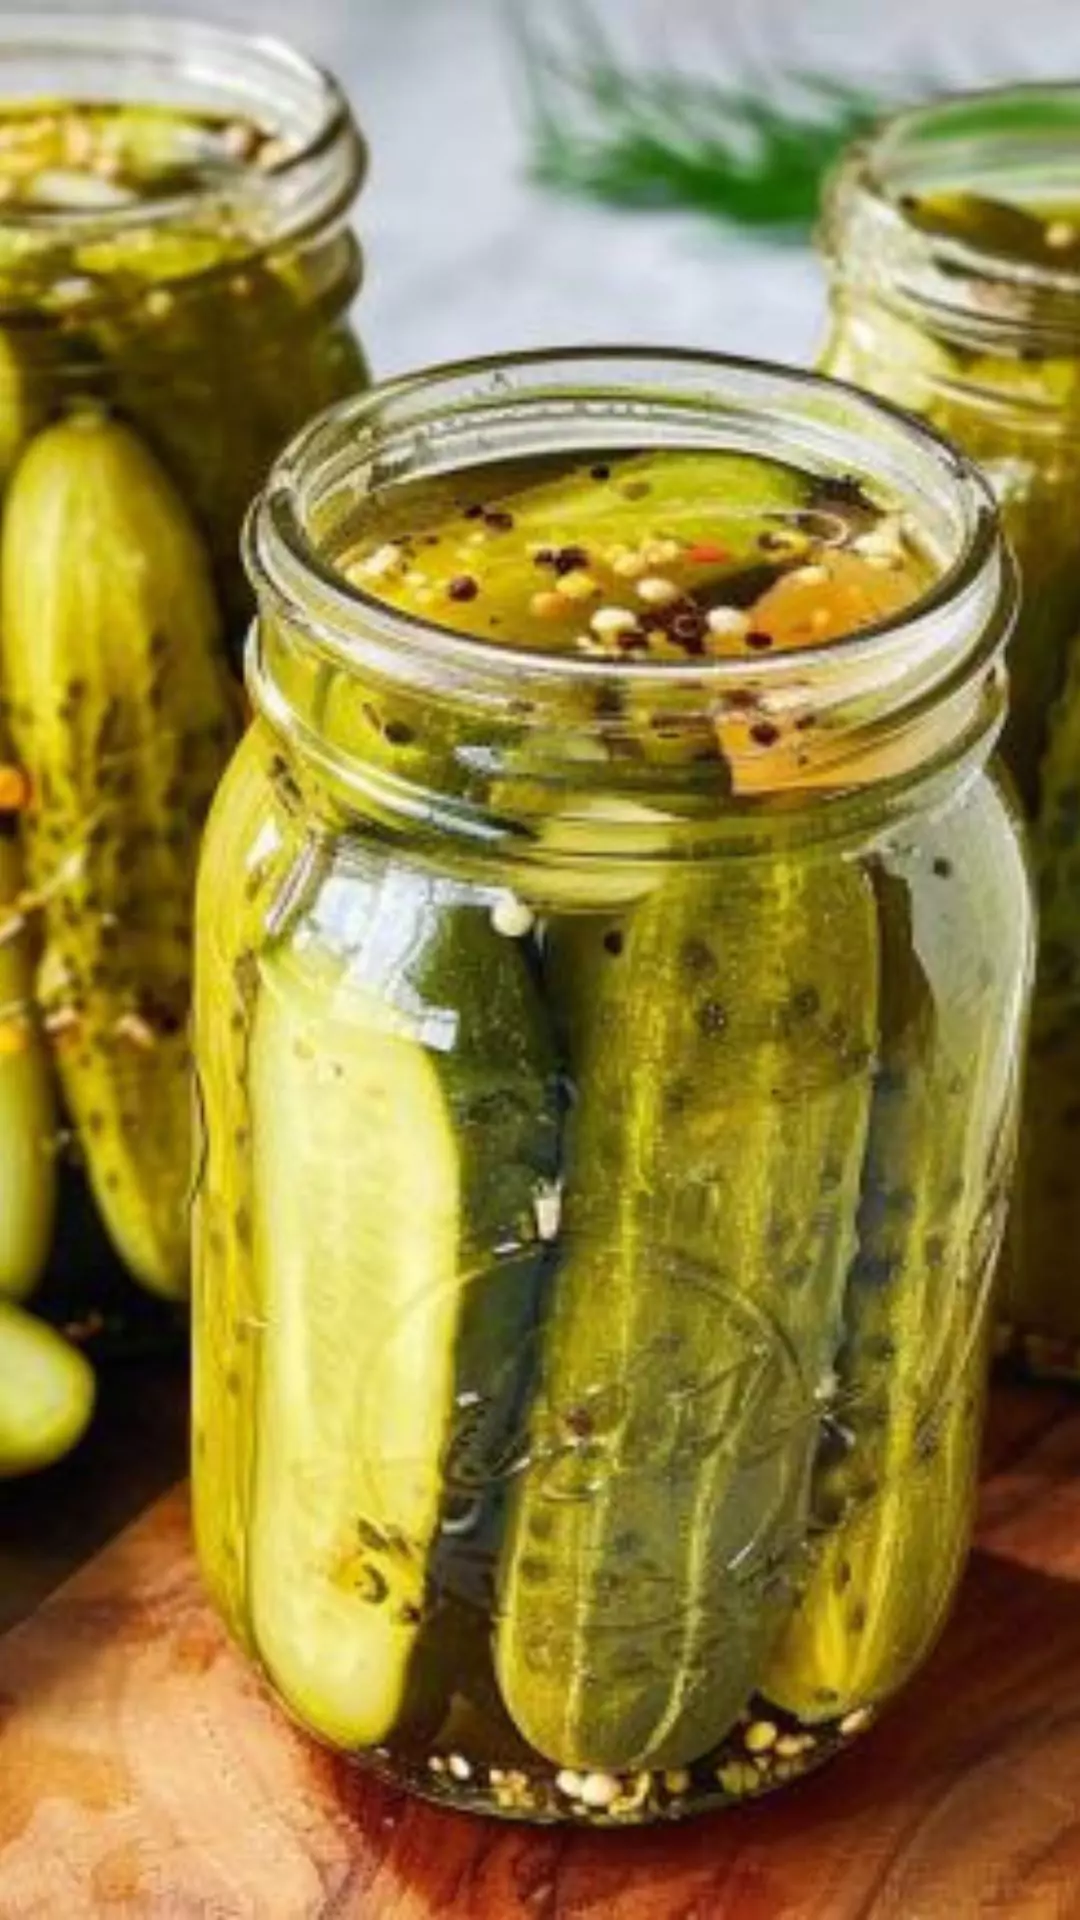
I adore homemade dill pickles because they’re fresher, crunchier, and tastier than store-bought ones. Plus, they’re a blast to make!
Over the years, I’ve tweaked my recipe to absolute perfection, balancing tang, crunch, and just the right hint of dill.
You will also like the following Appetizer recipes!
Ingredient Hall of Fame
When it comes to ingredients, I’m all about fresh and natural. Each one in this recipe has its crucial role. I’ve chosen the best pickling cucumbers, fresh dill, mustard seeds, garlic, filtered water, vinegar, and sea salt.
Let’s dive into the specifics:
Ingredients List
– 1 kg pickling cucumbers: Fresh and crispy, preferably small ones for a perfect crunch.
– 1 cup fresh dill: Nothing beats the aroma and flavor of fresh dill.
– ½ cup mustard seeds: Adds a unique tanginess.
– 4 garlic cloves: Give that garlicky goodness.
– Filtered water: Clean water is a must.
– 1 cup vinegar: White vinegar or apple cider vinegar, whichever you prefer.
– ¼ cup sea salt: Necessary for proper pickling.

How to Make Dill Pickles
Grab your apron and let’s start the magic!
Step 1: Prep the Cucumbers
First, wash the cucumbers thoroughly. Trim off the ends. Slice them into your preferred shapes—spears, chips, or leave them whole. The choice is yours.
Step 2: Sterilize Your Jars
Sterilize your mason jars. You can do this by boiling them in water for about 10 minutes. This step is paramount to avoid any bacteria sneaking in. Carefully remove the jars from the boiling water using tongs and set them aside to cool.
Step 3: Add Dill and Garlic
After sterilizing, place a few sprigs of dill and a garlic clove at the bottom of each jar.
Step 4: Pack Cucumbers
Pack the cucumbers tightly into the jars. Don’t be shy; really cram them in there. They need to stand upright if possible.
Step 5: Make the Brine
In a pot, combine the vinegar, filtered water, and sea salt. Bring it to a boil to dissolve the salt completely. Once it’s boiled, let it cool down a bit.
Step 6: Add Mustard Seeds
Sprinkle mustard seeds into the jars, spreading them evenly.
Step 7: Pour Brine
Pour the brine into the jars, covering the cucumbers completely. Ensure there are no air bubbles trapped inside. If needed, gently tap the jars or use a small non-metallic utensil to release the bubbles.
Step 8: Boil the Filled Jars
Place the filled and sealed jars into a saucepan filled with water. Bring the water to a gentle boil and let the jars boil for about 10 minutes. This helps to ensure a proper seal and extends the shelf life of your pickles.
Step 9: Seal the Jars
Carefully remove the jars from the boiling water and place the lids on the jars. Screw the bands on until finger-tight. Let the jars cool completely at room temperature.
Step 10: Refrigerate
Refrigerate the jars. If you’re patient enough, let them sit for 2-3 weeks to develop full flavor. But hey, if you can’t wait that long, even a few days can deliver a nice taste.
Recipe Notes
– Using fresh cucumbers and dill gives the best taste. Pickling cucumbers are less watery than regular ones, which helps maintain that crunch.
– Filtered water is essential. Tap water can contain minerals that affect the pickling process.
– Sea salt is my go-to. It’s purer and delivers a cleaner brine. Avoid iodized salt as it can cloud the brine.

Recipe Variations
Want to spice things up? Here are a few variations:
– Spicy Dill Pickles: Add a few slices of jalapeños or a pinch of red pepper flakes.
– Sweet and Sour Pickles: Include a tablespoon of sugar to the brine for a sweet touch.
– Herb Infused: Experiment with adding tarragon or thyme for a different flavor profile.
Equipment
- 1 Water Bath or Steam Canner
- 3 quart-sized canning jars with lids
Ingredients
- – 1 kg pickling cucumbers: Fresh and crispy preferably small ones for a perfect crunch.
- – 1 cup fresh dill: Nothing beats the aroma and flavor of fresh dill.
- – ½ cup mustard seeds: Adds a unique tanginess.
- – 4 garlic cloves: Give that garlicky goodness.
- – Filtered water: Clean water is a must.
- – 1 cup vinegar: White vinegar or apple cider vinegar whichever you prefer.
- – ¼ cup sea salt: Necessary for proper pickling.
Instructions
Step 1: Prep the Cucumbers
- First, wash the cucumbers thoroughly. Trim off the ends. Slice them into your preferred shapes—spears, chips, or leave them whole. The choice is yours.
Step 2: Sterilize Your Jars
- Sterilize your mason jars. You can do this by boiling them in water for about 10 minutes. This step is paramount to avoid any bacteria sneaking in. Carefully remove the jars from the boiling water using tongs and set them aside to cool.
Step 3: Add Dill and Garlic
- After sterilizing, place a few sprigs of dill and a garlic clove at the bottom of each jar.
Step 4: Pack Cucumbers
- Pack the cucumbers tightly into the jars. Don’t be shy; really cram them in there. They need to stand upright if possible.
Step 5: Make the Brine
- In a pot, combine the vinegar, filtered water, and sea salt. Bring it to a boil to dissolve the salt completely. Once it’s boiled, let it cool down a bit.
Step 6: Add Mustard Seeds
- Sprinkle mustard seeds into the jars, spreading them evenly.
Step 7: Pour Brine
- Pour the brine into the jars, covering the cucumbers completely. Ensure there are no air bubbles trapped inside. If needed, gently tap the jars or use a small non-metallic utensil to release the bubbles.
Step 8: Boil the Filled Jars
- Place the filled and sealed jars into a saucepan filled with water. Bring the water to a gentle boil and let the jars boil for about 10 minutes. This helps to ensure a proper seal and extends the shelf life of your pickles.
Step 9: Seal the Jars
- Carefully remove the jars from the boiling water and place the lids on the jars. Screw the bands on until finger-tight. Let the jars cool completely at room temperature.
Step 10: Refrigerate
- Refrigerate the jars. If you’re patient enough, let them sit for 2-3 weeks to develop full flavor. But hey, if you can’t wait that long, even a few days can deliver a nice taste.
Notes
Nutrition
Frequently Asked Questions
1. How long do homemade dill pickles last?
Homemade pickles, when properly stored in the refrigerator and unopened, can last up to six months. Once opened, it’s best to consume them within a month for maximum freshness.
2. Can I use table salt for pickling?
It’s not recommended. Table salt contains additives that can affect the clarity and flavor of your pickles. Sea salt or pickling salt is the best choice.
3. What’s the reason behind boiling the jars?
Boiling jars ensures they are sterilized, which prevents any potential bacterial contamination during the pickling process.
4. Why is my pickle brine cloudy?
Cloudiness can result from using iodized salt or improper sealing of the jars. Always use non-iodized salt and ensure jars are adequately sealed.
5. Can I reuse the brine?
While you technically can reuse the brine, it’s not recommended. The strength of the brine dilutes after the first use, which can compromise the flavor and safety of the pickles.
6. How do I know if my pickles are properly pickled?
Taste and texture are key indicators. They should be tangy, crunchy, and well-flavored. If they are soft or have an off smell, it’s best to discard them.
Conclusion
Making dill pickles at home is a fun and rewarding experience. You end up with a jar of pure joy—crunchy, tangy, and full of freshness. And the best part? You know exactly what’s in there. No preservatives, just good old-fashioned natural goodness.
I hope you try out this recipe and adore it as much as I do. Happy pickling! If you found this guide helpful, feel free to share it with your fellow pickle enthusiasts. And drop a comment below to let me know how your pickles turned out. Cheers!
You’ll also like these latest recipes!

Rebecca Novak is a trained chef with over 10 years of experience in the food industry. She has worked in both fine dining and casual Hungarian restaurants and specializes in creating dishes using fresh, seasonal ingredients. She also loves exploring different cuisines worldwide, which allows her to bring unique flavors and ideas to the recipes she creates for Hungarianchef.com. Read more