Before diving into the delightful journey of making a smash cake, think about what pairs well with this charming creation. Interactive treats can elevate a party atmosphere. Fresh fruit, like strawberries or blueberries, brings a splash of color and freshness to your spread.
A generous platter of assorted cheeses appeals to both kids and adults, adding richness and flavor. And if you’re feeling adventurous, a light sparkling cider can be a great complement, offering bubbles and festivity. Traditional snacks like popcorn or chips, sprinkled with a bit of seasoning, create a fun contrast to the cake’s sweetness.

Celebrating a child’s first birthday is a special occasion laden with memories, excitement, and love. One of the standout features of such festivities is undoubtedly the smash cake. This mini cake not only serves as a delicious dessert but also acts as an integral part of the celebration—a chance for little ones to dig in and make a mess. I remember my child’s first birthday vividly.
The joy of watching them explore the texture of a cake, the look of surprise when they tasted something sweet for the first time, and the colorful frosting smudged across their cherubic face is a treasured memory. Today, I’m excited to share a recipe for a smash cake that’s not just visually appealing but also healthy and delicious.
What is a Smash Cake Recipe?
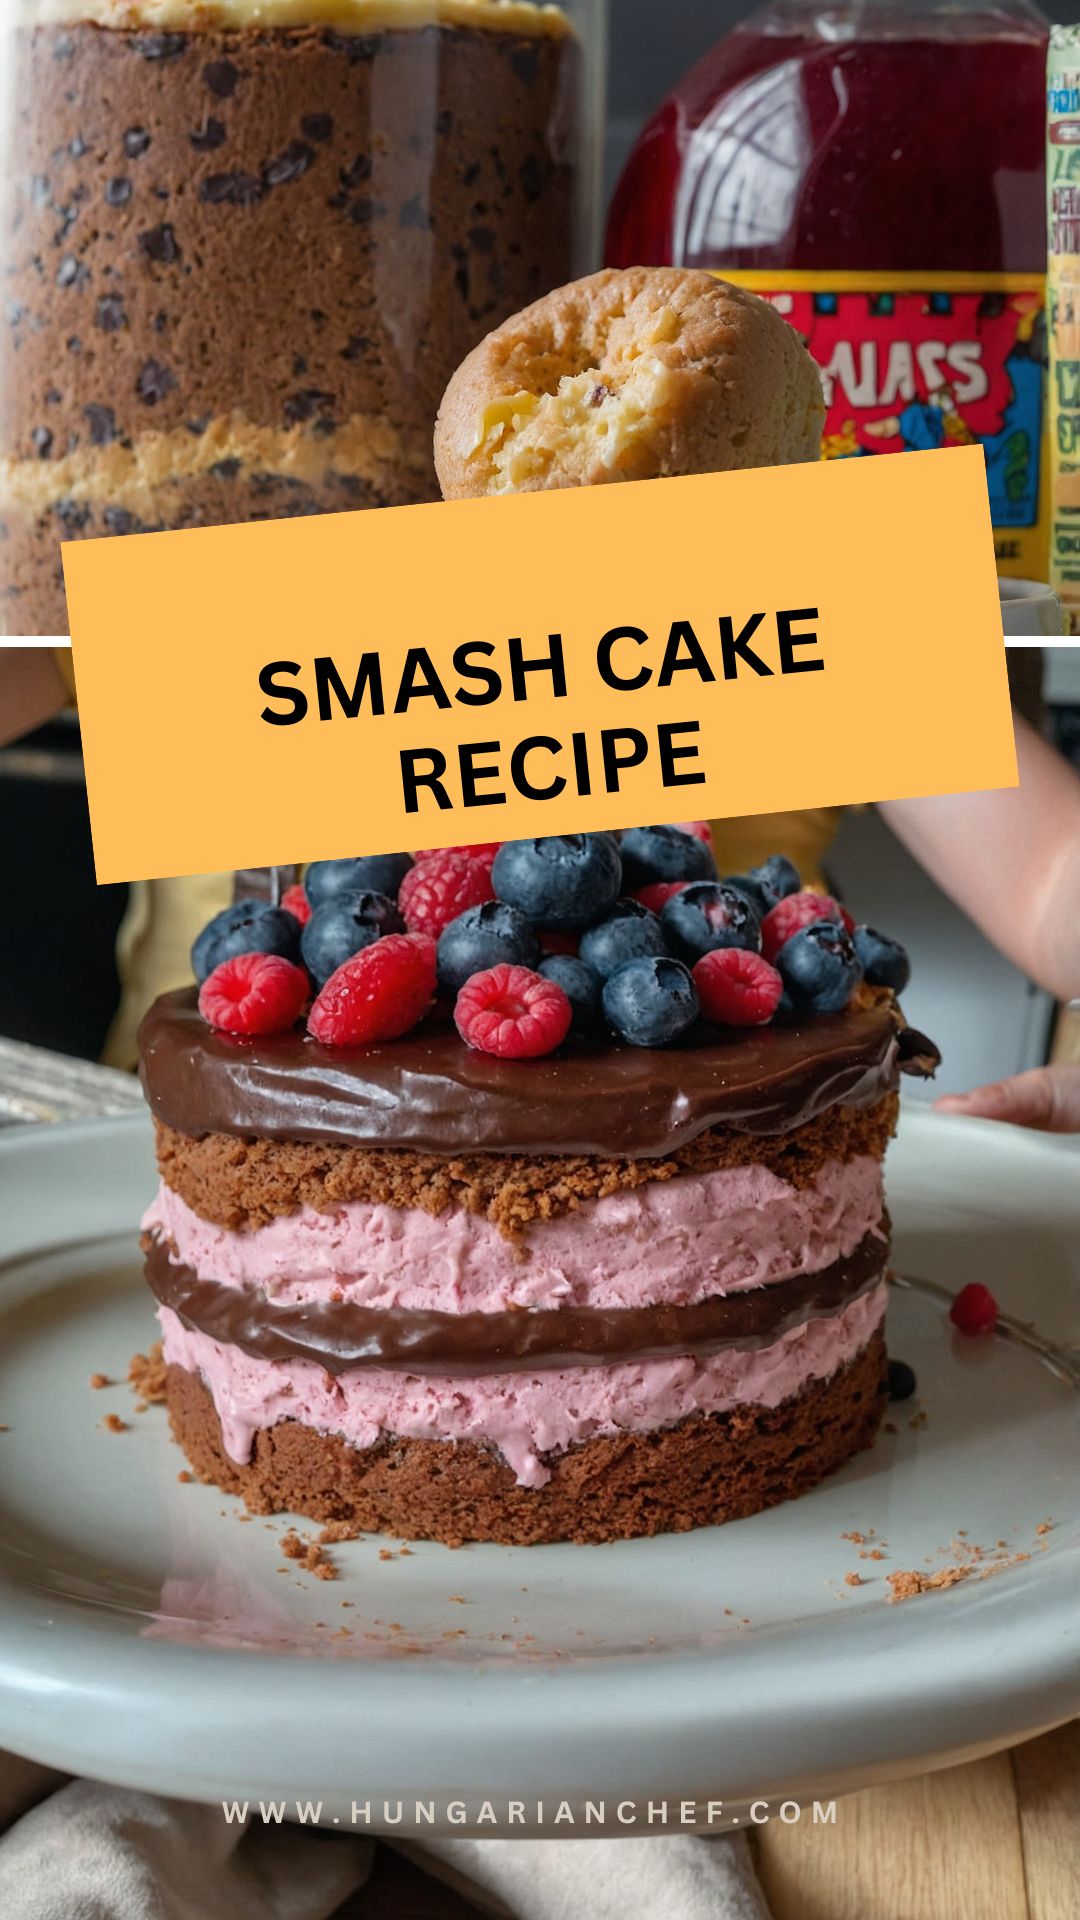
A smash cake serves a dual purpose: it’s designed for a baby to enjoy during their first birthday, and it creates excellent photo opportunities as they dive into their cake. The concept is simple but effective—make a smaller cake, usually with a soft, moist texture, that babies can easily handle.
While many traditional cakes loaded with sugar and artificial ingredients might be marketed as smash cakes, this recipe takes a healthier approach. It features wholesome ingredients, ensuring that even in their splurge moment, your little one is consuming something nourishing.
You will also like the following Dessert recipes!
- Brown Butter Chocolate Chip Cookies
- How to make My Grandmas Healthy Bran Muffins
- Peanut Butter Cup Protein Bars
What is the Flavor Profile of This Dish?
This smash cake is a delightful combination of sweet and subtle flavors. I’ve crafted a balance between the natural sweetness from pure maple syrup and the creamy richness of Greek yogurt frosting.
A hint of vanilla and a touch of cinnamon round out the flavor profile, making it comforting and familiar. The cake itself has a light texture thanks to finely ground oat flour, which gives it a delightful taste without being overly dense. The Greek yogurt frosting adds a creamy tang, making every bite a nuanced experience.
What Makes This Recipe Different from Other Smash Cake Recipes?
What sets this smash cake apart from others lies in the ingredients and overall approach. Unlike many traditional recipes that pack in refined sugars and unhealthy fats, this cake leverages natural sweetness through pure maple syrup and focuses on fresh, wholesome components.
I wanted to ensure that it is friendly for infants while still being appealing to the whole family. This recipe lacks artificial flavorings and heavy creams, instead opting for oat flour and Greek yogurt. It’s a treat that parents can feel proud to serve, knowing it’s both delicious and nutritionally sound.
Ingredients You’ll Need
To whip up this smash cake, you will need a few key ingredients. Below is a detailed list, divided into two parts: the cake and the frosting.
For the Vanilla Oat Cake:
- ½ teaspoon ground cinnamon: Adds warmth and subtle depth.
- 2 teaspoons pure vanilla extract: Enhances the overall flavor.
- 4 large eggs: Provides structure and richness to the cake.
- 1 cup real maple syrup: Offers natural sweetness; you can also use honey.
- 12 tablespoons melted unsalted butter, cooled slightly: Adds moisture and flavor.
- ½ teaspoon sea salt: Balances the sweetness.
- 2 teaspoons aluminum-free baking powder: Helps the cake rise.
- 3 cups finely ground oat flour: Creates a light, tender texture.
- 1 cup fresh mixed berries (blueberries, raspberries, or strawberries): Optional garnish for decoration.
For the Greek Yogurt Frosting:
- ¼ teaspoon lemon zest: Adds brightness and balances the tang.
- 2 to 3 tablespoons pure maple syrup: Adjust according to your taste preference.
- ¼ teaspoon real vanilla extract: Enhances the frosting’s flavor.
- 1½ cups full-fat plain Greek yogurt: Serves as the main base for the frosting.

Step 1: Prepare the Ingredients
Start by gathering all your ingredients. It’s like getting your ducks in a row before heading to the pond! Preheat your oven to 350°F (175°C). Grease two 6-inch round cake pans with butter, then line the bottoms with parchment paper for easy removal.
Step 2: Make the Cake Batter
In a large mixing bowl, whisk together the eggs and maple syrup until they’re well combined. Add the melted butter and mix until smooth. Then, stir in the vanilla extract and cinnamon. In a separate bowl, combine the oat flour, baking powder, and salt.
Gradually add this dry mixture into the wet ingredients, mixing until just combined. (Don’t overmix; a light hand is key here.)
Step 3: Bake Your Cakes
Divide the batter evenly between the prepared cake pans. Smooth the tops with a spatula, then pop them in your preheated oven.
Bake for 25-30 minutes or until a toothpick inserted in the center comes out clean. Let them cool in the pans for about ten minutes before transferring to wire racks to cool completely.
Step 4: Create the Greek Yogurt Frosting
While the cakes are cooling, prepare the frosting! In a large bowl, mix the Greek yogurt, maple syrup, lemon zest, and vanilla extract together until it’s smooth and creamy. Taste and adjust the sweetness according to your preference.
Step 5: Assemble the Cake
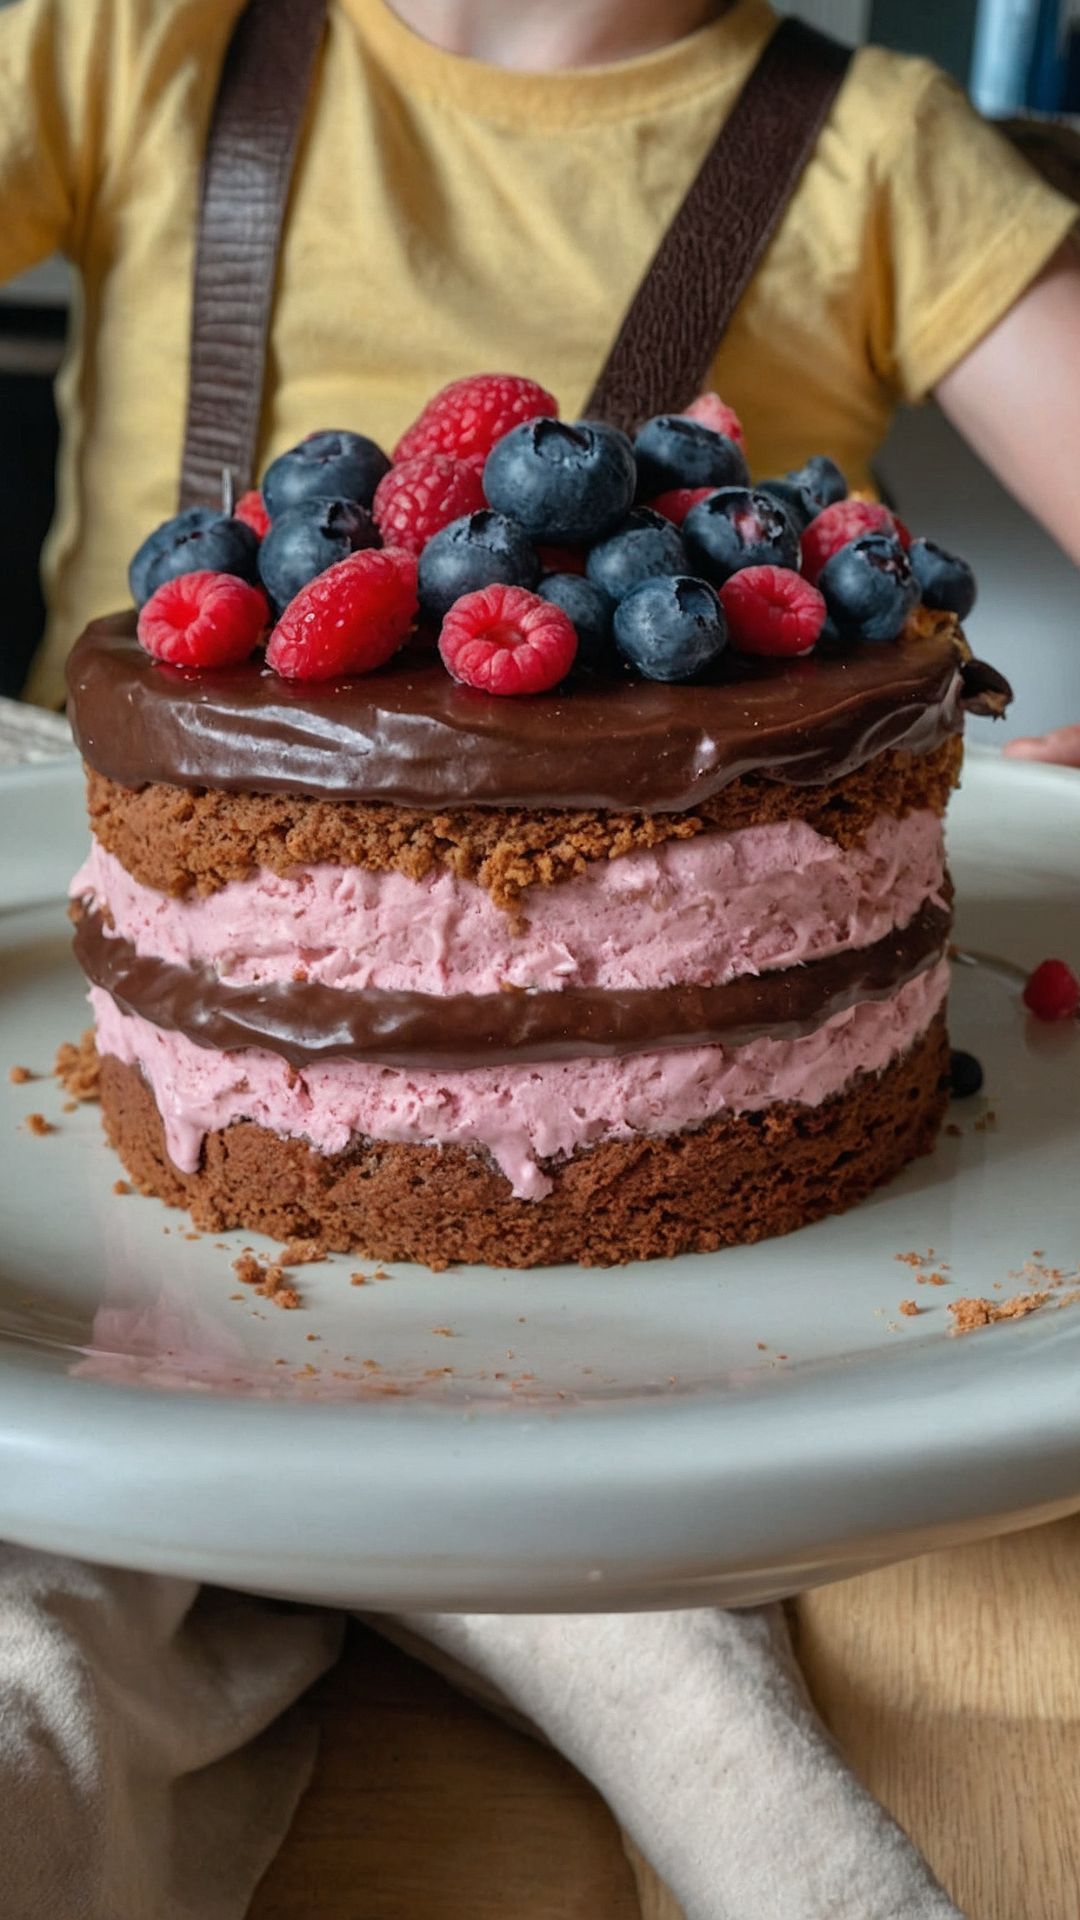
Once the cakes are completely cool, place one layer on a serving plate. Evenly spread a layer of frosting on top, then gently place the second cake layer on top. Frost the top and the sides of the cake with the remaining Greek yogurt frosting.
Step 6: Decorate
Here comes the fun part! Top the cake with fresh mixed berries for an added pop of color and freshness. Feel free to get creative—arranging the berries in fun patterns can add an extra festive look.
Tips on Making Smash Cake Recipe
Creating the perfect smash cake can be a piece of cake (pun intended). Here are some helpful tips:
- Don’t Overbake: Check your cakes a few minutes before the suggested time to ensure they stay moist.
- Let Them Cool Completely: This prevents the frosting from melting off and ensures that your decorations stay intact.
- Adjust Sweetness: Everyone’s taste can differ. Modifying the maple syrup in the frosting can make it perfect for your little one’s palate.
- Storing Leftovers: Keep any leftover cake in an airtight container in the fridge for up to three days.
- Experiment with Flavors: As your child grows, consider adding pureed fruits or spices like nutmeg to the cake batter for variety.
Nutrition Information
While traditional cakes can be heavy on sugars and fats, this healthier smash cake shifts the focus to nutrition. Each slice contains roughly:
- Calories: 180
- Fat: 7g
- Carbohydrates: 25g
- Protein: 5g
- Fiber: 2g
- Sugar: 6g
These figures can vary based on specific ingredient brands and measurements, but you get the picture. It’s healthier without compromising deliciousness!

How Can I Store This Smash Cake Recipe?
Storing your smash cake is simple. If you happen to have leftovers (which might be rare!), keep the cake in an airtight container in the refrigerator. It will stay fresh for up to three days. If you want to keep it longer, consider freezing it. Wrap it tightly in plastic wrap and then again in aluminum foil. It can last in the freezer for up to three months. When you’re ready to enjoy it again, just let it thaw overnight in the fridge.
Substitute Options for the Ingredients
Not every kitchen is stocked with every ingredient. Here are some thoughtful substitutions that can work elegantly in this smash cake recipe:
- Oat Flour: You can use almond flour or whole wheat flour instead if oats aren’t available. Just be mindful that texture may vary.
- Maple Syrup: Honey or agave syrup can serve well as liquid sweeteners, but they may slightly alter the flavor profile.
- Greek Yogurt: Regular yogurt or a dairy-free yogurt can work if you’re doing dairy-free. Opt for thicker varieties for similar texture.
- Eggs: If you need an egg substitute due to allergies, unsweetened applesauce (¼ cup per egg) or a mashed banana can work in a pinch.

Equipment
- Oven
- cup
Ingredients
For the Vanilla Oat Cake:
- ½ teaspoon ground cinnamon: Adds warmth and subtle depth.
- 2 teaspoons pure vanilla extract: Enhances the overall flavor.
- 4 large eggs: Provides structure and richness to the cake.
- 1 cup real maple syrup: Offers natural sweetness; you can also use honey.
- 12 tablespoons melted unsalted butter cooled slightly: Adds moisture and flavor.
- ½ teaspoon sea salt: Balances the sweetness.
- 2 teaspoons aluminum-free baking powder: Helps the cake rise.
- 3 cups finely ground oat flour: Creates a light tender texture.
- 1 cup fresh mixed berries blueberries, raspberries, or strawberries: Optional garnish for decoration.
For the Greek Yogurt Frosting:
- ¼ teaspoon lemon zest: Adds brightness and balances the tang.
- 2 to 3 tablespoons pure maple syrup: Adjust according to your taste preference.
- ¼ teaspoon real vanilla extract: Enhances the frosting’s flavor.
- 1½ cups full-fat plain Greek yogurt: Serves as the main base for the frosting.
Instructions
Step 1: Prepare the Ingredients
- Start by gathering all your ingredients. It’s like getting your ducks in a row before heading to the pond! Preheat your oven to 350°F (175°C). Grease two 6-inch round cake pans with butter, then line the bottoms with parchment paper for easy removal.
Step 2: Make the Cake Batter
- In a large mixing bowl, whisk together the eggs and maple syrup until they’re well combined. Add the melted butter and mix until smooth. Then, stir in the vanilla extract and cinnamon. In a separate bowl, combine the oat flour, baking powder, and salt.
- Gradually add this dry mixture into the wet ingredients, mixing until just combined. (Don’t overmix; a light hand is key here.)
Step 3: Bake Your Cakes
- Divide the batter evenly between the prepared cake pans. Smooth the tops with a spatula, then pop them in your preheated oven.
- Bake for 25-30 minutes or until a toothpick inserted in the center comes out clean. Let them cool in the pans for about ten minutes before transferring to wire racks to cool completely.
Step 4: Create the Greek Yogurt Frosting
- While the cakes are cooling, prepare the frosting! In a large bowl, mix the Greek yogurt, maple syrup, lemon zest, and vanilla extract together until it’s smooth and creamy. Taste and adjust the sweetness according to your preference.
Step 5: Assemble the Cake
- Once the cakes are completely cool, place one layer on a serving plate. Evenly spread a layer of frosting on top, then gently place the second cake layer on top. Frost the top and the sides of the cake with the remaining Greek yogurt frosting.
Step 6: Decorate
- Here comes the fun part! Top the cake with fresh mixed berries for an added pop of color and freshness. Feel free to get creative—arranging the berries in fun patterns can add an extra festive look.
Notes
- Don’t Overbake: Check your cakes a few minutes before the suggested time to ensure they stay moist.
- Let Them Cool Completely: This prevents the frosting from melting off and ensures that your decorations stay intact.
- Adjust Sweetness: Everyone’s taste can differ. Modifying the maple syrup in the frosting can make it perfect for your little one’s palate.
- Storing Leftovers: Keep any leftover cake in an airtight container in the fridge for up to three days.
- Experiment with Flavors: As your child grows, consider adding pureed fruits or spices like nutmeg to the cake batter for variety.
Nutrition
Frequently Asked Questions
1. How do I know when the cakes are done baking?
You can check for doneness by inserting a toothpick into the center of the cakes. If it comes out clean or with a few moist crumbs clinging to it, your cakes are done.
2. Can I make this cake ahead of time?
Absolutely! You can bake the layers a day in advance and store them, wrapped, in the refrigerator until you’re ready to frost and serve.
3. Is there an alternative to frosting entirely?
Certainly! If frosting isn’t your style, consider a light dusting of powdered sugar or even a fruit puree spread over the top.
4. At what age is a child ready for a smash cake?
Generally, children around the age of one are ready for their first taste of cake. Everyone’s readiness can vary—check with your pediatrician for personalized advice.
5. What if I don’t want a cake but still want a smashing experience?
If a cake isn’t feasible, consider individual cupcake options. Each mini cake can be personalized, making the smashing moment equally special
Conclusion
A smash cake can transform a simple birthday party into a delightful memory. This recipe offers a healthier version of that beloved tradition while ensuring it remains delicious and visually appealing. With the combination of balanced sweetness and creamy frosting, this treat will capture a child’s heart (and taste buds) as well as those of their family and friends. So there you have it: a celebration wrapped in flavors and textures, crafted with care, joy, and a sprinkle of love. I hope you enjoy making this smash cake as much as I did. Happy baking, and here’s to many sweet celebrations ahead!
You’ll also like these latest recipes!

Rebecca Novak is a trained chef with over 10 years of experience in the food industry. She has worked in both fine dining and casual Hungarian restaurants and specializes in creating dishes using fresh, seasonal ingredients. She also loves exploring different cuisines worldwide, which allows her to bring unique flavors and ideas to the recipes she creates for Hungarianchef.com. Read more
