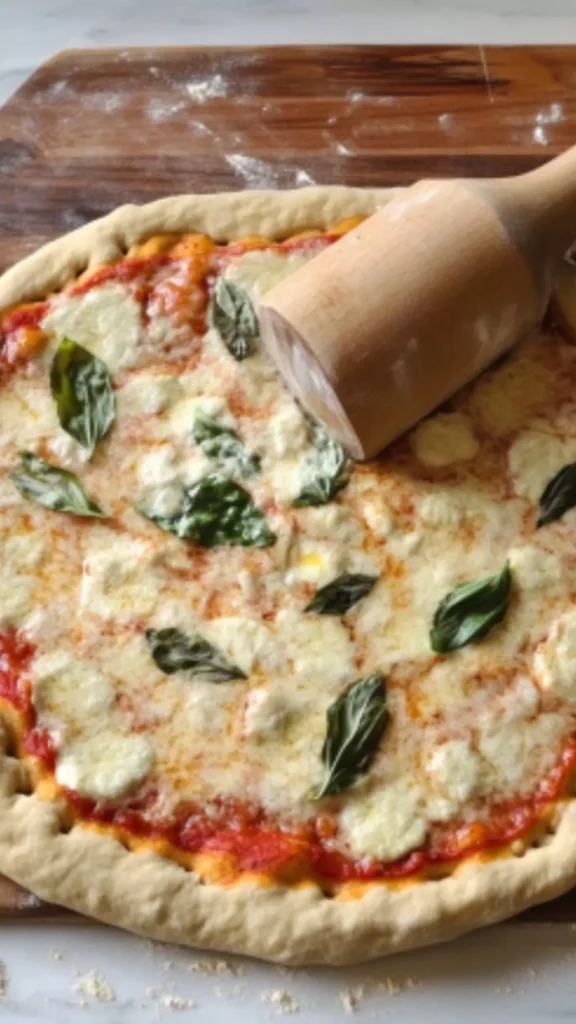
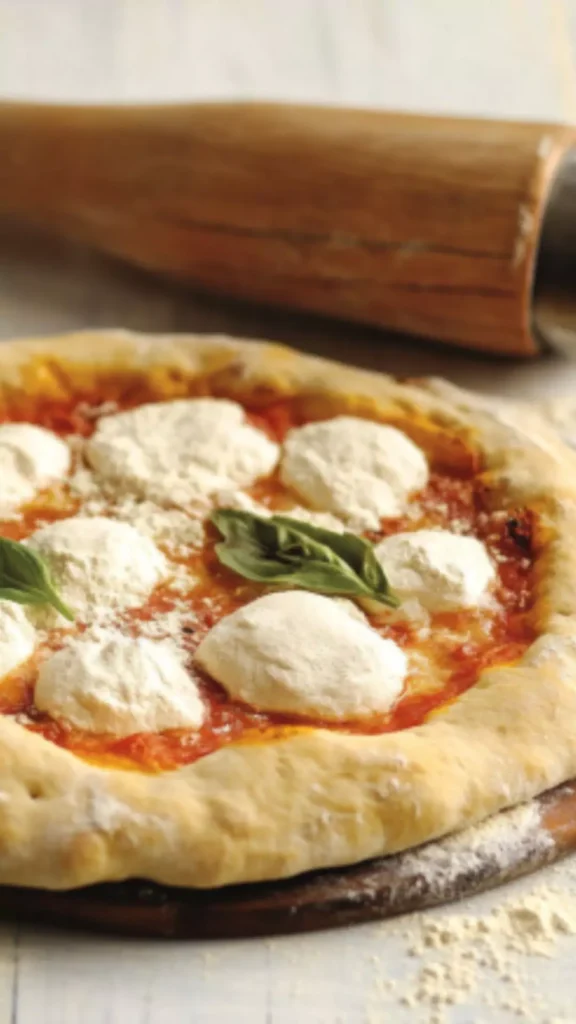
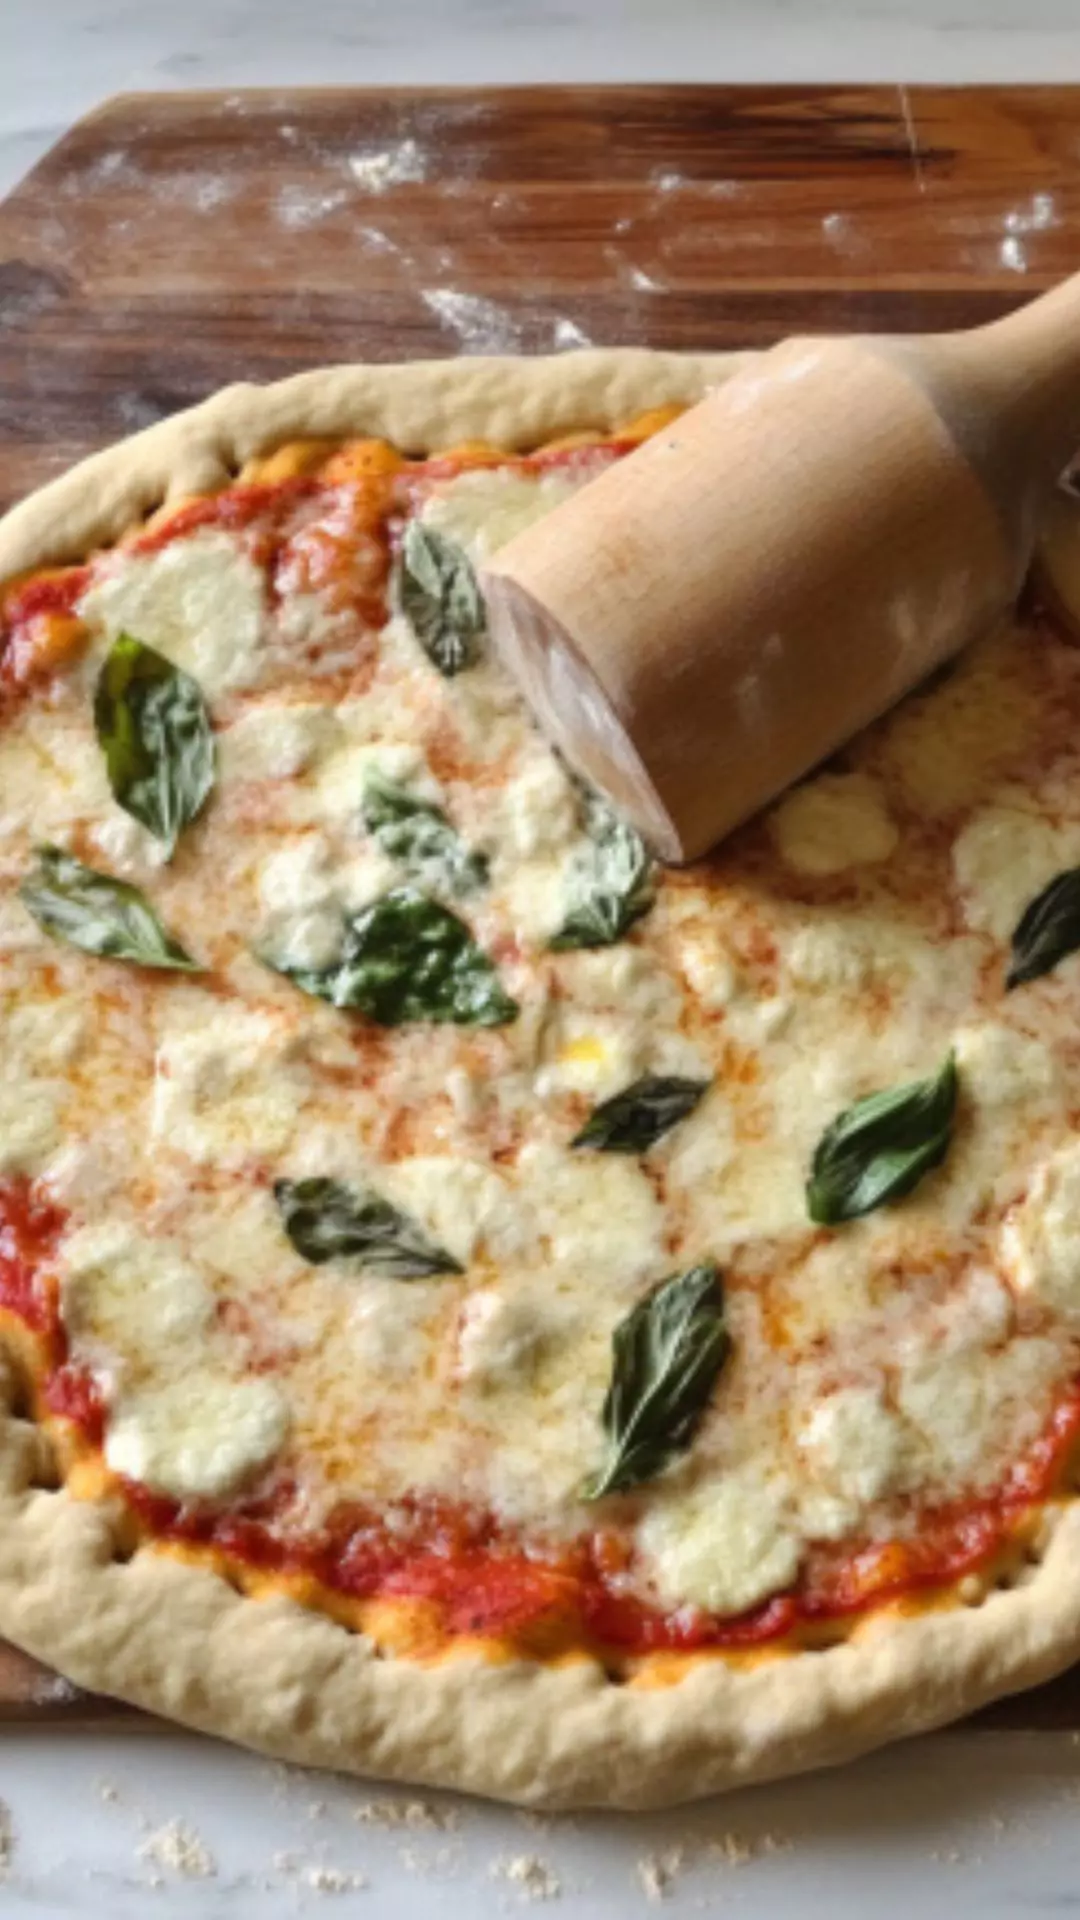
Ah, pizza—the classic dish that speaks to the hearts of many. It evokes memories of shared meals, laughter, and late-night cravings. While many of us have been tempted to call for delivery, I took on the challenge of crafting my own pizza dough.
Why, you ask? I discovered Bobby Flay’s pizza dough recipe, and let me tell you, it has transformed my pizza nights. So, let’s dive into this journey of making the perfect pizza dough that will impress your friends and family.

What is Bobby Flay’s Pizza Dough?
Bobby Flay, an acclaimed chef known for his expertise in grilling and bold flavors, offers a recipe that’s simple yet delivers a delightful crust. His pizza dough is light with just the right amount of texture. It’s a blend of warm water, yeast, flour, and a few pantry staples.
What’s unique about this recipe is how it harmonizes the ingredients to produce a crust that’s airy inside and crispy outside. It’s the foundation for your favorite toppings and could quickly become a weekly ritual in your home.
You will also like the following Breakfast recipes!
- Best High Altitude Pumpkin Bread Recipe
- How to make Paula Deen White Chocolate Bread Pudding
- Copycat Safeway French Bread Recipe
Why You’ll Love This Bobby Flay Pizza Dough
Firstly, let’s address the flavor. This recipe yields a crust that’s not too thick, not too thin—just perfect. The addition of garlic powder gives it an extra punch that tantalizes the taste buds. Moreover, Bobby’s method involves using quick-rise yeast, making it incredibly user-friendly, especially for those of us who don’t have hours to spare.
Next, there’s versatility. You can make this pizza dough to suit a variety of toppings—be it classic pepperoni, gourmet veggies, or even dessert pizza. You can serve it for a family pizza night or a fancy dinner party. Impress your friends with your culinary skills while enjoying the satisfaction of making it from scratch.
Lastly, the experience of creating something delicious from scratch is immensely rewarding. Each step brings a sense of joy, and by the end of it, you’re left with a fantastic base for culinary creativity.
The Ingredients
Let’s gather our ensemble of ingredients for this exciting adventure. Make sure you have everything on hand before you start:
- 1 1/2 cups of warm water (around 110°F)
- 1 packet (about 2 1/4 teaspoons) of quick-rise yeast
- 1 tablespoon of honey
- 1 teaspoon of fine granulated sugar
- 3 1/2 to 4 cups of all-purpose bread flour, plus extra for dusting
- 2 teaspoons of flaky sea salt
- 1/2 teaspoon of garlic powder
- 2 tablespoons of extra virgin olive oil, plus 2 teaspoons for brushing

Step by Step Instructions
Step 1: Prep Your Ingredients
Before you mix anything, get everything organized. Measure out your warm water, honey, sugar, and yeast. This ensures that everything is ready when it’s time to dive into the mixing. The warm water should feel like a cozy bath—if it’s too hot, it could kill the yeast.
Step 2: Activate the Yeast
In a mixing bowl, combine the warm water, honey, and sugar. Stir it gently to dissolve them. Then, sprinkle the yeast over the surface. Let this mixture sit for about 5-10 minutes. You’ll see the yeast bubbling and foaming, which is a good sign that it’s activated. This step is crucial. Without active yeast, your dough won’t rise properly.
Step 3: Mix the Dry Ingredients
In another bowl, whisk together 3 1/2 cups of bread flour, flaky sea salt, and garlic powder. You can add more flour later if needed, so don’t worry if you don’t use it all right now. The garlic powder gives a subtle flavor that makes a difference.
Step 4: Create the Dough
Once the yeast is activated, pour the olive oil into the yeast mixture. Then, gradually add your dry ingredients to the wet mixture. Stir until a dough begins to form. You can use a wooden spoon or a stand mixer with a dough hook for this step.
Step 5: Knead the Dough
Transfer the dough onto a lightly floured surface. Knead it for about 5-7 minutes. This is where you get to put some muscle into it. You want it smooth and elastic. If the dough is sticky, add a little more flour.
Step 6: First Rise
Shape the dough into a ball and place it in a lightly greased bowl. Cover it with plastic wrap or a damp towel. Let it rise in a warm place for about 1 hour or until it has doubled in size. This is a great time for a kitchen dance break while you wait.
Step 7: Punch Down and Shape
After an hour, the fun part begins. Punch down the dough to release the air. This helps prevent large bubbles in your crust. Divide it into two equal portions if you’re making a couple of pizzas. Shape each into a ball.
Step 8: Second Rise
Let the dough balls rise again for about 30 minutes. Cover them as before. During this time, you can gather your toppings and get excited about the pizzas you’re about to create.
Step 9: Shape for Baking
After the second rise, you can roll out the dough. Dust your work surface with a bit of flour and use a rolling pin or your hands to stretch it into your desired pizza shape. Make it as thick or as thin as you like.
Step 10: Bake the Dough
Before adding your toppings, it’s a good idea to pre-bake the crust for about 5-7 minutes at 475°F. This way, you’ll have a recipe that’s sure to please.
Tips & Tricks
Use a Pizza Stone: If you have one, preheat it in the oven. It absorbs heat and gives you that perfect crispy crust.
Experiment with Flour: Bread flour is great for structure, but you can mix in some whole wheat flour for a nuttier flavor if you’re feeling adventurous.
Let the Dough Chill: For even more flavor, let the dough rest in the fridge overnight. Just make sure to bring it back to room temperature before stretching.
Keep It Simple: Start with basic toppings. Fresh mozzarella and basil can sometimes blow your mind with their simplicity.
Don’t Forget to Brush: A little olive oil brushed on before adding toppings can elevate your crust’s flavor and texture.

Nutrition Information
bobby flay pizza dough recipe nutrition facts
Can I Store Bobby Flay Pizza Dough?
Absolutely! Here’s how:
Refrigerating: Once your dough has risen, wrap it tightly in plastic wrap or place it in an air-tight container. It can be stored in the fridge for up to 3 days. Just make sure to let it come to room temperature before using.
Freezing: If you want to save some for later, after the first rise, you can wrap dough balls in plastic wrap and freeze them. They can last up to three months. When you’re ready to use them, defrost in the fridge for a night.
What Can I Serve with Bobby Flay Pizza Dough?
The possibilities are endless! Here are a few ideas:
Classic Marinara Sauce: A simple tomato sauce complements almost any topping.
Salad: A fresh Italian salad with greens, olives, and feta pairs beautifully.
Breadsticks: Use leftover dough to make cheesy breadsticks.
Dessert Pizza: Top a baked crust with Nutella and fruits.
Wine: Yes, please! A nice red blend enhances the overall experience.
Variations on Bobby Flay’s Pizza Dough
If you’re feeling a little experimental (and why shouldn’t you?), here are some fun twists on Bobby Flay’s basic pizza dough recipe:
Whole Wheat Dough: Substitute half the all-purpose flour with whole wheat flour for a heartier texture.
Herb-Infused Dough: Mix in dried herbs like oregano or basil in the dry ingredients for an aromatic dough.
Cheesy Crust: Fold in grated cheese, like mozzarella or parmesan, while kneading for a cheesy surprise.
Spicy Dough: Add red pepper flakes or a pinch of cayenne in the dry mixture for a spicy kick.
Gluten-Free Option: Use a good gluten-free flour blend. You might want to add xanthan gum, depending on the blend’s instructions.

Equipment
- Mixing bowl
- rolling pin
Ingredients
- 1 1/2 cups of warm water around 110°F
- 1 packet about 2 1/4 teaspoons of quick-rise yeast
- 1 tablespoon of honey
- 1 teaspoon of fine granulated sugar
- 3 1/2 to 4 cups of all-purpose bread flour with extra for dusting
- 2 teaspoons of flaky sea salt
- 1/2 teaspoon of garlic powder
- 2 tablespoons of extra virgin olive oil plus 2 teaspoons for brushing
Instructions
Step 1: Prep Your Ingredients
- Before you mix anything, get everything organized. Measure out your warm water, honey, sugar, and yeast. This ensures that everything is ready when it’s time to dive into the mixing. The warm water should feel like a cozy bath—if it’s too hot, it could kill the yeast.
Step 2: Activate the Yeast
- In a mixing bowl, combine the warm water, honey, and sugar. Stir it gently to dissolve them. Then, sprinkle the yeast over the surface. Let this mixture sit for about 5-10 minutes. You’ll see the yeast bubbling and foaming, which is a good sign that it’s activated. This step is crucial. Without active yeast, your dough won’t rise properly.
Step 3: Mix the Dry Ingredients
- In another bowl, whisk together 3 1/2 cups of bread flour, flaky sea salt, and garlic powder. You can add more flour later if needed, so don’t worry if you don’t use it all right now. The garlic powder gives a subtle flavor that makes a difference.
Step 4: Create the Dough
- Once the yeast is activated, pour the olive oil into the yeast mixture. Then, gradually add your dry ingredients to the wet mixture. Stir until a dough begins to form. You can use a wooden spoon or a stand mixer with a dough hook for this step.
Step 5: Knead the Dough
- Transfer the dough onto a lightly floured surface. Knead it for about 5-7 minutes. This is where you get to put some muscle into it. You want it smooth and elastic. If the dough is sticky, add a little more flour.
Step 6: First Rise
- Shape the dough into a ball and place it in a lightly greased bowl. Cover it with plastic wrap or a damp towel. Let it rise in a warm place for about 1 hour or until it has doubled in size. This is a great time for a kitchen dance break while you wait.
Step 7: Punch Down and Shape
- After an hour, the fun part begins. Punch down the dough to release the air. This helps prevent large bubbles in your crust. Divide it into two equal portions if you’re making a couple of pizzas. Shape each into a ball.
Step 8: Second Rise
- Let the dough balls rise again for about 30 minutes. Cover them as before. During this time, you can gather your toppings and get excited about the pizzas you’re about to create.
Step 9: Shape for Baking
- After the second rise, you can roll out the dough. Dust your work surface with a bit of flour and use a rolling pin or your hands to stretch it into your desired pizza shape. Make it as thick or as thin as you like.
Step 10: Bake the Dough
- Before adding your toppings, it’s a good idea to pre-bake the crust for about 5-7 minutes at 475°F. This way, you’ll have a recipe that’s sure to please.
Notes
Nutrition
Frequently Asked Questions
1. Can I use regular yeast instead of quick-rise yeast?
Yes, you can! However, you’ll need to let the yeast activate longer. Follow the package instructions for the best results.
2. How do I know when the dough has risen enough?
The dough should roughly double in size. You can perform the “poke test”: if it gently deflates when poked, it’s ready.
3. What if my dough is too sticky?
Add a little flour, a tablespoon at a time, while kneading until you achieve a non-sticky consistency.
4. Can I make the dough in a bread machine?
Definitely! Just follow your machine’s dough setting and use the same ingredient measurements.
5. How long can I keep my pre-baked pizza in the fridge?
If you have leftover pizza, store it in an airtight container and consume it within 3-4 days for the best taste.
Conclusion
Bobby Flay’s pizza dough recipe isn’t just another cooking method—it’s a gateway to delicious, homemade pizza nights. The simple ingredients and step-by-step instructions make it accessible to both novice and seasoned cooks.
With this recipe, you can experiment with ingredients, create your signature pizza, and even impress your friends with your newfound dough-making prowess. So dust off that rolling pin and unleash your inner pizzaiolo. Prepare to make memories over a hot, cheesy slice of homemade pizza. Here’s to many pizza nights filled with laughter, good food, and great company!
You’ll also like these latest recipes!
- Best Bobby Flay Coleslaw Recipe
- How to make Jello Light And Fruity Pie
- Easy Kid Friendly Egg Salad Recipe

Rebecca Novak is a trained chef with over 10 years of experience in the food industry. She has worked in both fine dining and casual Hungarian restaurants and specializes in creating dishes using fresh, seasonal ingredients. She also loves exploring different cuisines worldwide, which allows her to bring unique flavors and ideas to the recipes she creates for Hungarianchef.com. Read more
