When I think about Bobby Flay’s chicken fingers, my mind races with pairing ideas that elevate the dish. Imagine crisp, flavorful chicken fingers served alongside homemade honey mustard or a rich blue cheese dressing.
Both options provide a creamy counterpoint to the crispy exterior, bringing a delightful contrast to every bite.
And what about something refreshing? A cool cucumber salad offers a crunchy relief, while a side of sweet potato fries adds a hearty twist. You can even whip up a vibrant coleslaw to brighten up the plate.
Now, let’s dive into the savory world of Bobby Flay chicken fingers!

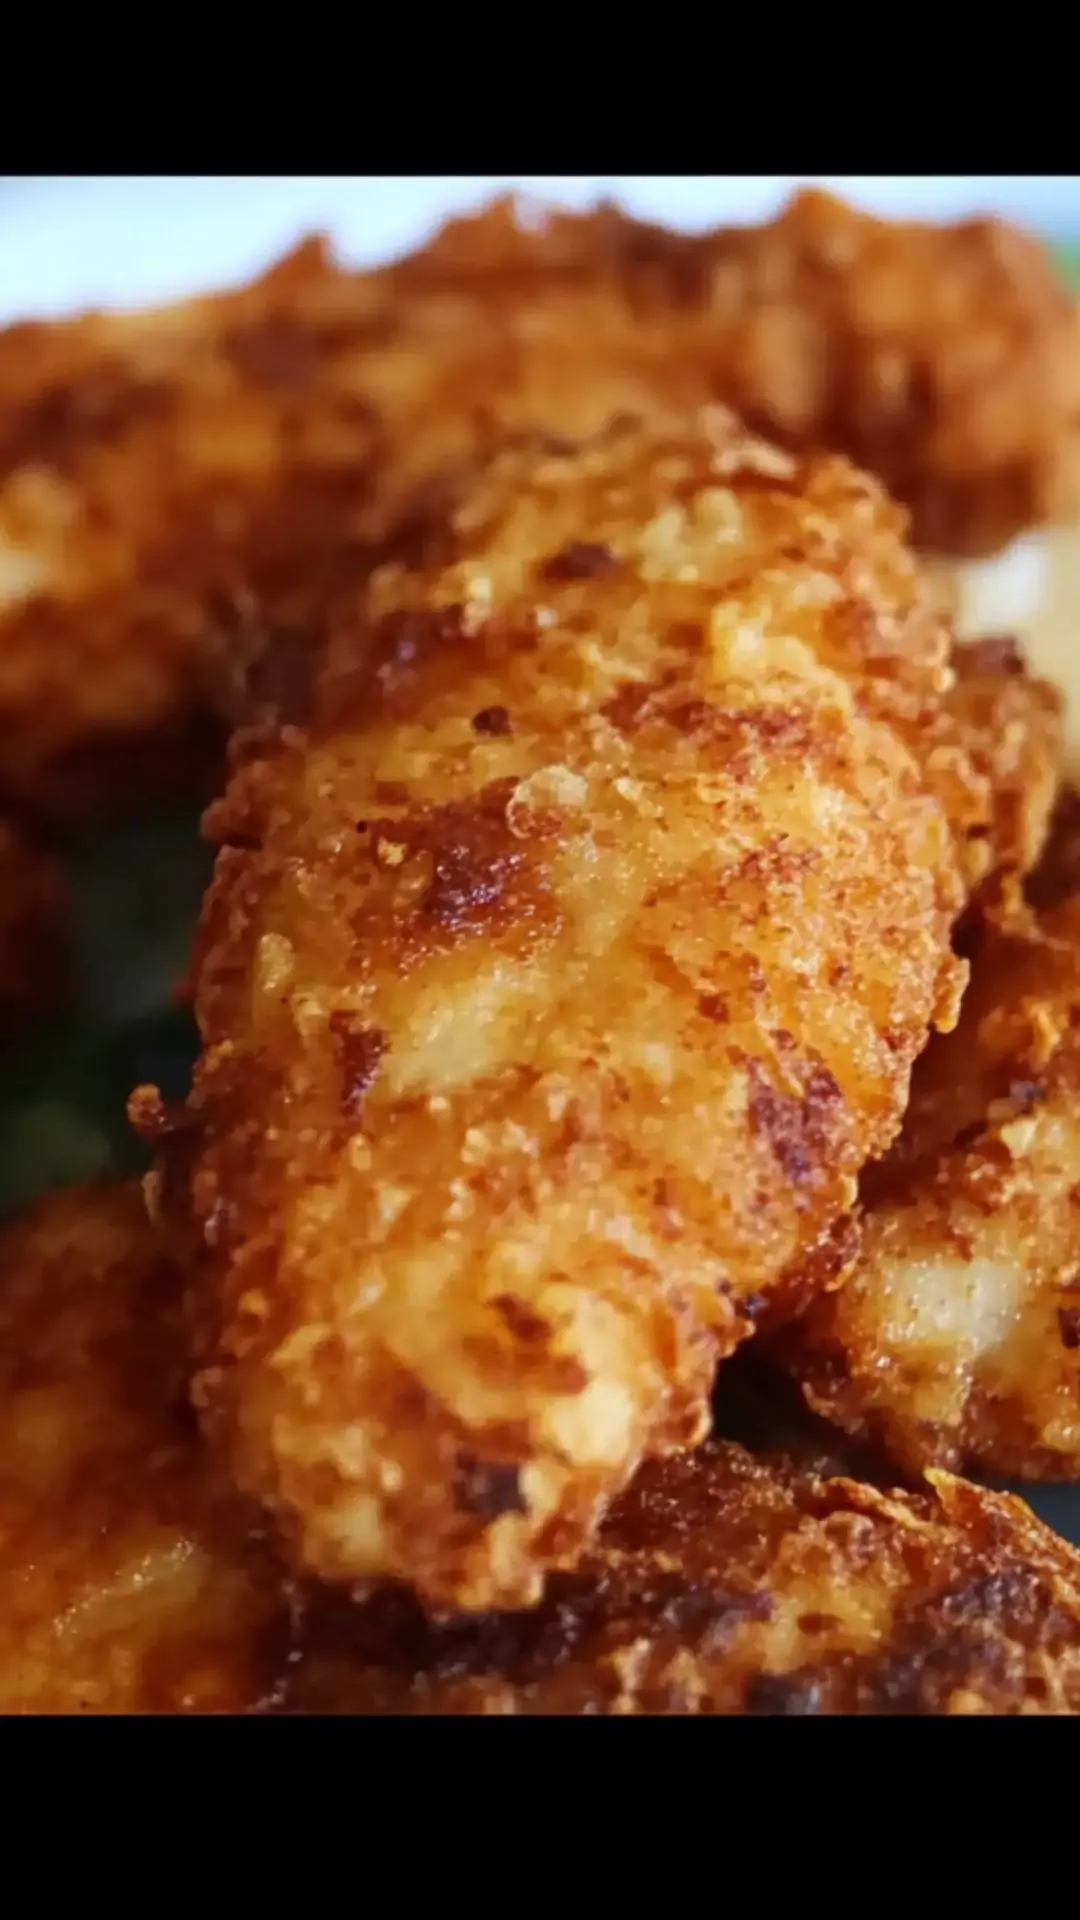
I remember the first time I tried Bobby Flay’s chicken fingers. I was at a festive gathering, everyone laughing and enjoying themselves amidst the aroma of fried goodness wafting through the air. The chicken fingers were golden-brown, perfectly seasoned, and had everyone buzzing about them.
It was a game-changer for me. They are so much more than just your average chicken finger; they embody the essence of comfort food while bringing a gourmet touch.
Whether you’re preparing for a party, a casual family dinner, or just feel like indulging, these chicken fingers are your ticket to culinary success. Let’s explore why you’ll be reaching for this recipe time and time again.
You will also like the following Dinner recipes!
- Best Bobby Flay Chicken Croquette Recipe
- How to make Bobby Flay’s Chicken Schnitzel
- Easy Bobby Flay Double Dipped Fried Chicken Recipe
Why This Recipe Works?
1. Flavor Fusion: These chicken fingers go beyond the basics. Bobby Flay’s recipe uses a refreshing mix of spices that adds depth. Ground árbol chili powder and smoked paprika create an extraordinary flavor that transforms ordinary chicken into something exceptional.
2. Buttermilk Brine: The buttermilk tenderizes the chicken. It infuses flavor while keeping the meat juicy and moist. This is a game changer if you’ve ever had dry chicken fingers.
3. Crunch Factor: Flay’s technique of using unbleached all-purpose flour mixed with spices means the exterior is crispy without feeling heavy. That crunch is vital for the full experience of a fantastic chicken finger.
4. Versatility: You can eat these fingers plain or pair them with an array of dips and sides. They are just as at home on a party platter as they are on the dinner table. You can even turn leftovers into crispy chicken sandwiches the next day!
How Does It Taste Like?
The first bite is where the magic happens. You’ll experience the initial crunch as you sink your teeth into that perfectly cooked exterior. Flay’s blend of spices dances on your tongue, offering notes of heat and smokiness.
The chicken inside is juicy and tender, leaving you feeling satisfied but wanting more. Each flavor component harmonizes to create an unforgettable bite that stands out in your culinary memories.
What Sets This Recipe Apart From Other Bobby Flay Chicken Finger Variations?
Bobby Flay’s version distinguishes itself through its thoughtful ingredient choices and preparation techniques. While many chicken finger recipes rely solely on breading, Bobby combines his breading with a flavorful brine.
Plus, the use of peanut oil or neutral frying oil leads to a clean, authentic taste. It’s a simple tweak, yet it adds another layer of flavor that most homemade recipes often miss.
The Ingredients
Here’s everything you’ll need to create the best chicken fingers:
- 2 whole chickens, cut into 8 portions
- 1 quart plus 2 cups cultured buttermilk
- Coarse kosher salt and freshly ground black pepper, to taste
- 2 teaspoons ground árbol chili powder or 2 tablespoons hot sauce, plus 2 teaspoons árbol chili powder or cayenne pepper
- 4 cups unbleached all-purpose flour
- 1 tablespoon granulated garlic powder
- 1 tablespoon ground onion powder
- 1 tablespoon smoked paprika
- 1 teaspoon ground white pepper
- 2 teaspoons dried thyme
- Peanut oil or neutral frying oil, for deep-frying

Instructions
Step 1: Marinate the Chicken
Begin by placing the chicken portions in a large bowl or container. Pour in the buttermilk and sprinkle with salt and pepper. For added flavor, mix in a bit of the árbol chili powder or hot sauce. Cover and marinate in the refrigerator for at least 2 hours or up to overnight. This gives the chicken time to absorb all that goodness.
Step 2: Prepare the Flour Mixture
In a separate bowl, combine the flour, garlic powder, onion powder, smoked paprika, white pepper, thyme, and remaining chili powder or cayenne pepper. Blend it well. This flour mixture is crucial for achieving that perfect crust, so make sure it’s mixed evenly.
Step 3: Heat the Oil
In a deep pot or fryer, pour in enough peanut oil (or your chosen neutral oil) to cover the chicken portions. Heat it over medium-high heat to about 350°F (175°C). Use a candy thermometer to monitor the temperature. Too hot, and the chicken will burn; too cool, and it will absorb excess oil and become greasy.
Step 4: Coat the Chicken
Once the chicken pieces have marinated, take each piece out and let the excess buttermilk drip off. Then, coat them in the flour mixture. Press the flour onto the chicken to ensure even coverage, creating a thick crust.
Step 5: Fry the Chicken
Carefully place the chicken pieces in the hot oil. Do not overcrowd the pot; it’s better to fry in batches to maintain the oil temperature. Fry until each piece is golden-brown and reaches an internal temperature of 165°F (75°C). This usually takes about 10-12 minutes.
Step 6: Drain and Serve
Once fried, transfer the chicken fingers to a paper towel-lined plate to drain off the excess oil. Season with a little more salt if desired, and serve hot with your favorite dipping sauces.
Notes
- Temperature Matters: Always check the oil temperature before frying. An oil thermometer is your best friend here.
- Rest Wise: Let the chicken rest for a few minutes after frying so the juices redistribute. This ensures each bite is juicy.
- Dipping Sauce: Consider making a batch of homemade honey mustard for dipping. It adds an extra layer of flavor that is hard to resist.
- Frying Oil: Peanut oil is great, but if you have allergies, any neutral oil like canola will do.
- Storage: If you have leftovers, allow the chicken to cool completely before storing them in an airtight container.

How Do You Store Bobby Flay Chicken Fingers?
To store your chicken fingers, let them cool to room temperature. Then, place them in an airtight container. They can be kept in the refrigerator for up to three days. For longer storage, you can freeze them. Just ensure they are separated by parchment paper to avoid sticking.
To reheat, bake them in a preheated oven at 375°F (190°C) for about 10-15 minutes. This helps to restore some of that crispy goodness.
Sides for Bobby Flay Chicken Fingers
1. Garlic Parmesan Fries:
Crispy fries, tossed in a rich garlic and Parmesan blend, take this meal to another level. Baking them at high heat makes them crispy on the outside while remaining tender inside. A sprinkle of fresh herbs can brighten the dish up!
2. Crunchy Coleslaw:
A fresh slaw with a creamy dressing offers contrast to the crunchy chicken. Add shredded carrots, cabbage, and a hint of apple cider vinegar to get that tangy crunch. This not only complements the chicken but also brings a needed freshness.
3. Sweet Potato Wedges:
Roasting sweet potato wedges brings out their natural sweetness, which pairs beautifully with savory chicken fingers. Toss them with a little olive oil and your favorite spices, and roast until golden for a delightful, crispy side.
What Alternatives Can You Use for the Ingredients if They Are Not Present in Your Kitchen?
1. Buttermilk:
If you don’t have buttermilk, a mix of milk and vinegar or lemon juice works perfectly. Just add a tablespoon of white vinegar or lemon juice to a cup of whole milk and let it sit for about 10 minutes.
2. All-Purpose Flour:
If you’re out of all-purpose flour, consider using a gluten-free blend or almond flour. Both options will provide a unique flavor and texture.
3. Chicken:
If whole chickens aren’t available, boneless chicken thighs or breasts work well. Adjust cooking time slightly since they may cook faster.
4. Seasonings:
If you lack specific spices, don’t fret. A simple all-purpose seasoning mix or even ranch powder can add flavor. Experimenting can yield delightful surprises!
Equipment
- Deep pot or fryer
Ingredients
- 2 whole chickens cut into 8 portions
- 1 quart plus 2 cups cultured buttermilk
- Coarse kosher salt and freshly ground black pepper to taste
- 2 teaspoons ground árbol chili powder or 2 tablespoons hot sauce plus 2 teaspoons árbol chili powder or cayenne pepper
- 4 cups unbleached all-purpose flour
- 1 tablespoon granulated garlic powder
- 1 tablespoon ground onion powder
- 1 tablespoon smoked paprika
- 1 teaspoon ground white pepper
- 2 teaspoons dried thyme
- Peanut oil or neutral frying oil for deep-frying
Instructions
Step 1: Marinate the Chicken
- Begin by placing the chicken portions in a large bowl or container. Pour in the buttermilk and sprinkle with salt and pepper. For added flavor, mix in a bit of the árbol chili powder or hot sauce. Cover and marinate in the refrigerator for at least 2 hours or up to overnight. This gives the chicken time to absorb all that goodness.
Step 2: Prepare the Flour Mixture
- In a separate bowl, combine the flour, garlic powder, onion powder, smoked paprika, white pepper, thyme, and remaining chili powder or cayenne pepper. Blend it well. This flour mixture is crucial for achieving that perfect crust, so make sure it’s mixed evenly.
Step 3: Heat the Oil
- In a deep pot or fryer, pour in enough peanut oil (or your chosen neutral oil) to cover the chicken portions. Heat it over medium-high heat to about 350°F (175°C). Use a candy thermometer to monitor the temperature. Too hot, and the chicken will burn; too cool, and it will absorb excess oil and become greasy.
Step 4: Coat the Chicken
- Once the chicken pieces have marinated, take each piece out and let the excess buttermilk drip off. Then, coat them in the flour mixture. Press the flour onto the chicken to ensure even coverage, creating a thick crust.
Step 5: Fry the Chicken
- Carefully place the chicken pieces in the hot oil. Do not overcrowd the pot; it’s better to fry in batches to maintain the oil temperature. Fry until each piece is golden-brown and reaches an internal temperature of 165°F (75°C). This usually takes about 10-12 minutes.
Step 6: Drain and Serve
- Once fried, transfer the chicken fingers to a paper towel-lined plate to drain off the excess oil. Season with a little more salt if desired, and serve hot with your favorite dipping sauces.
Notes
- Temperature Matters: Always check the oil temperature before frying. An oil thermometer is your best friend here.
- Rest Wise: Let the chicken rest for a few minutes after frying so the juices redistribute. This ensures each bite is juicy.
- Dipping Sauce: Consider making a batch of homemade honey mustard for dipping. It adds an extra layer of flavor that is hard to resist.
- Frying Oil: Peanut oil is great, but if you have allergies, any neutral oil like canola will do.
- Storage: If you have leftovers, allow the chicken to cool completely before storing them in an airtight container.
Nutrition
FAQs About Bobby Flay Chicken Fingers
1. Can I bake these chicken fingers instead of frying them?
Yes, you can definitely bake them! Preheat your oven to 400°F (200°C). Arrange the chicken fingers on a baking sheet lined with parchment paper and lightly spray them with cooking oil. Bake for about 25-30 minutes, flipping halfway through, until golden and cooked thoroughly.
2. How can I make this recipe gluten-free?
To adapt to gluten-free diets, use gluten-free flour instead of all-purpose flour. Ensure that your buttermilk and all other ingredients are also gluten-free. Most cooking oils are naturally gluten-free, making them a perfect option.
3. Can I use skinless chicken parts?
Using skinless pieces is possible, but they may have less flavor and moisture compared to skin-on pieces. Just ensure they’re properly marinated to keep them juicy.
4. What are some good dipping sauces for these chicken fingers?
Aside from honey mustard, consider BBQ sauce, ranch dressing, or even a spicy sriracha mayo. Each option has its own unique kick that can elevate the chicken fingers.
Conclusion
Bobby Flay’s chicken fingers are not just a dish; they are a celebration of flavors and textures, each bite echoing the joy of uncomplicated yet delicious food. From gatherings to weeknight dinners, they are sure to impress.
With a few simple ingredients, some straightforward preparation, and creativity in pairing, you can serve up restaurant-quality chicken that’s perfect for any occasion.
Whether you choose to dip them, pair them with sides, or just savor them on their own, these chicken fingers are bound to become a staple in your kitchen.
Trust me, once you’ve tasted Flay’s version, bland chicken fingers will never cut it again!
You’ll also like these latest recipes!
- Best Bobby Flay Spiral Ham Recipe
- How to make Bobby Flay Ham Glaze
- Easy Bobby Flay Chicken Croquette Recipe

Rebecca Novak is a trained chef with over 10 years of experience in the food industry. She has worked in both fine dining and casual Hungarian restaurants and specializes in creating dishes using fresh, seasonal ingredients. She also loves exploring different cuisines worldwide, which allows her to bring unique flavors and ideas to the recipes she creates for Hungarianchef.com. Read more