Servings: 4 Servings
Calories: 165kcal
Equipment
- Large skillet
Ingredients
- 4 boneless skinless chicken breasts (1 pound total)
- Salt and freshly ground black pepper to taste
- 3 tablespoons vegetable oil or canola oil divided
- Cooking spray
- 2 tablespoons unsalted butter divided
- ½ teaspoon garlic powder
- ½ teaspoon onion powder
- ½ teaspoon smoked or sweet paprika
- ½ teaspoon dried basil
- ½ teaspoon dried oregano optional, for an herby touch
- ½ teaspoon lemon zest optional, for a hint of brightness
Instructions
Step 1: Prepare the Chicken
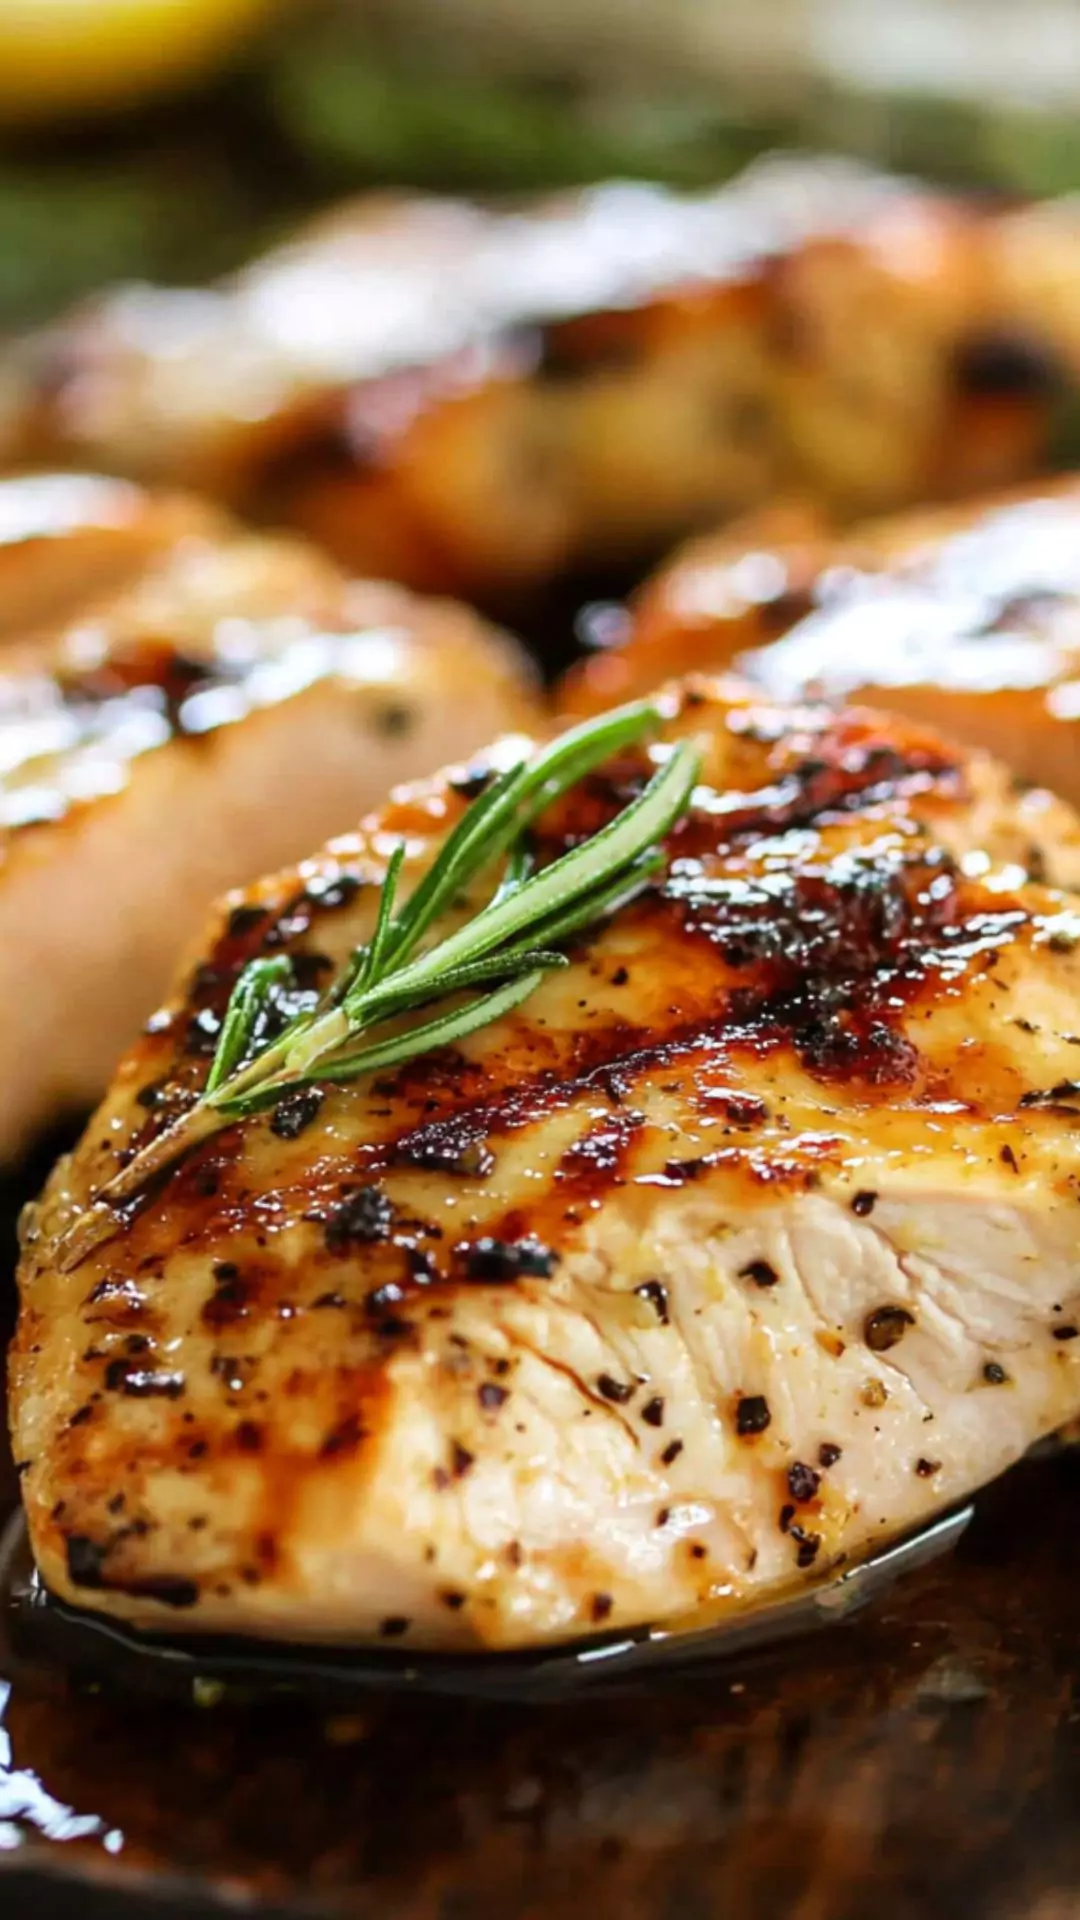
- Start by patting the chicken breasts dry. It’s important! A dry surface will help form that nice crust. Once you’ve dried them, season both sides generously with salt and black pepper. You can really let loose. Remember, chicken absorbs flavors well.
Step 2: Marinate (Optional)
- If you have a few extra minutes, marinating is a great way to enhance flavor. You can use olive oil, lemon juice, and your choice of herbs for a quick dip before cooking. Even a 30-minute soak makes a difference!
Step 3: Heat the Pan
- Grab a large skillet and heat over medium-high heat. Once it’s hot, add the vegetable or canola oil. Wait until it shimmers. This indicates that the oil is ready for action.
Step 4: Add Chicken Breasts
- Carefully place the chicken breasts in the pan. You should hear that satisfying sizzle. Avoid overcrowding—give them room to breathe. If they’re clumped together, they won’t cook evenly.
Step 5: Sear the Chicken
- Cook the chicken for about 6-7 minutes on one side. Here’s where you want to watch for that golden-brown crust. Don’t flip too soon! Once you’ve achieved that, flip each breast over.
Step 6: Add Butter and Seasonings
- After flipping, toss in the butter. As it melts, use a spoon to baste the chicken with the buttery goodness. Then, sprinkle the garlic powder, onion powder, paprika, and any other herbs you’re using. Trust me, this step is what takes your dish from bland to grand.
Step 7: Cook Until Done
- Cook for an additional 5-7 minutes on the other side or until the chicken’s internal temperature reaches 165°F (75°C). A meat thermometer is your best friend here!
Step 8: Rest the Chicken
- Once cooked, take the chicken off the heat and let it rest for about 5 minutes. This helps the juices redistribute, ensuring every bite is moist and flavorful.
Notes
Use a meat mallet: Pound chicken breasts to an even thickness. It cooks evenly and prevents dryness.
Let your chicken come to room temperature: About 20-30 minutes out of the fridge helps in cooking evenly.
Don’t skip the resting: Letting it rest after cooking is essential for juicy chicken.
Sear, don’t simmer: Make sure the pan is hot enough to sear. It’s the key to good texture.
Experiment with marinades: Try various flavors from Asian to BBQ to find what you love best.
Nutrition
Calories: 165kcal | Protein: 31g | Fat: 4g
Tried this recipe?Let us know how it was!